How to Prepare and Store Fresh Garlic for the Long Term
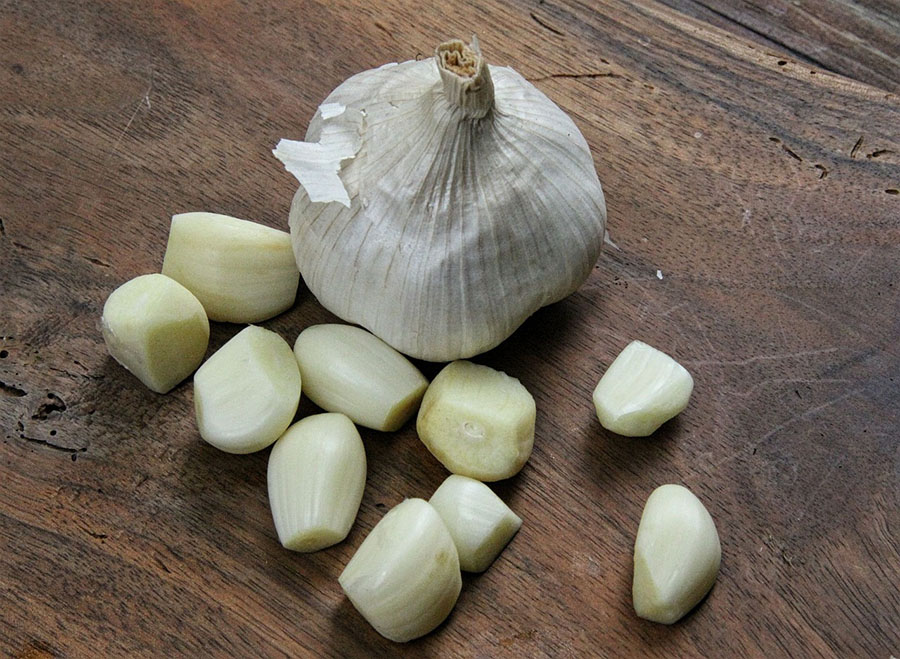
Garlic is one of the most versatile foods out there. It can be grown very easily, stored for a long time, used for a variety of medicinal purposes and it tastes great in all kinds of recipes. There is a lesser-known way to peel and store fresh garlic over the long-term that everyone should know about. Let’s take a look at how this trick can help to make life a little bit easier during a time when you depend on your food stockpile.
Peeling the Garlic
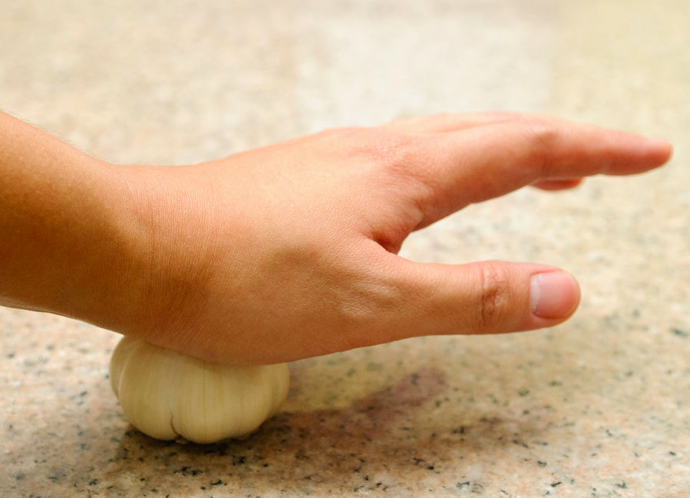
Peeling fresh garlic doesn’t have to be a laborious and time-consuming process. Contrary to popular belief, you don’t need to smash each clove and peel them individually. In fact, you can remove the skin from an entire bulb in just a few seconds. The first step is to place the bulb of garlic on its side, on a flat surface. Then, give it a good and firm whack with the ball of your hand to separate the cloves.
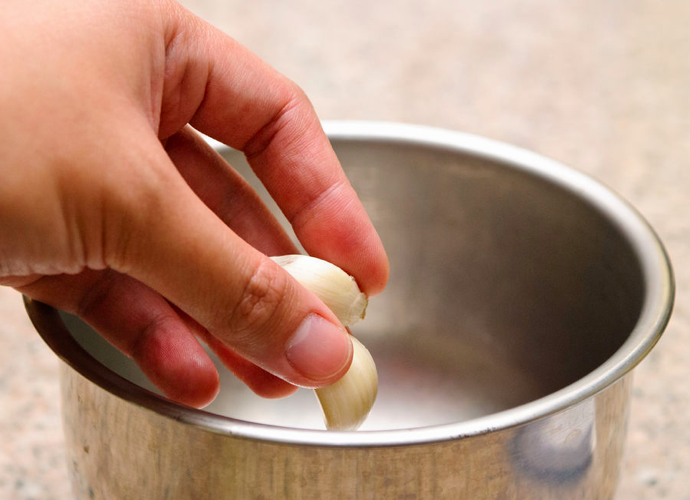
Place the cloves into a metal bowl. Take another metal bowl, invert it and place it on top of the other one. Hold the two bowls together with your hands and give it a vigorous shake in the air for about 10 seconds. Place the bowl back on the counter, remove the top one, and you will see that all of your cloves have been peeled and ready for processing. You may have to pick away at a couple pieces of skin here and there, but for the most part, all of the hard work will be done already.
Processing the Garlic

Place the cloves of garlic in a bowl full of cool water. Give them a good rinse and remove any bits of dirt, remaining peels or pare off any spots or sprouts that may have formed. Dump the water through a colander and give the cloves a good rinse.
Next, fill a stockpot with white vinegar and bring to a boil. It’s best to do a large batch of cloves at a time in order to make good use of the vinegar. For example, you can probably fill 10 canning jars and use 8 cups of vinegar for every 150-200 cloves of garlic. Using the steps above, it will only take you a few minutes to peel and prepare a large number of cloves.
Fill the canning jars with the cloves of garlic, leaving about ½ to an inch of headspace before adding the boiling vinegar. Fill until all of the cloves are submerged and remove any excess air bubbles. Attach the lids to the jars and allow them to cool to room temperature before storing because the glass will be very hot. Label and date the jars, and store them in dark and cool location. The shelf life of the garlic will depend a lot on the average temperature and moisture of the ambient air. However, you can expect the garlic to remain fresh for up to a year in most cases.
Try this out for yourself today, and see how having ready-made garlic cloves at your disposal can make life a lot easier in your survival kitchen.