How to Safely Can Ground Beef

Canning ground beef is a relatively easy and safe process as long as you follow some basic guidelines. Having a supply on hand for a survival situation is a great way to enhance meals as well as add some tasty protein to your diet. It also reduces your reliance on hunting for whatever happens to be nearby for the main course of your survival meal as well. Take a look at the following steps and try this method out for yourself.
Preparing the Beef
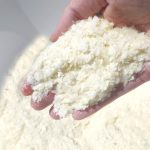
The first step is to choose ground beef that is appropriate for canning. Consider acquiring some grass-fed beef from high-quality cows in order to have a good base to work with. You want to use beef that is as lean and fresh as possible without any hormones or other additives. About 8 pounds of lean beef will fill around 6 pint canning jars in most cases, but these totals may vary.
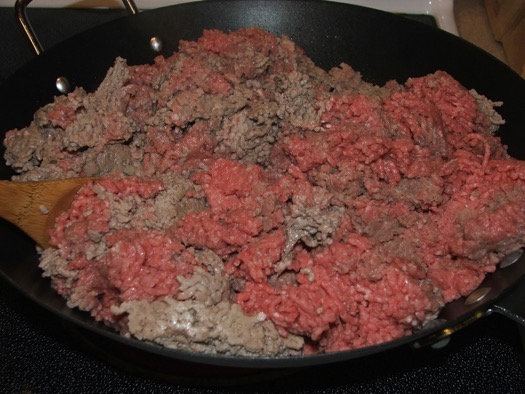
Next, you want to put the beef in a skillet over medium heat. Brown it just enough to cover the edges and kill off any bacteria or other microorganisms that may be present. Remember that the canning process will cook the beef the rest of the way, so you don’t want to overdo it in the skillet. Don’t add any seasonings or vegetables to the beef.
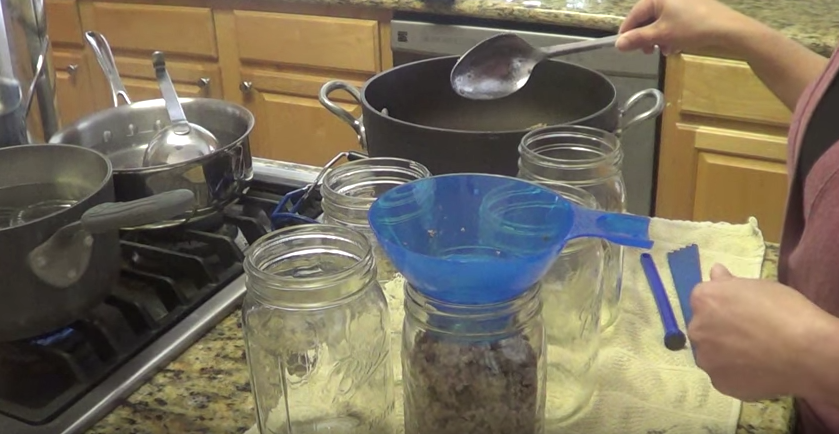
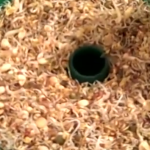
Prepare the jars as needed and drain the beef thoroughly. You want to get rid of as much fat as possible now in order to maximize the shelf life and quality of the finished product. Once the fat has been drained, you can transfer the beef with a slotted spoon or scoop into the HEATED canning jars. Fill the beef until there is an inch of headspace remaining.
You can also add a ½ teaspoon of canning or kosher salt to each pint of beef to enhance flavor if you like. Keep in mind that this is completely optional, and the salt will do nothing to extend the shelf life of the finished product.
The next step is to make a broth for the beef with the drippings that remain in the skillet. Fill the skillet with water, bring to a boil and mix everything together. Add this to each jar until it fills in the spaces between the ground beef and reaches the 1 inch headspace level.
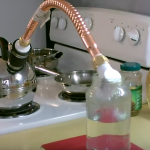
Next, take the handle of a spoon or spatula and prod through the jars to remove excess air bubbles. When finished, wipe the rims clean with a damp cloth and attach the lids and seals, and secure them in place. Place the jars into the pressure canner that has about 2 inches of water on the bottom.
Canning the Beef
Attach the lid, boil the water and let the pressure canner vent for 10 minutes before attaching the gauge. At sea level, process the beef at 10 PSI for no less than 75 minutes. Follow guidelines for pressures and processing times at higher elevations. Start timing the processing after you attach the gauge.

When finished, turn off the heat and allow the canner to depressurize before opening. Remove the jars and let them cool on the counter or table until they reach room temperature. Inspect the jars for defects and to ensure that all of the seals are intact. Label and date the jars and store in a cool, dark place. Shelf life can be anywhere from six months to a year, but the flavor will decrease over time. Make sure to rotate out old stock before replenishing supplies.
Try this out for yourself and see how easy it is to incorporate ground beef into your long-term food storage stockpile. Just make sure to consume any meat that you’ve opened on the same day to maximize freshness and reduce the possibility of contracting any food-borne illnesses.