How to Clear Muddy Water Prior to Filtration
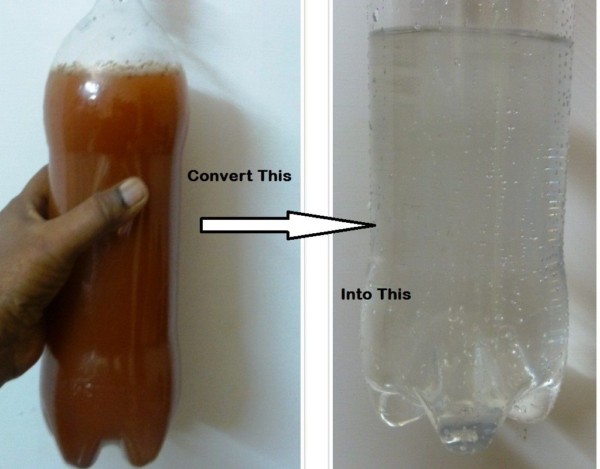
One of the biggest challenges in the field is finding water that is suitable for purification. However, there are times when the only water available may be cloudy or murky. There is a solution that can address this problem very easily, and processing water only takes a couple of minutes. While this won’t purify your water, it cab make it clear and remove a lot of particles and contaminants. This will make it easier to continue the filtration or purification process, and it is a faster alternative than using other traditional methods.
Required Chemicals
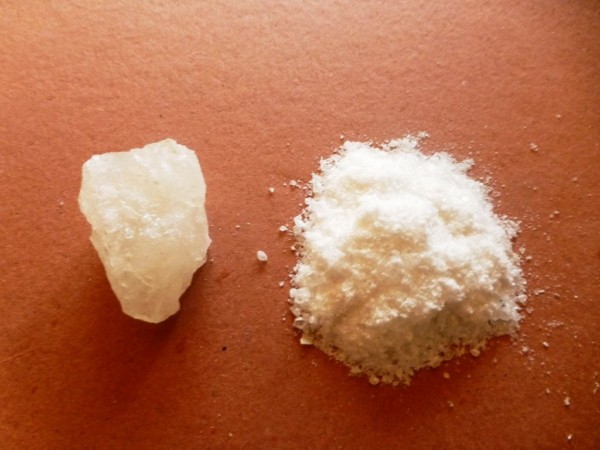
This process involves using two chemicals that interact with the water and cause debris and fine particles to coagulate. The chemicals are aluminum sulfate or alum, and calcium hypochlorite.
Calcium hypochlorite is commonly associated with bleaching powder or chlorinated lime. The alum will cause particles suspended in the water to bond and separate from the liquid. The calcium hypochlorite contains chlorine will assist in this chemical reaction while also disinfecting the majority of bacteria in the water at the same time. While it won’t be enough to make it pure, it will it easier for you to take standard steps to purify the finished product.
Getting Started
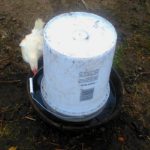
The first step is to pre-treat the water by pouring the contents of your collection container into a strainer of your choice over a clean bucket or container. This will remove larger pieces of debris and particles.
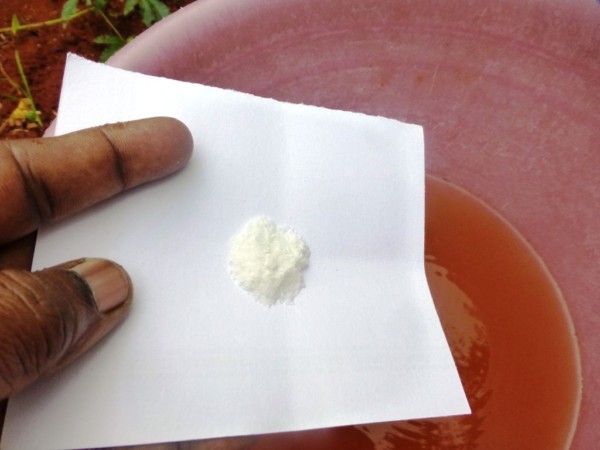
Remove the filter and then add the alum. You don’t need a lot of alum to treat a large quantity of water, and it’s easy to be tempted to pour a scoop of it into a gallon. As a general rule, you should use about 10 grams of alum for every liter of water. This translates into about ½ teaspoon of powder for every gallon to 5 liters.
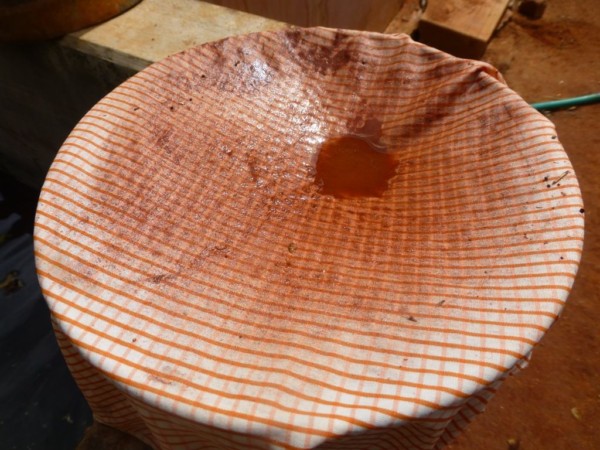
Cover the container with some cloth, if necessary, in order to keep debris from entering the water as it sits. You want to let the water rest for about 8 hours in order to allow the alum attract the impurities. You should notice that material will drift to the bottom over time. The process is finished once there is no more sedimentation or coagulation.
Processing the Water
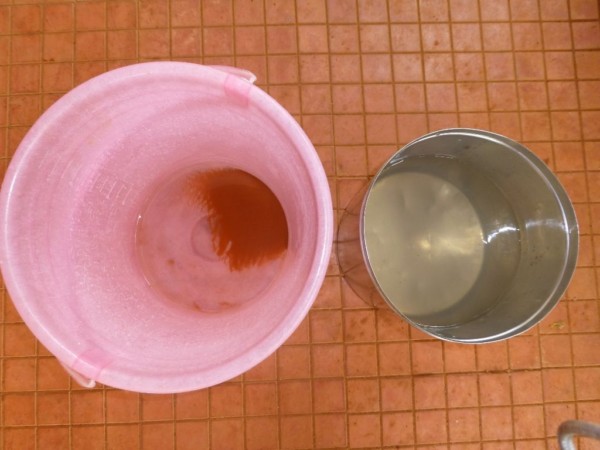
The next step is to carefully pour as much of the water from the bucket into another container, but stop pouring once the sediments start to near the top. While you may end up with ½ liter of water remaining in the bucket, the water that’s in the container is nearly purified and shouldn’t require much more filtration. Pour the remaining water in the bucket through a coffee filter or cheesecloth, into a separate container, a couple of times, in order to get every last drop without contaminating what has already been processed. Transfer the filtered water into the container with the rest of the clean water.
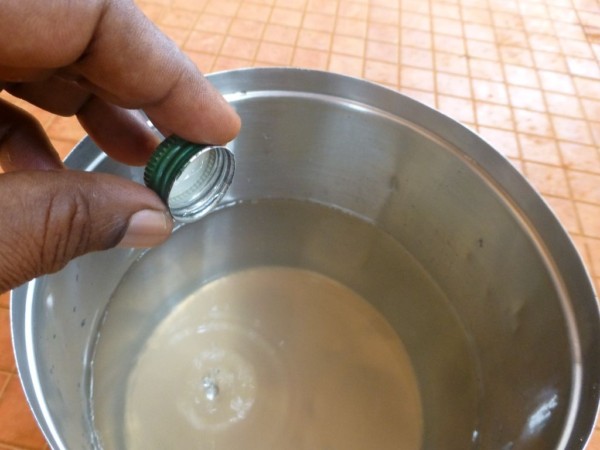
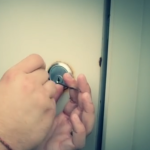
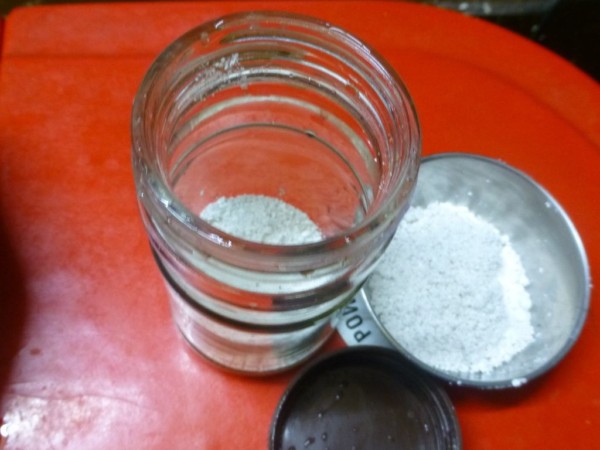
Next, prepare the bleach by taking 1-2 teaspoons of the hypochlorite powder and placing it in a small glass bottle with a metal cap. You don’t to use plastic as the chemicals can eat through the material. Add just enough water for the powder to dissolve as well as to remove any cloudiness. Add water in small amounts incrementally so that you don’t dilute the chemicals too much.
Add about two drops of the solution you just made for every liter of water that you’ve been processing. Stir it and let it rest for about 30 minutes in open air. This is necessary to allow the chemicals to vent off gases and stabilize. You may notice a slight chlorine-like smell in the water until the venting is complete. After 30 minutes, your water should not only be clean, but it will be purified as well.
Keep in mind that you may need to alter the concentrations of alum as well as the bleach solution depending on the quality of the water that you are processing. Heavily-polluted water may need as much as 85 milligrams per liter to purify whereas water you collect that isn’t as tainted may need as little as 5 milligrams.
A little bit of practice will help you to get a sense of how to use this method under different conditions. If you have a test kit, you can also use that to determine what additional steps are needed to purify the water after it’s been treated.
The nice thing about using this approach is that you don’t need a lot of material, and it’s easy to prepare in advance and store. Pack a small amount in your survival kit or bug out bag today, and you can dramatically-increase your access to a water supply out in the field.