Not a lot of thought is given to paint during a survival situation, but it may become necessary in order to protect the wood of structures at your bug-out location. The good news is that you can take advantage of an age-old paint recipe that can last up to 10 years. It’s completely non-toxic and only requires some basic items that you probably already have in the home or can be obtained very easily.
Take a look at this recipe and see how it can eliminate the need to invest, stock up and transport heavy cans of paint from one place to another.
The Recipe
You will need to create the base for the paint in addition to adding certain items for the pigment that will produce the color that you desire. Most colors used with this method fall into shades of brown to red, but you can do some research in order to find the right material to create other colors as well.

The following ingredients and proportions will create about 2.5 gallons of paint per batch:
8 liters of water
650 grams of white flour
5.5 lbs of either iron oxides or earth pigments for coloring
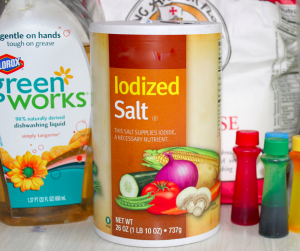
250 grams of iron sulfate
1 liter of linseed oil
100 ml of uncolored, unscented dish soap or black soap

Preparing the Paint

Take 7 liters of water and place in a large pot and bring to a boil. Slowly add the flour and stir continually to minimize lumping. Let it boil while stirring for about 15 minutes. Keep in mind that you want to use a pot that won’t be needed for cooking in the future. You can also use a metal bucket over a flame.
Prepare the linseed oil by placing it in a double boiler and bring to a boil at the same time the paint is cooking. Stir occasionally to prevent it from scorching.
Slowly add the pigment of your choice to the flour and water mixture in addition to the iron sulfate and continue to stir and cook for another 15 minutes. Pour in the linseed oil and cook and stir for an additional 15 minutes. Finally, pour in the soap and stir until it is thoroughly mixed. Remove the paint mixture from the heat and let it cool to room temperature.
The paint will be ready to use once it has cooled. Stir and apply just as you would with normal paint. If the paint is to watery, place over heat again and add a little bit more flour until it is completely blended. Remove from heat, allow it to cool again and keep repeating until you reach the desired consistency. If the paint is too thick, simply add some water to the cooled product and stir. Repeat until everything meets your expectations.
Applying the Paint
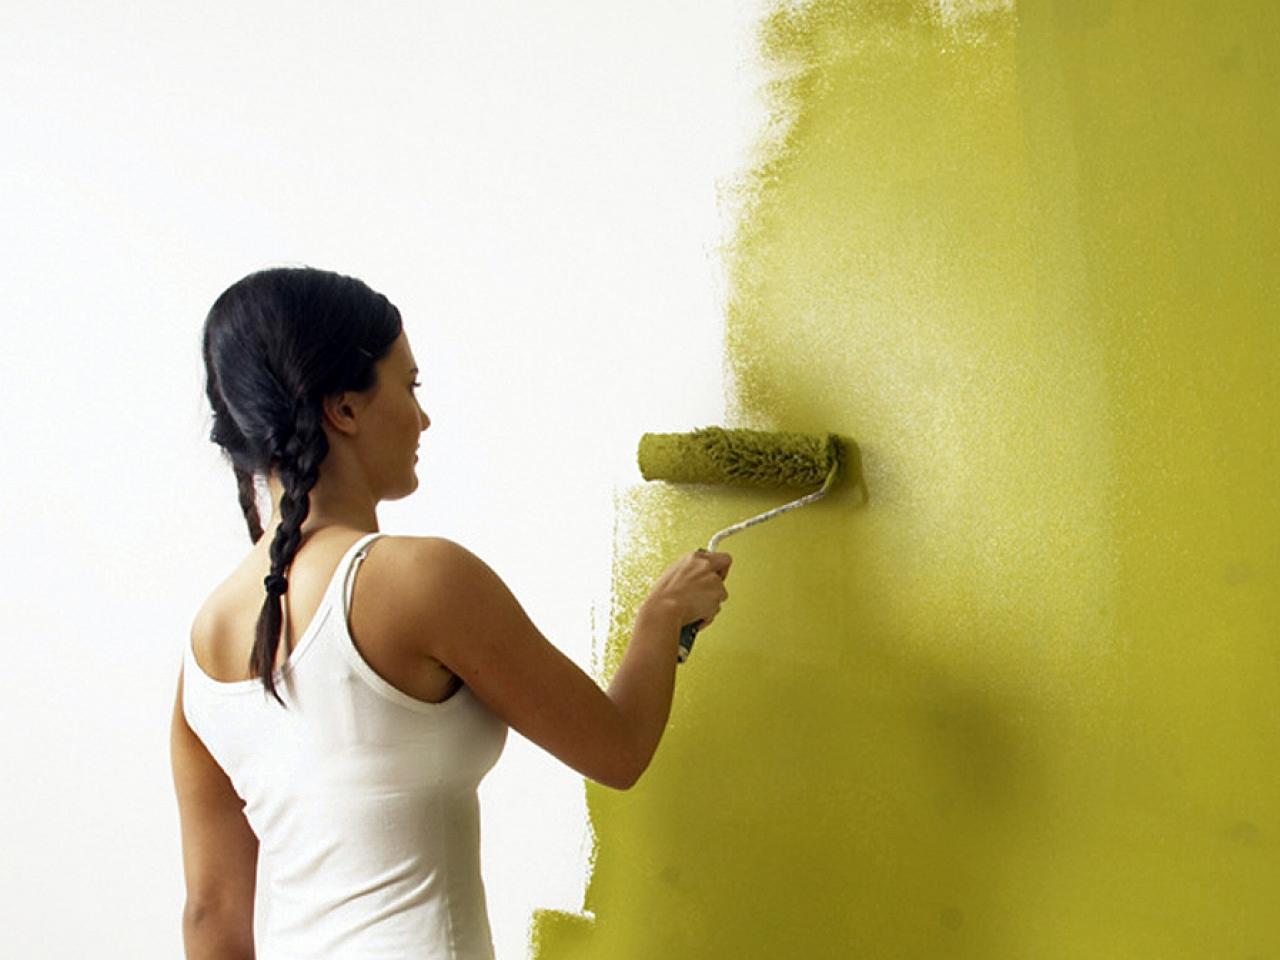
If you are painting over new wood, you want to make a primer and apply a coat before painting. Take some of your paint and place it in another can and add some water. Add about 20% of the volume of paint that you are using. This will dilute the paint just enough to penetrate through the spaces in the fibers of the wood. Allow the primer to dry for about 24 hours before painting.
Make sure that you don’t paint wood that is wet. You also want to avoid painting surfaces that are directly exposed to the sun at the time of application. Add the paint before or after the sun reaches the area that you are painting. The paint will dry in about an hour. Add more coats as needed, allowing each one to dry in between applications.
There are also a couple of other important things to consider as you are painting. First, darker pigments will tend to last longer and provide better protection. Second, you should apply a new coat after a year or two in order to cover areas of wood that have soaked up the previous coat of paint.
The most difficult part of this project involves identifying and selecting the appropriate minerals or substances to provide you with the desired color. Make sure to do some research and learn more about the abundance of options that are available in order to get a color that meets your needs.
This is also a perfect project for experimenting and tinkering with different color variations and different levels of thickness. Try this out for yourself and see how this simple recipe can save you hundreds of dollars in paint while producing a lasting finish that is ideal for outdoor applications.