How to Build a Rudimentary Raised Planter Bed
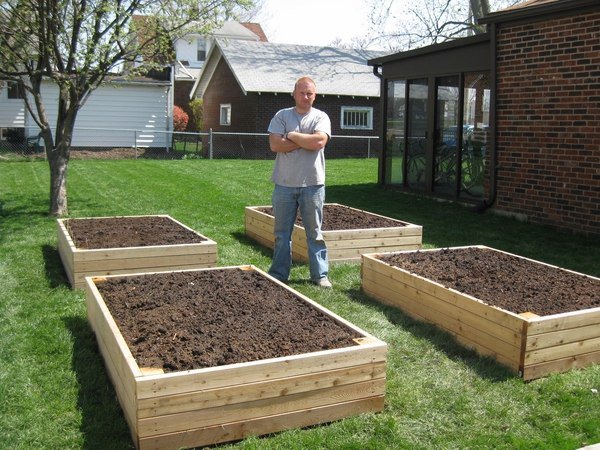
Planter boxes are one of the most important components of a productive garden. They make it easy to group crops and give them the nutrients they need, and they are also an important pest-control strategy. If you have the resources and time to build planter boxes, doing so can produce a wide-range of benefits that are impossible to list here. Take a look at the simple design below, and see how it’s not difficult to make your own planter boxes in a short amount of time.
Required Material
All you need for almost any planter box are planks of wood that are the same length and some screws, brackets or nails to hold them together. You will also need a few support boards that can be installed at different intervals along the sides of the box. The amount of supports you need will depend on the size of the box, but one for every three or four feet should be enough.
Getting Started
The first step is to measure out the size of the box that you want as well as its height. Height is an important consideration because different plants need different depths of soil in order to grow productively. Make sure that you have enough planks to build the side walls as well as the ends of the box before you start working on your project. You will also need enough planks to build up the height if necessary as well.
Next, cut all of the pieces to their respective lengths and sand down the edges. You can also choose to treat the wood or leave it alone at this time as well. Just remember that it is generally easier to treat the wood before you assemble the box. The next step is to cut the support pieces to their appropriate lengths as well.
There are a few different things to consider when it comes to the support beams. Do you want to stake them underground or let them rest flush against the bottom edge of the planter? How tall above the ground will they need to be? How thick will they need to be to support the weight of the boards you are installing? Think about these and other things that can give you an idea of what type of material to use. Cut the wood accordingly, and keep in mind that you can also use branches as supports as well.
Putting Everything Together
You have a few options for how to install the boards. You can nail them directly together, with the end boards attaching on the outside of the frame. You can also use brackets or make triangle corner pieces out of some scrap wood to brace these important joints. Another possibility is to use a couple of support beams that are placed near the edges of the base boards that will produce a nice fit at the corners as well.
The important thing is that you make sure to choose something that will be strong enough to keep the planter together. However, the material that you choose is totally up to you and what you have available at the time.
You may also want to grade the ground before putting planters atop uneven surfaces. The more flush you can make the bottom edges of each side will go a long way to prevent a host of problems that the planters are designed to solve. Simply make some gashes in the ground where the planters will rest as a way to level the area without having to dig up a lot of material.
Once the wood is cut, fittings and supports made and the ground prepared, all you need to do now is attach everything together. If you plan on making a planter that has multiple rows of planks, attach the bottom ones first. Then, secure the supports in place and attach the first row of planks as well. You can start building the layers and attaching them to the supports as you go.
Obviously, this project has a lot of room for improvement and improvisation, but that’s where you come in. You can follow this basic design and use it as a guide for building something that’s more tailored to your preferences. However, making and utilizing planter boxes is a very important part of developing a productive garden geared towards self-sufficiency. As you can see, you don’t need a lot of precision, special tools or parts for this project, and it’s definitely worth your time and effort to learn how to build your own.