How to Build a Self-Standing Staircase
Building a staircase is not that difficult, as long as you have the right tools and can make relatively precise cuts of wood. Let’s take a look at a basic design that you can use as a basis for a customized solution to meet your needs. Keep in mind that this is intended for illustrative purposes only, and you will need to take appropriate steps to reinforce the stairs and railing to support heavy loads as necessary.
Recommended Items:
Hand saw
Square
16d nails
Tape measure
Pencil
Circular saw
Nail gun
Stair gauge
Jig saw
Board bending tool
String (for measuring lines and slopes)
Chop saw (optional)
Wood:
6 pieces of 2x12x16
2 pieces of 2x6x16
3 pieces of 2x4x16
3 pieces of 4x4x16
Make sure that the wood is in near-perfect condition. This will play a huge role in making the stairs and frame as structurally sound as possible. Working with defective wood can lead to injury or the collapse of a portion or the entire staircase.
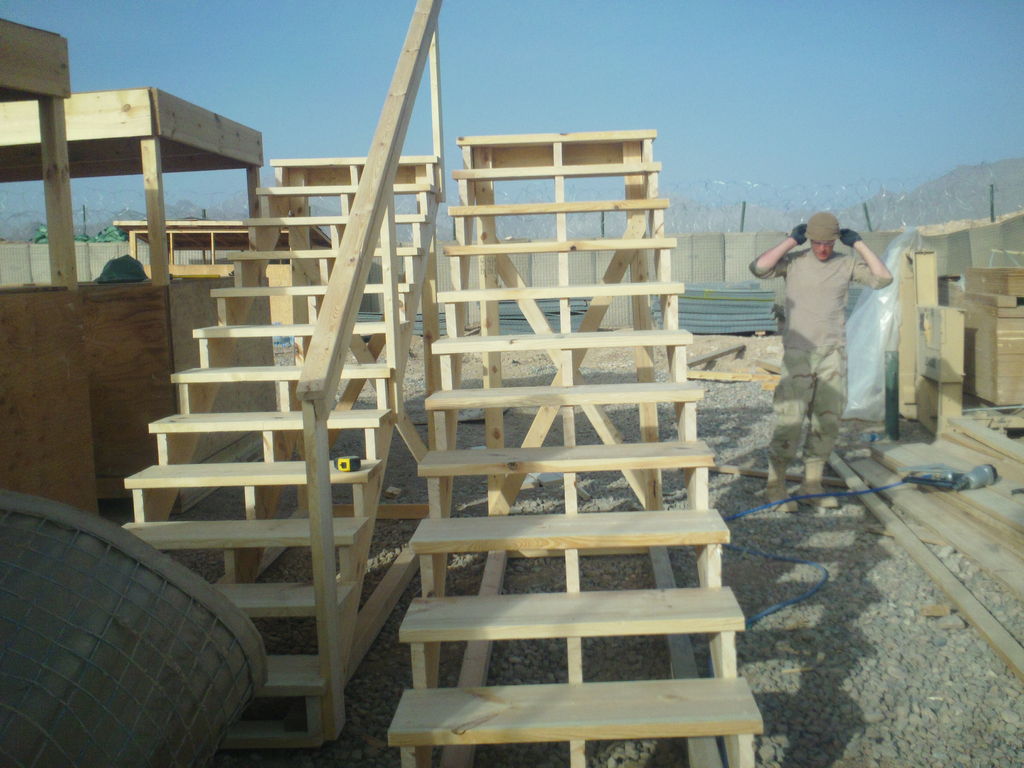
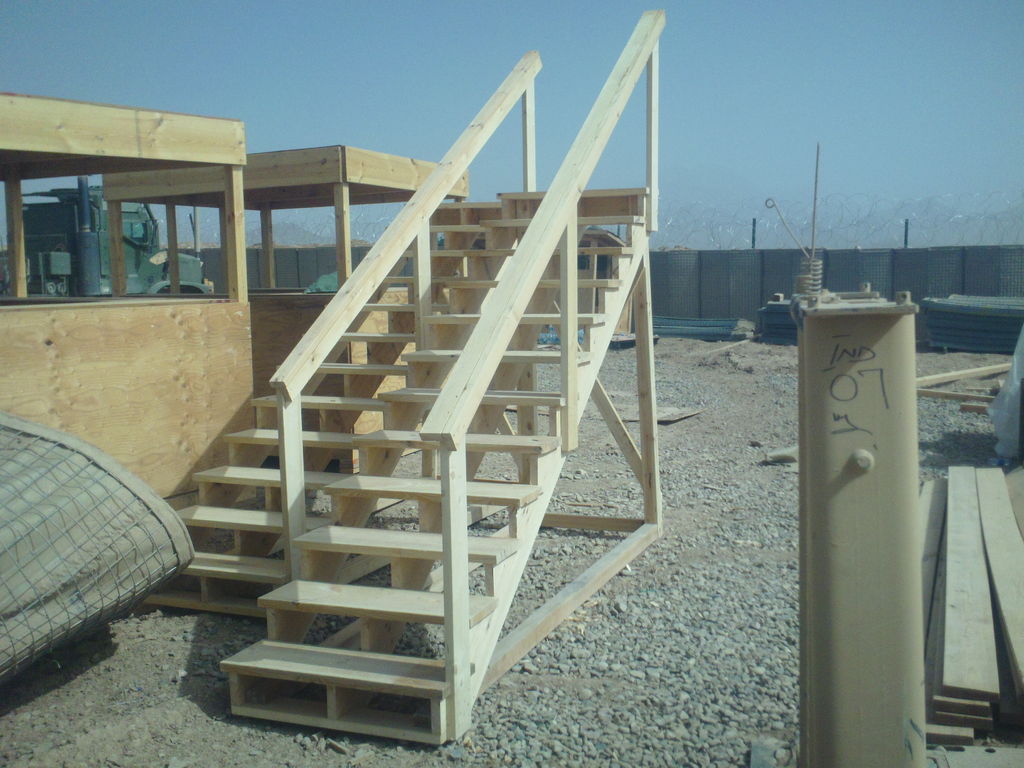
Getting Started
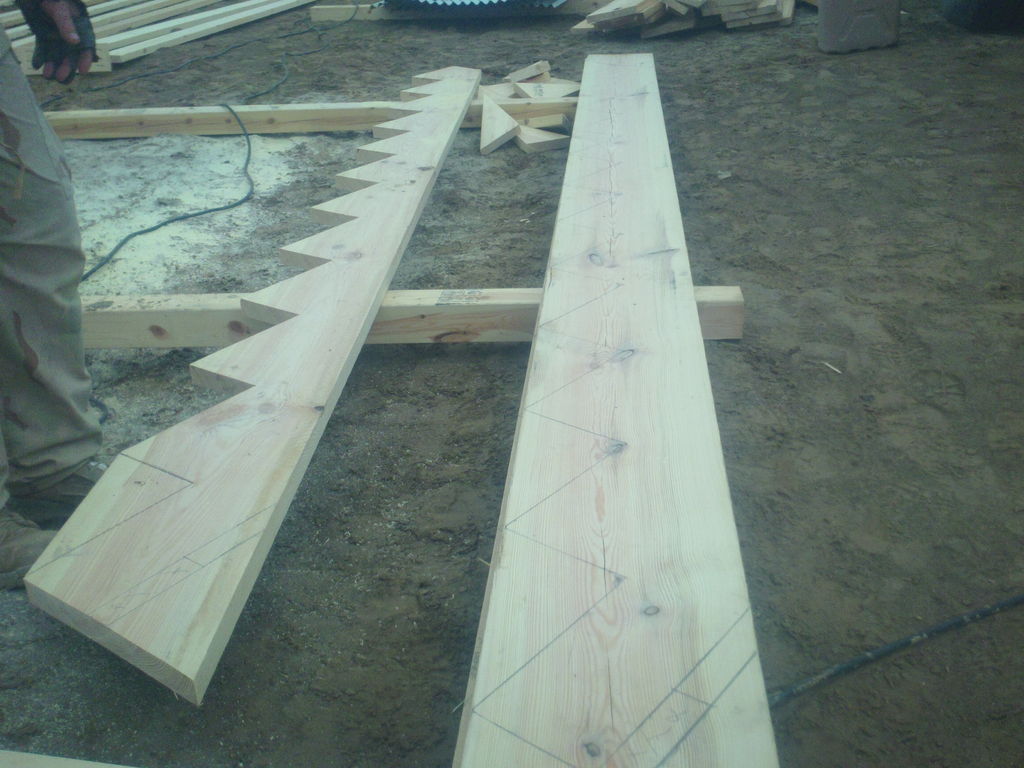
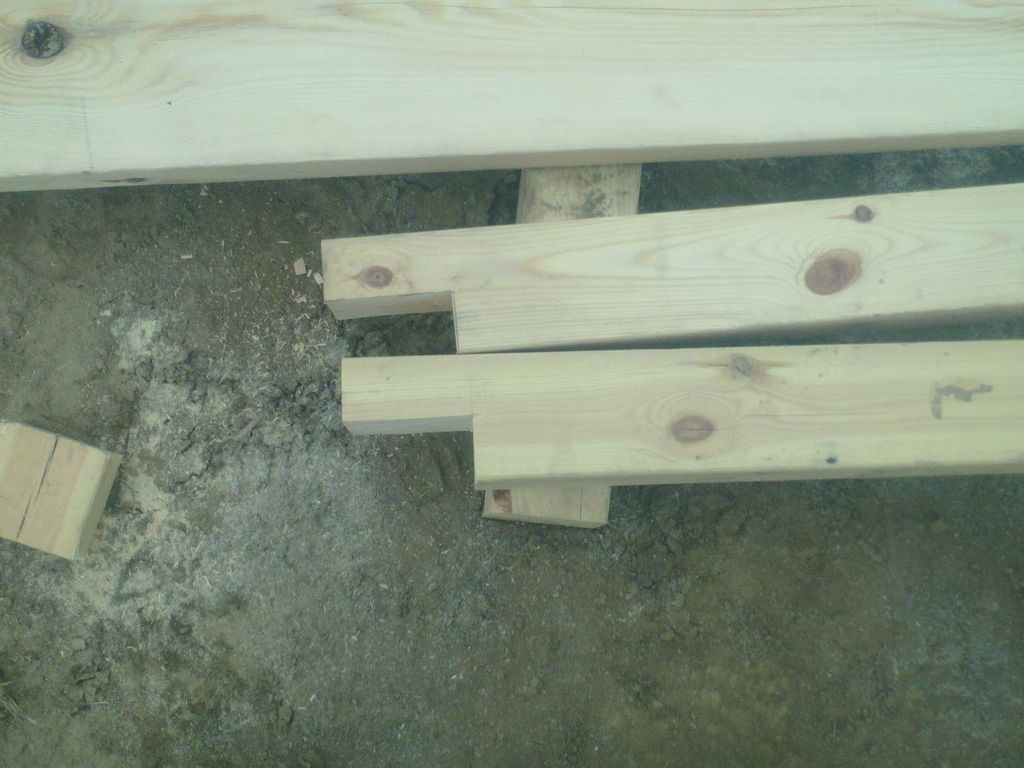
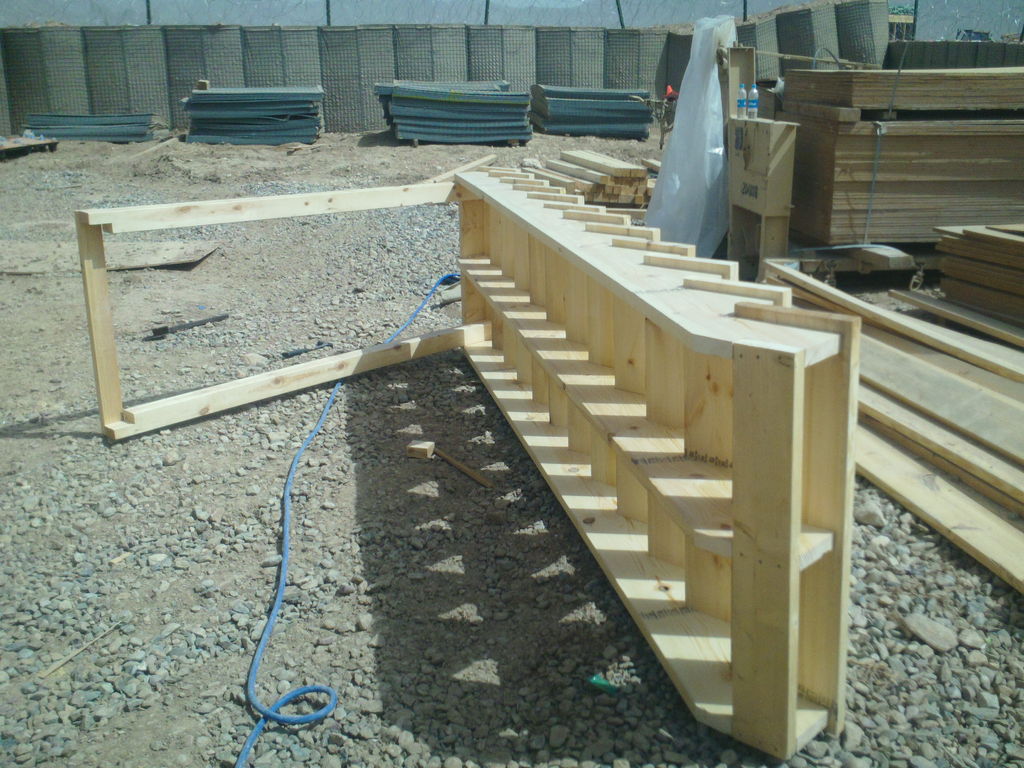
The first step is to create the supports for the stairs. You will cut saw-toothed notches in three pieces for each step. These pieces will go along the outer, middle and inner side of the frame. With these dimensions, you should be able to get 12 steps that are 7 inches tall each. The best way to get started is to take the square tool and mark two angles that will represent each “tooth” notch that you will cut. The long side of each tooth will be 10 ½ inches long and the short side will be 7 inches. The long side will be the backside of each tooth. This is where the board for each step will sit later.
Place a piece of 2x12x16 on your workbench. Place the square so that its edge is pointing toward the top of the plank, perpendicular to its length. Arrange the square so it produces a 45 degree angle. Use the side to the right for the back of the tooth (the 10 ½ inch cut) and the side to the left for the 7 inch cut. Take your pencil and trace the lines accordingly along the outer edge of each of the sides of the square and cut.
Once you’ve completed the notch, keep repeating the process until you have a series of saw-toothed triangles one after the other, with no spaces between them. For the sake of simplicity, make your first cut 1.5 and 5.5 inches above the end of the board that will represent the bottom of the staircase. This is because these are roughly the true dimensions of the 2×6 board that you be using for the front wall of the bottom of the staircase. This cut will help to make it flush. Do this for three pieces of the 2x12x16 boards. For the bottom section, you will need to cut out a notch that is as deep as the wood for the step to make it flush. You will also need to cut off a section of the bottom of the saw tooth boards after the step is installed to make them flat and level with the step. This will make more sense once you get to that stage.
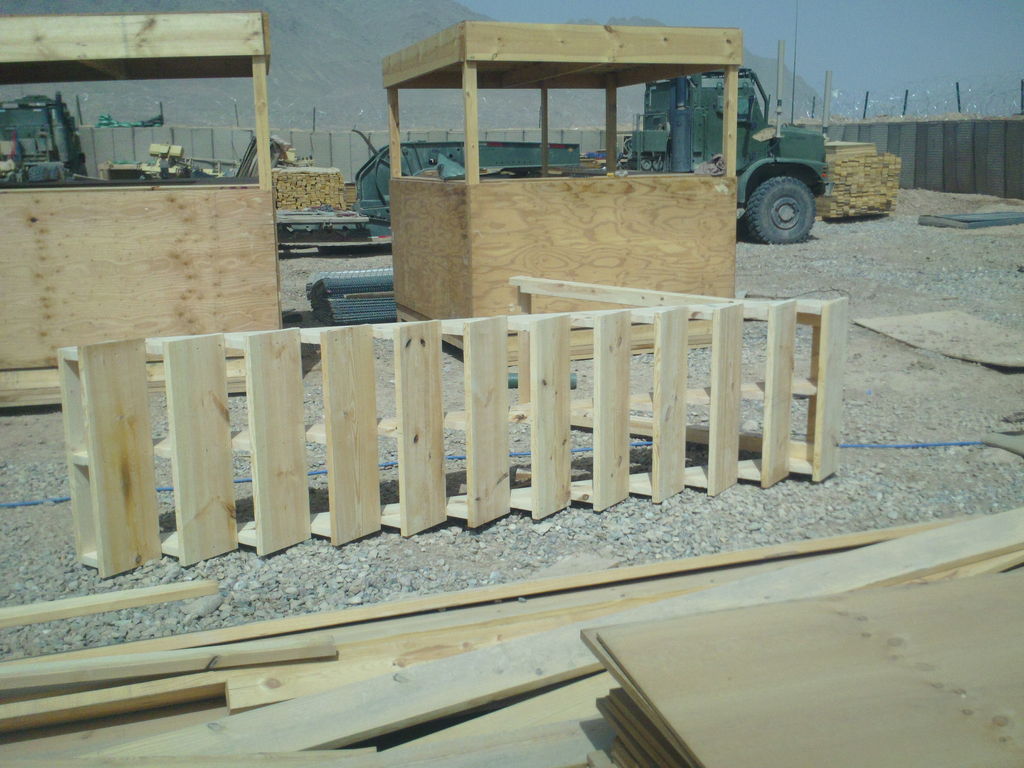
To make the stairs, trim down the three remaining pieces into 3 foot long pieces. Make the frame 33” wide by positioning the three pieces of saw-toothed planks accordingly and start nailing the steps to the board. Center them so there is an inch of overhang on each side as well as off of the edge.
Preparing the Frame
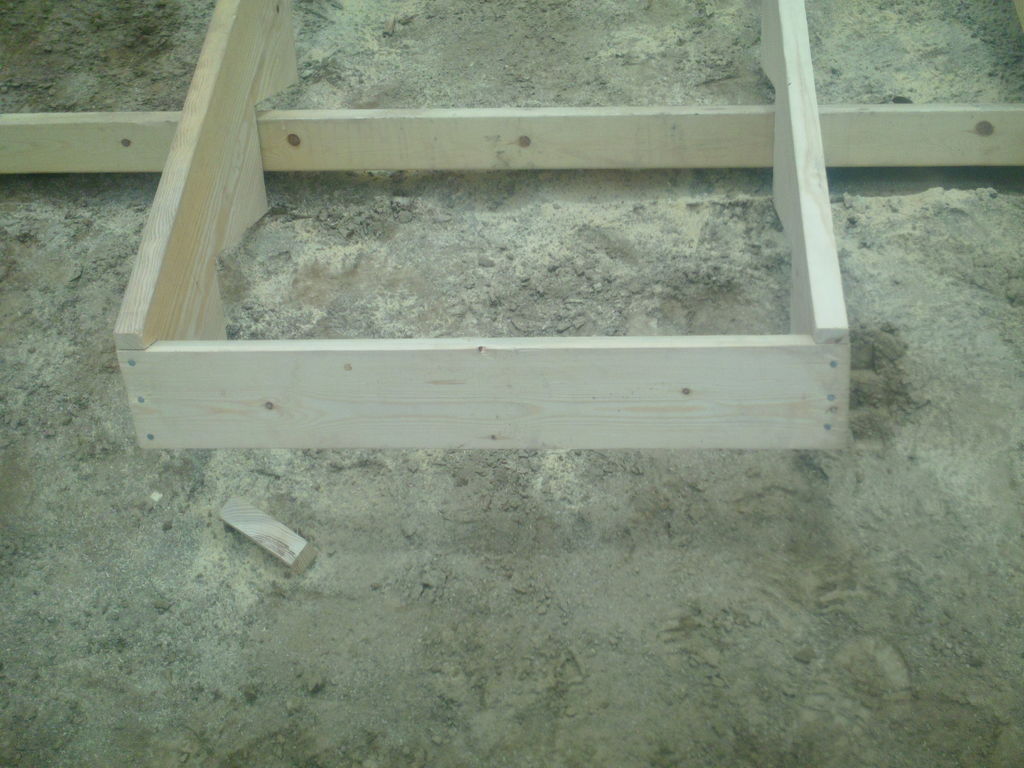
Building the frame is pretty straightforward, and you have a lot of room to improvise as you see fit. To make the part of the frame that supports the top of the stairs, take two 2x4s and nail the tops of the 4x4s into the inner sides of the right and left saw tooth boards flush against the top step. You can also nail the step to the boards for some additional structural stability.
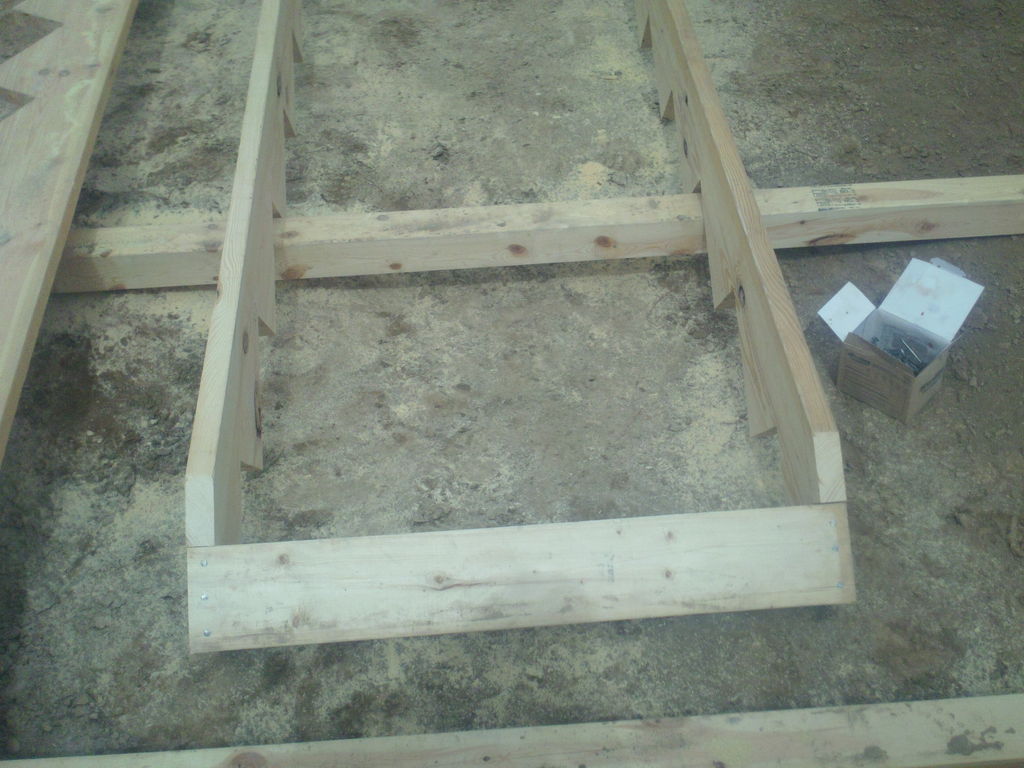
Next, take a piece of 2×4 and measure it to the width of the 2x4s from the outside edges. Nail it to the outside so that it serves as a crossbeam that rests against the bottom of the 2x4s. Next, take two 4×4 sections and cut a notch that is 4 inches long and 2 inches deep into one end of each. These boards will serve as the base. The notches will provide you with a flush fitting once they are joined to the vertical support 2x4s. Nail them together and fit the other ends of the 4x4s along the insides of the outer saw tooth stair supports.
Take 2 more 2×4 pieces and use them as a cross beam support against the vertical frame of the stairs. Trim and nail them respectively so their edges are flush with the underside and inside of the frame.
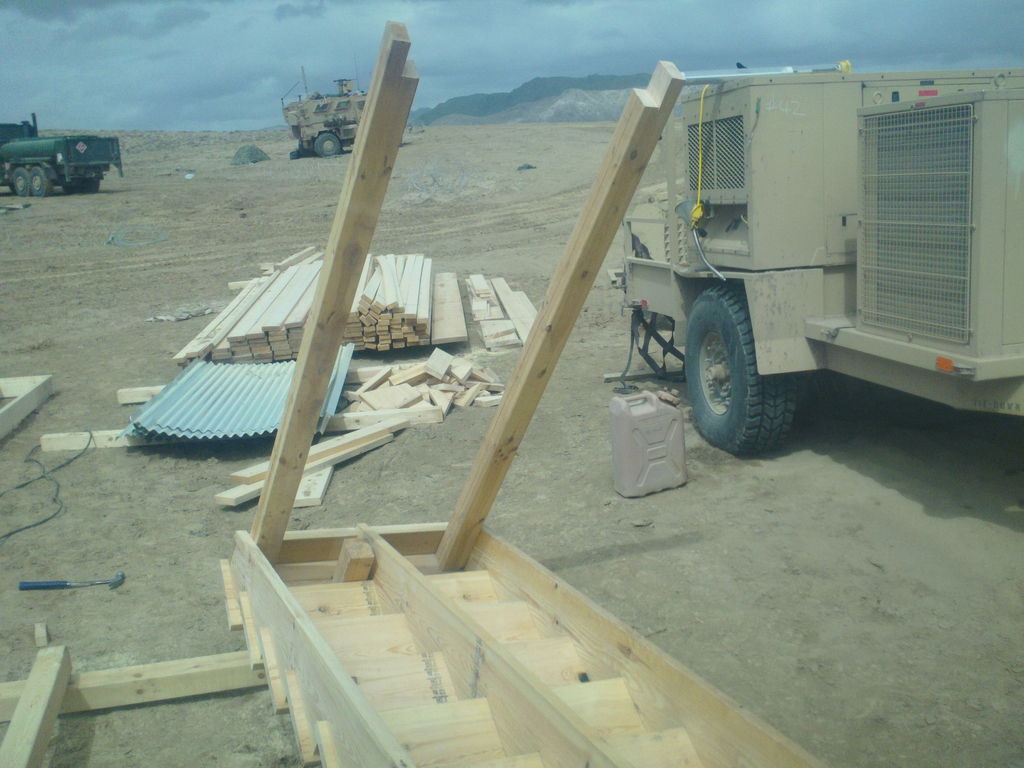
Finally, all you need to do is make the railing, and you can use a lot of improvisation with the remaining pieces of wood. Cut 3 sections of the 2×6 board and attach them to the outer side of one of the saw tooth supports, depending on what side you want the railing to be. Place one at the bottom, center and top of the stair frame. Trim the tops so the angle is flush against the railing that you will install next.
You can make the railing by taking 2 2×4 pieces and nailing one perpendicular to the top of the other one. At the end, you will have one board standing along it’s narrow edge with the top lip extending inward on its horizontal plane. Secure this to the railing and you’re good to go. Keep in mind that you may need to improvise in order to add some structural support if the railing is going to be holding weight. Consider using bolts, nuts and shims in order to make this fitting more secure. You can also use nuts and bolts for the fittings on the frame as well. The choice is totally up to you.
While this example is far from perfect, it does give you a general sense of how to make a simple staircase. Try it for yourself and feel free to improvise as necessary in order to make its design, height and stability match your needs and preferences.