How to Build a Star Fire and Why it’s Important to Learn
A star fire is one of the simplest and low-maintenance fires to construct, and it’s ideal to use in areas that are flat and dry. It was the fire of choice by many Native Americans out west for centuries, and its effectiveness is a testament to why it is still commonplace today. Let’s take a look at how easy it is to build one and keep it going all night long.
Getting Started

The first step is to build a flat fire wheel that uses fuel wood for spokes. Take logs that are at least a few inches thick, dry and ready to be burned, and place them in a star pattern where the ends all meet in the center. You should use at least six big pieces of wood for this project, but the fire works fine if you only start with four. Try to find wood that’s at least three feet long as well.
As you are positioning the fuel wood, create a space in the center that’s about 6-12 inches wide, and consider digging a small depression where you can put kindling and tinder later. This will also allow for more oxygen to be introduced into the fire. Try and keep the gaps between the spokes at least a couple of inches wide in the center as well. The object is to create a fire that will consume each spoke at an equal rate over the course of time.
Building the Fire

The next step is to gather a couple of handfuls of tinder and insert them into the center depression. You want enough tinder that will fill in the hole and provide enough fuel to ignite the kindling and larger pieces of wood, so exact amounts will vary from fire to fire. However, you should always have some extra on hand just in case you to add more at the spur of the moment. Plan on gathering a good armful of tinder, and don’t forget that you can always use the leftovers for your next fire. Keep in mind that you can use almost any dry and flammable debris, from small twigs to leaves, bark and even moss, as tinder.
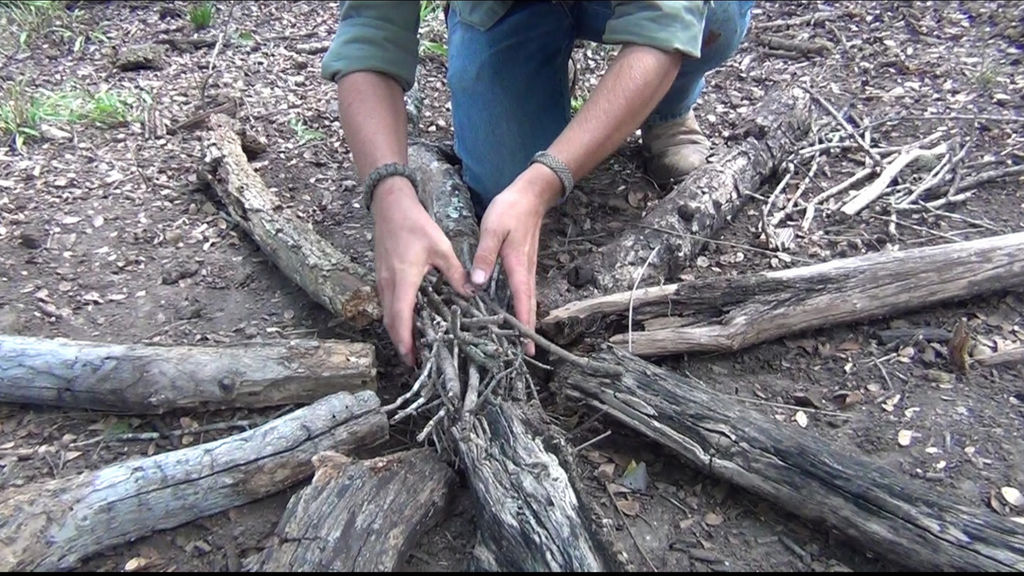
Next, take a couple of handfuls of kindling, or larger sticks and twigs, and place them atop, through, around and against the tinder. You also want to place some kindling between the gaps of the fuel-wood star as well as on top of the ends. The amount of kindling that you need will depend on how well the fuel wood burns and the overall stability of the fire. Again, try to have a lot of extra kindling on hand so you can add as necessary. You can also incrementally increase the size of the kindling pieces in order to get an intermediate fire going if necessary as well.
Maintaining the Fire
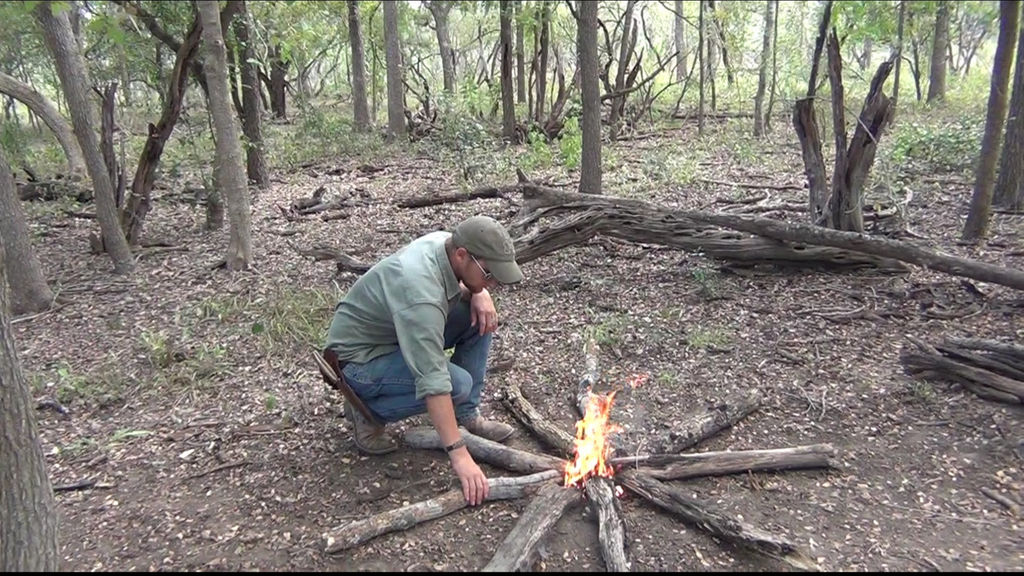
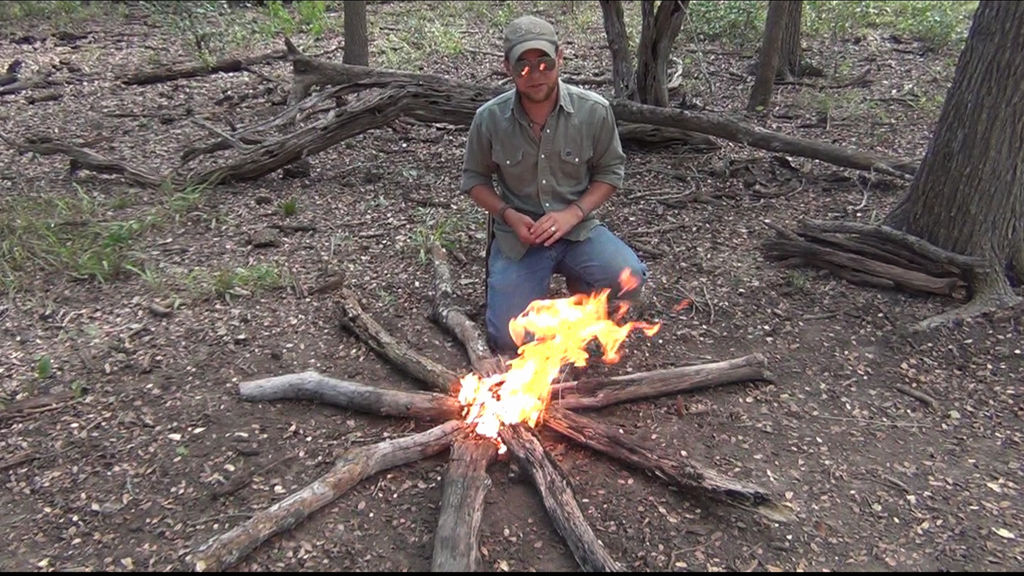
The fire is going and stable once it uses the ends of the wood from the star for fuel. Each piece should burn at the same time, and all you need to do is keep feeding the logs inward as they get consumed. The trick is to get the fire going good in the first place, and this method should keep an established fire burning indefinitely as long as you can keep feeding it fuel wood. When you want to put the fire out, simply pull back the logs or don’t replace them once they’ve been consumed.
This type of fire does not produce tall flames or cover a wide area. Consequently, it is ideal in situations when you need a little heat or flame but not a large campfire. The only drawback is that it is not a fire that works well in wet or rainy conditions. However, it is pretty resilient in windy conditions.
Try it out for yourself, and see how the star fire can be a nice addition to your fire-building bag of tricks.