You can never have too many options when it comes to making improvised candles, lanterns or lamps. One simple, yet highly-effective trick is to take a piece of a mop head and use it as a wick. Follow the steps below, and you can turn your mop into an emergency lantern that can burn for hours. The best part of this trick is that you don’t have to destroy the mop in the process.
Getting Started
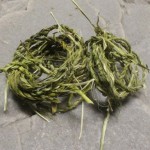
All you need is a strand of material from the mop head, a hanger or metal wire and some cooking oil. If you decide to use the wire, make sure that you choose one that is sturdy enough to hold the mop string in place while the lamp is burning. Anything above a 10 gauge should be fine.
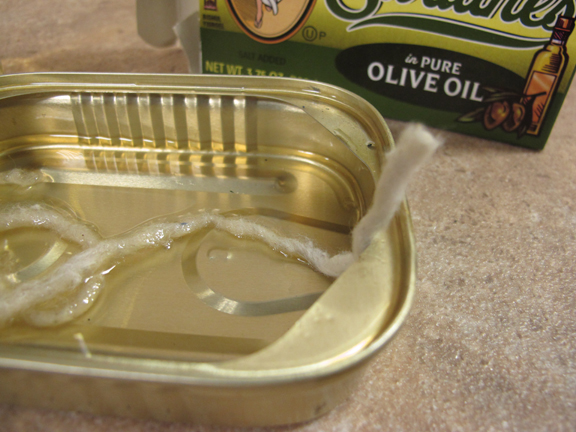
The first step is to cut off a piece clean and dry mop string. Then, place it in a bowl that is filled with cooking oil. You can use any type of oil that you like, but olive oil works best because it doesn’t produce a foul, smoky odor when burning. Let it soak for a couple of minutes while you start to fashion the holder from your hangar or metal wire.
Preparing the Holder
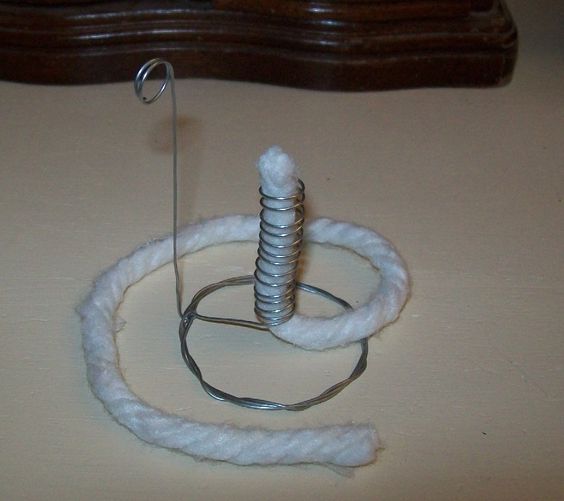
You want to create two sets of coils. One will serve as the base to support the lamp while the other will keep the wick secured in a vertical position. It’s better to work from the top down to ensure that you have enough material to make the coil as well as the base. The idea is to fashion a coil by wrapping the wire around the mop string. You can make the coil as short or tall as you like. However, if you make a short coil, you will have to manually feed the mop string through as the fire slowly consumes it from the top. If you make a long coil, it will hold more of the string and be more self-sustaining. Each option has benefits and limitations, so try them both and see what one works best for you.
You may also want to create a handle so you can move the lamp from place to place without worrying about getting burned. The first step is to make a small coil with one end of the wire that is about the size of a key ring. This will be where you grab the lamp later. Next, start to make a series of coils around 2-3 inches below the handle section. Simply wrap the wire or hangar around the mop string and keep repeating until you’ve achieved the size you want. It should resemble a spring when you’re finished. Bear in mind that you want the coil to be snug in order to hold the wire in place. However, if you make the coil too tight, then it will be difficult to feed the wick through as it burns.
Then, leave another couple of inches of wire intact at the bottom of this coil before you fashion the base. To make the base, all you need to do is make a larger coil that is at least 3-4 inches in diameter. Make a couple of passes to create a double or triple ring for added stability. Keep in mind that you may need a larger coil to support the lamp, especially if you are using a tall “spring” in the center. Experiment a bit to make the base coil big enough to keep the vertical wire and wick from tipping over once placed on the table or floor.
Starting the Lamp
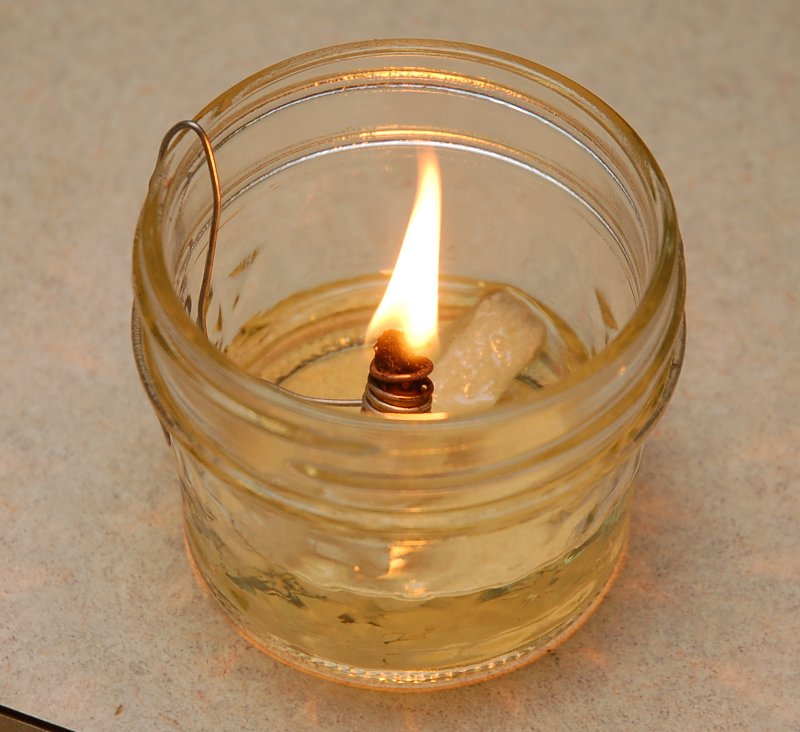
All you need to do now is place the lamp in a safe area that is not near any flammable items. Light the end and you’re good to go. As mentioned before, you may need to feed the mop string through the coil to keep it burning for longer periods of time. You can do this with something like a needle nose pliers or a pair of tweezers. Just keep feeding the wick up through the coil until it gets too short.
This simple trick is intended to illustrate the basic setup, and there are many ways to tinker and improvise to make it better. One alternative is to use the same coiling method, but use a crayon as the wick. Try this out for yourself today, and see how this easy project can provide you with an excellent source of light when other options are not available.