Accessing a steady and efficient way to generate light will come in handy during any survival situation. The good news is that you don’t need a flashlight or lantern to provide you with lighting options when the electricity goes off. Here are a couple of neat little tricks that you can do with some very basic supplies, and they only take a couple of minutes to put together.
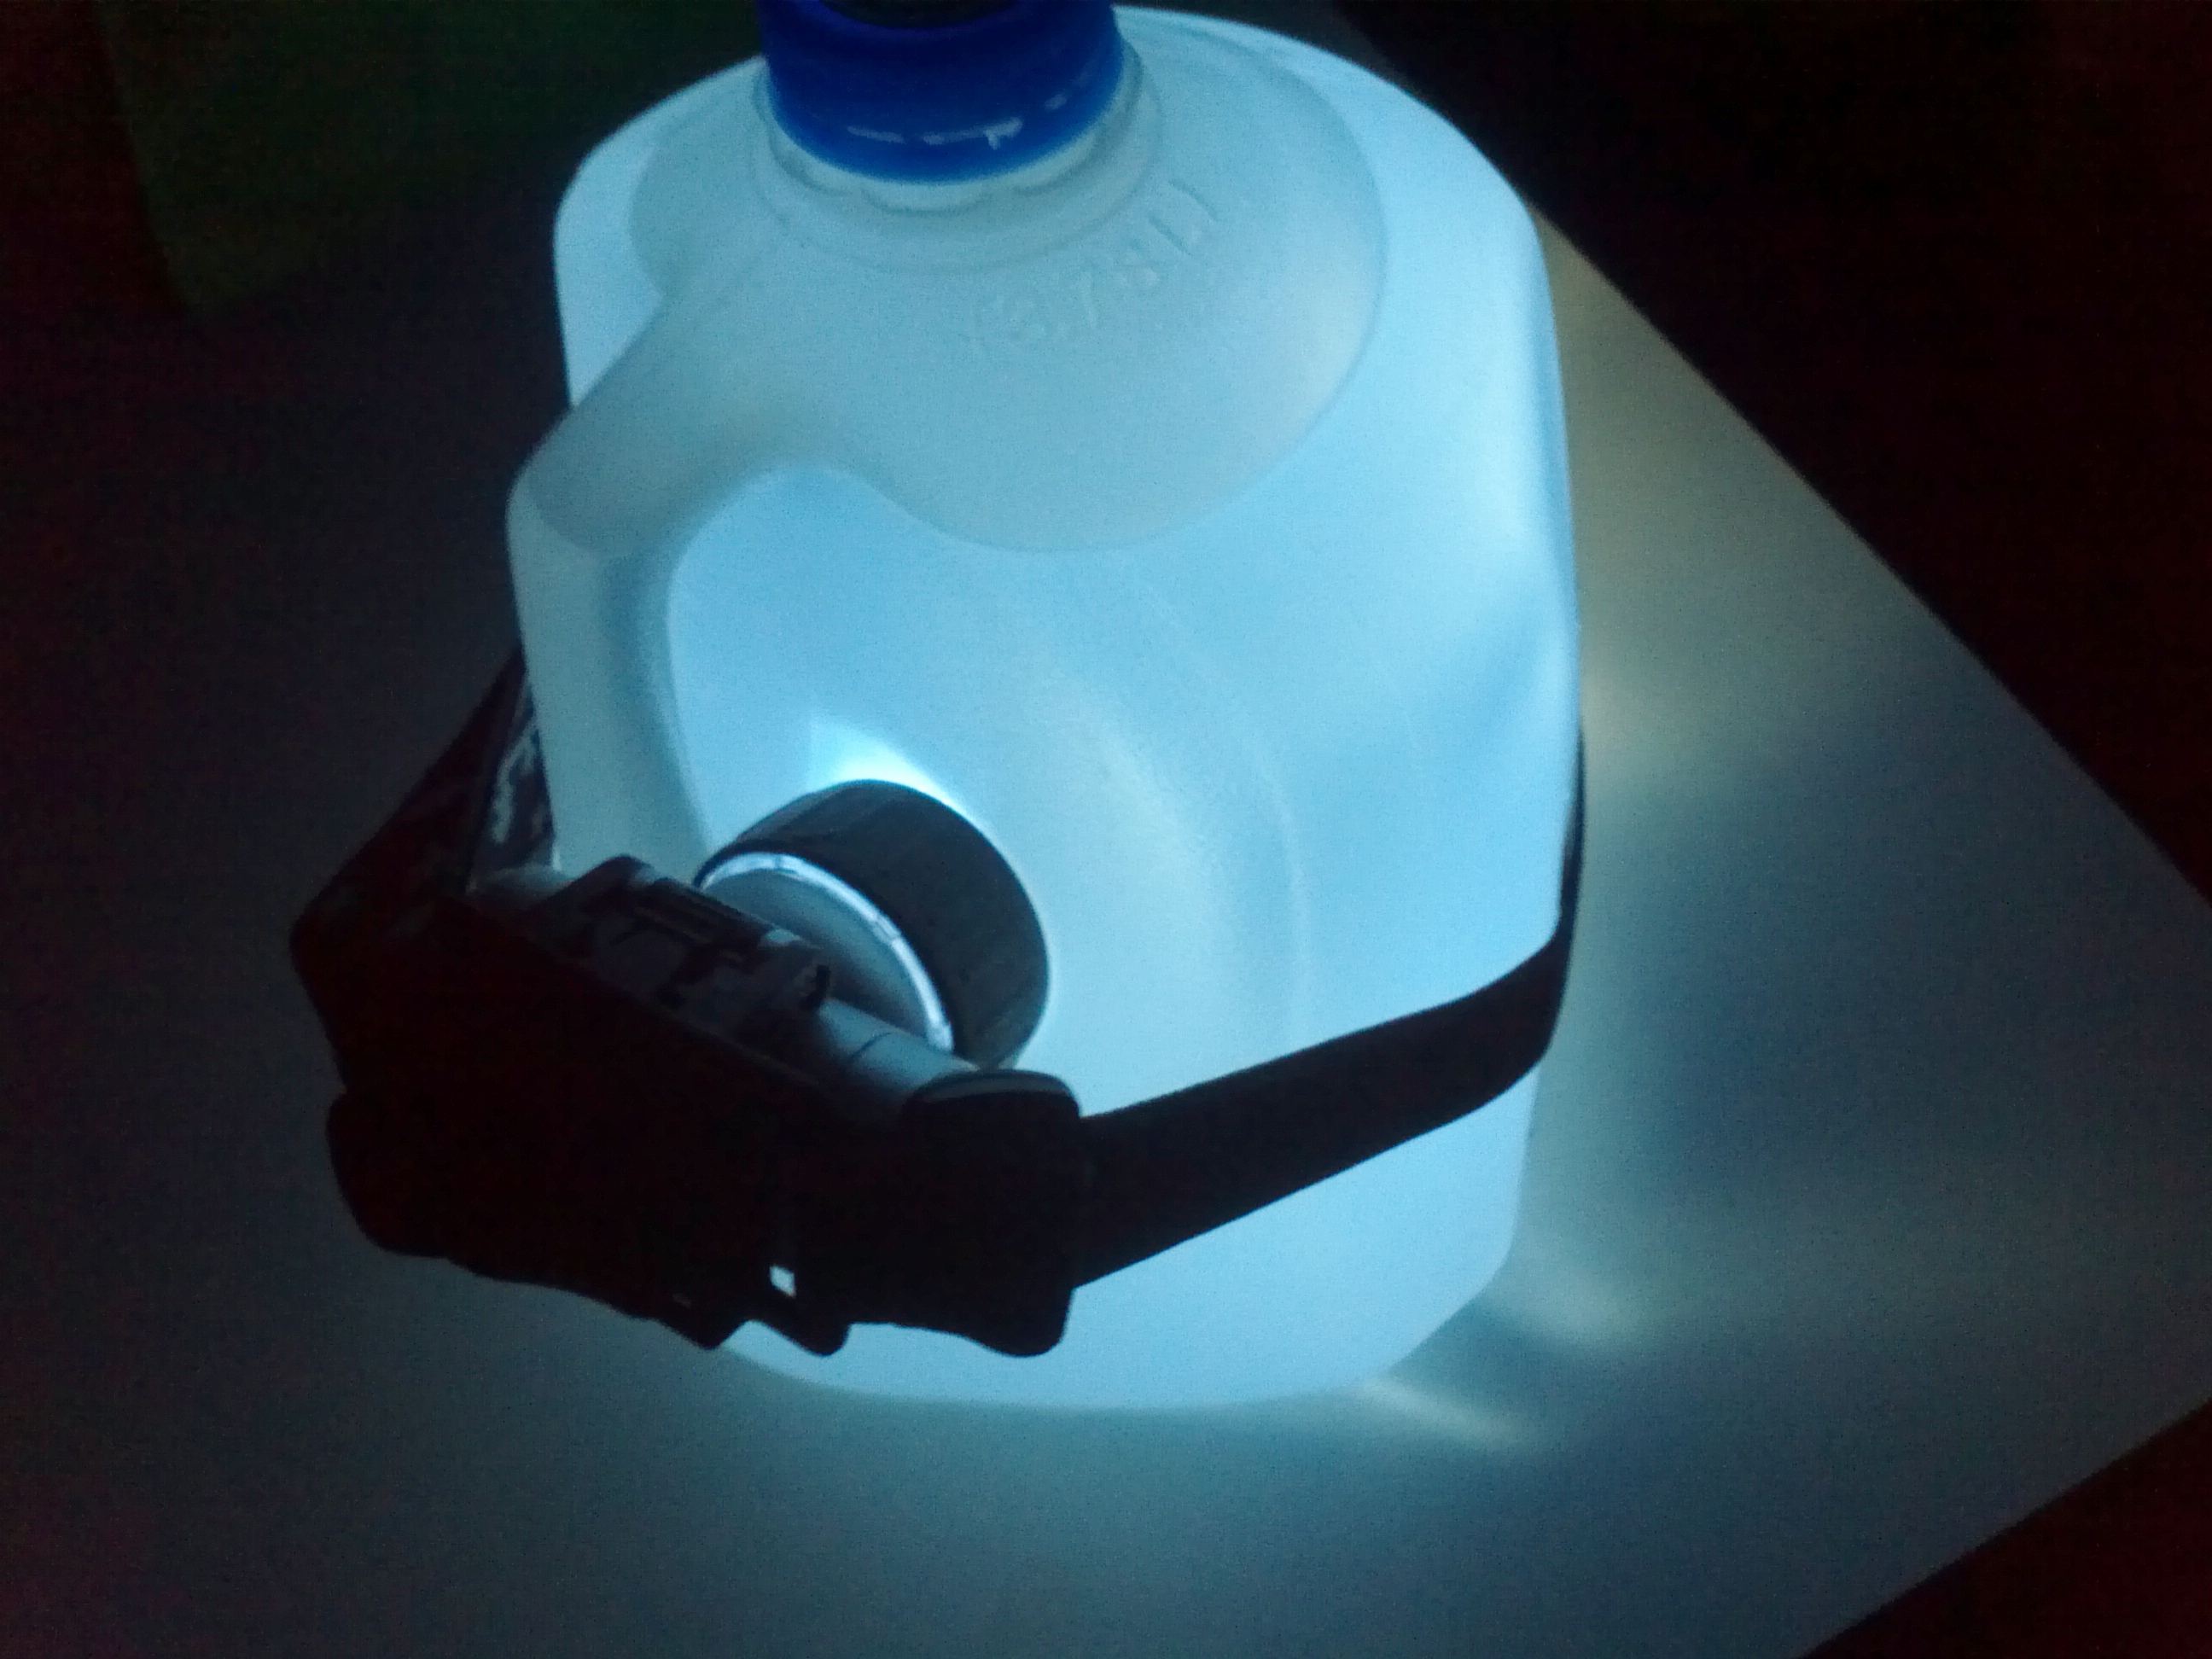
Water Bottle and Head Lamp
Wrap a head lamp around a large bottle of water (a gallon size), preferably with the label still on it. Make sure that the lamp is pointing inward and that the strap is securely attached to the bottle. Turn on the lamp, and watch the intensity of the light become magnified due to the water. If you have a bottle with the label, place the lamp on the opposite side. The light will bounce off of the back of the label and create a brighter glow. This is especially true if you are using a LED bulb, and you can even turn the bottle into a directional light if the label is big enough.
This is an easy, safe and efficient way to provide ample light for reading, cooking or simply illuminating an room. The only drawback is that you need to have enough batteries to keep the head lamp working. Make sure to always use your energy reserves sparingly, and don’t leave the light on if you don’t need it. However, when lanterns, candles or fires are not that practical, this method may provide a good alternative to consider.
Build a Makeshift Flashlight
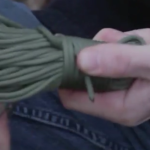
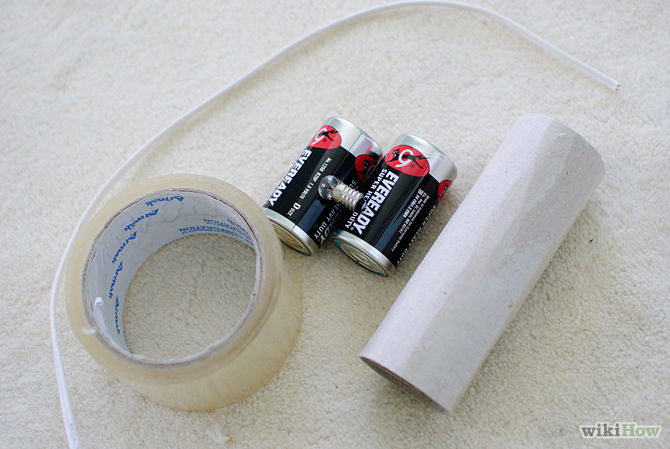
Do you have an extra bulb but not an extra flashlight? You can build your own if you have a couple of batteries, some tape and some paperclips in a few seconds. Ideally, you want to use c or d sized batteries and have some electrical tape on hand. However, you can use other types of tape as well, but they may not be as sturdy or conductive.
The first step is to tape the batteries together, end over end. You only need two in order to make a flashlight that will fit snugly in your hand and get the job done. However, you can use three if you have enough tape to secure them together. The next step is to unravel the paperclips and stretch them out. You want to use the paperclips to connect the bulb to the battery while also creating a conductive current. You will probably need three paperclips to make a secure fit, but you can get by with two if you are using smaller batteries.
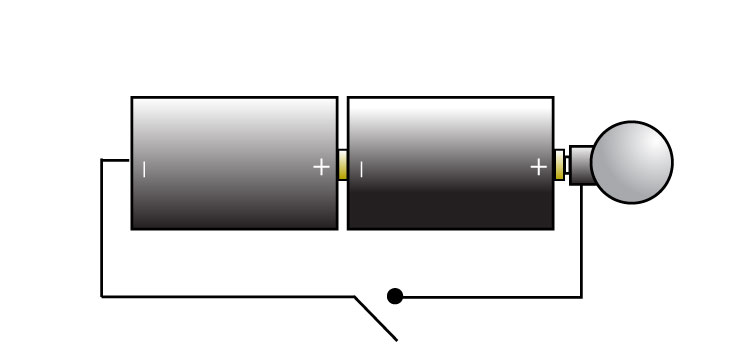
Place the ends of two paperclips together, side-by-side and tape them so they securely make contact. Bend about ¾ inch of paperclip on the top and bottom at a 90 degree angles. Tape one end to the bottom of the battery. Place the length of the paper clips along the battery and make sure that the top bend of the paperclip fits snugly across the top terminal. Take the lamp and tape it to the outside of the top of the paperclip and then secure the bottom of the paperclip to the top of the battery. Once this connection is made, the bulb will light up and you will have a makeshift flashlight that may come in handy during a pinch.
Don’t get caught in the dark when the power goes off. These two small tricks can help to ensure that you have light when you want and need it, and it only takes a few seconds to put these hacks together.