Tanning hides is a skill that extends through the ages, but has been largely forgotten in our modern culture. However, learning how to prepare your own animal skins can open a lot of doors of opportunity in a survival situation. The process is relatively simple, requires very little material and can produce a lasting and useful product. The following steps will illustrate the basic steps in the process, and with a little bit of practice, you can make anything from your own coats to coverings.
Preparing and Salting the Skins
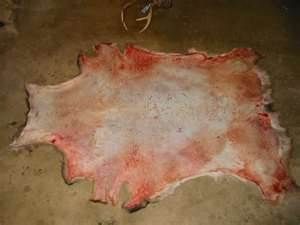
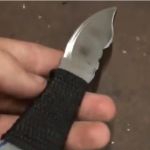
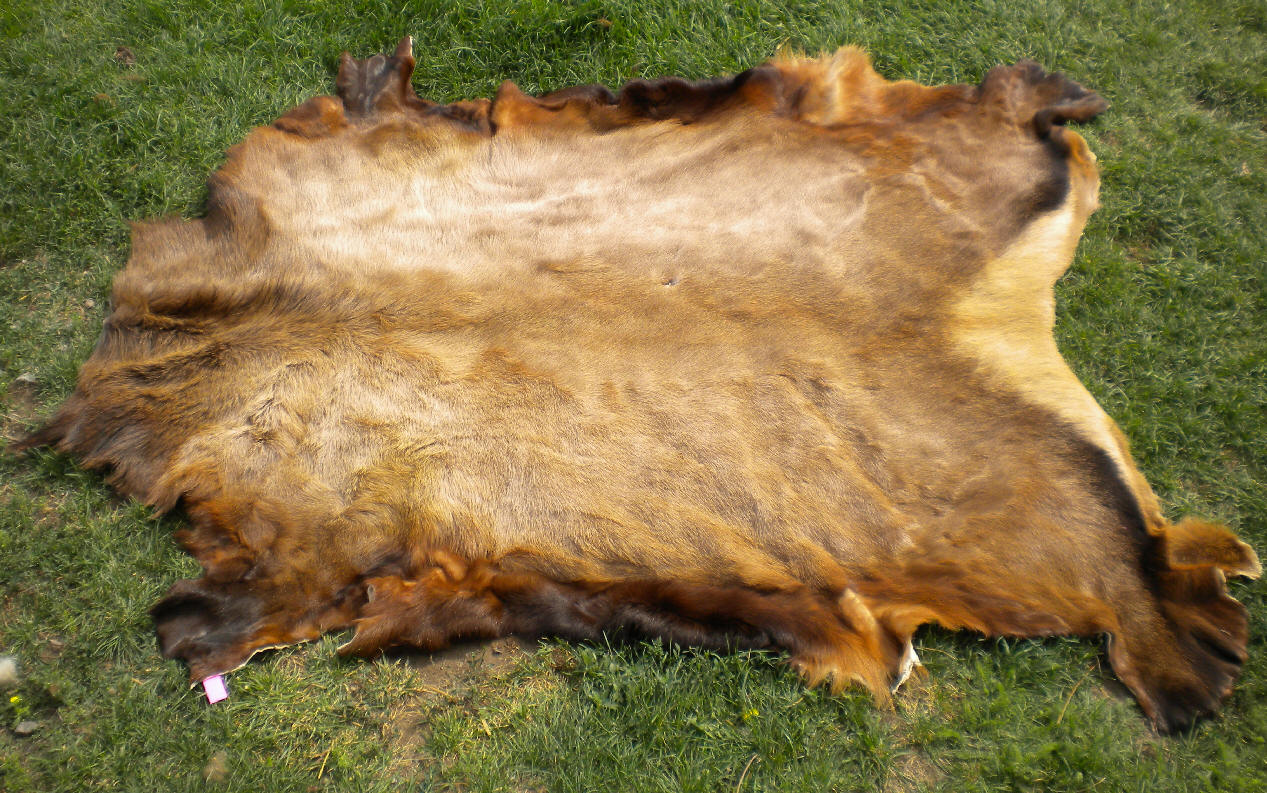
The first step is to remove any flesh and fat from the animal skin by scraping it off with a knife. You can use a fleshing knife, which is specific for this purpose, or you can use anything from your survival knife to a piece of flint. However, it is very important that you do not gouge or tear any holes into the skin. Take care to remove every bit of material from the hide as well in order to reduce the chances of rotting and spoilage.
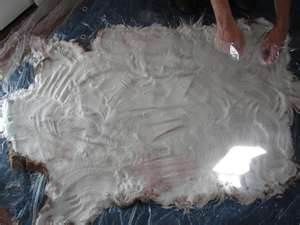
Once the flesh has been removed from the skin, you want to pour a generous amount of salt over the entire surface. Pay particular attention to areas that are thicker or have more moisture present. Once the salt starts to draw out the water, you will notice some spots that are damper than others. Add more salt to these areas and continue to wait as the minerals dry out the liquid. You may need to apply numerous coats of salt depending on the size and thickness of the animal skin.
Allow the skin to dry until it has a crispy consistency, and always keep them flat. However, you don’t need to stretch the skin during this part of the process.
Soaking
There are a number of ways that you can wash and soak your skins from using brain matter from the animal to special acids that are commercially available. For the sake of simplicity, let’s look at a simple recipe that will get the job done as easily as possible while minimizing risk as well.
Salt and Alum
Add one pound of alum powder to every gallon of warm water you will be using. Add 2 ½ pounds of salt per gallon of warm water into another container. Slowly pour the salt water into the alum water and stir. Prepare the mixture the same day you will be soaking the hides. Add the skin, slowly stir and let soak for a few days, stirring every few hours.
WARNING: Never use a metallic stirrer. Always use wood, otherwise the solution as well as the hide will become discolored and possibly give off a foul odor.
Remove the hide from the solution once the skin has become soft, but before the hair starts to fall away. Gently rinse with running water until the solution has been completely removed. Place the hide on a plank or board and tack the edges to the surface. Stretch the hide, but don’t pull so hard that the skin tears or becomes visible from beneath the hair. Let dry in an area without direct sunlight for about a day.
Mix equal proportions of neatsfoot oil and water along with a tablespoon of ammonia for every 8 ounces of solution. Rub the solution into the hide, cover with plastic and allow to rest overnight. Repeat the process until the hide is soft, but expect to do it at least twice.
There are lots of variations to this basic recipe, and you can experiment with professional solutions instead of using alum. However, many products are caustic and can damage the skin of the animal as well as the tanner. Just remember that practice makes perfect, but once you get the hang of things, you will be tanning like a pro.