Loading up on cans of beef stock or bullion cubes is one way to ensure that you have enough to compliment your food stockpile. However, it can be expensive and many commercial products also contain additives and preservatives. Follow the recipe below and see how you can easily make your own stock through the course of normal cooking.
This will allow you to take greater control over what your family eats, boost nutrient intake and save money at the same time.
Main Ingredients
3 lbs of beef bones
3 large stalks of celery
3 large carrots
1 large onion
1 bulb of garlic
1 tablespoon of pepper or crushed peppercorns
1 tablespoon of sea salt
3 tablespoons of apple cider vinegar
Lots of cold water (enough to cover all of the ingredients later)
Herbs for seasoning (optional, as desired)
Preparing the Ingredients
You don’t need to peel and finely-dice the vegetables for this recipe, since they will be discarded after cooking. Give them a good rinse before cutting them into medium-sized pieces, including the tops and bottoms, and place them in a large bowl.
Preheat your oven to 350 degrees, place the beef bones into a roasting pan with a little bit of water and bake until they become brown. This will enhance the flavor and prepare them for the slow-cooking process later. Consider using gelatin-rich bones such as the tail since they contain more nutrients. However, any bones will do as long as they have marrow and some blood inside of them.
Remove from the oven once browned and place the bones and juices into a large stockpot or slow cooker along with the vinegar. Add the vinegar and water and allow to simmer over low heat for a few minutes. The vinegar will help to draw out the marrow, blood and other nutrients from the bones.
Add in the vegetables, herbs, salt and pepper. Keep in mind that you don’t need to over-do the seasonings, particularly salt, because the flavor will increase as the stock is stored over time. You can always add more if needed later. Pour cold water over the ingredients until they are completely covered. Bring up to a simmer, cover and allow to cook for at least 24 hours. Yes, 24 hours.
Some recipes suggest that you can cook for 8-12 hours, but this really is not enough time to extract every last bit of nutrition and flavor from the bones. You can cook it up to 36 hours if you prefer as well, especially if you are using marrow-rich bones. Stir occasionally to prevent the items from sticking or scorching the pan, and add water as necessary to keep everything covered. Essentially, you are making a long and slow-cooked beef stew, just without the beef.
Straining and Storing
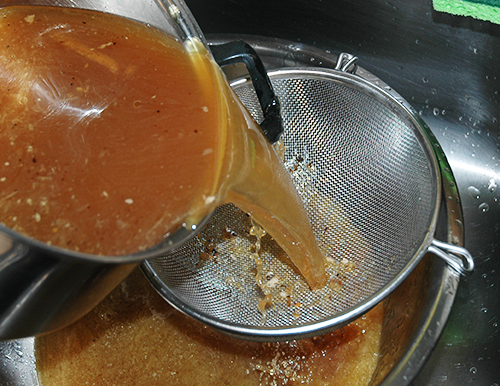
Remove the stock from heat and pour through a strainer, colander or cheesecloth into a large bowl that is in your sink. Pour slowly, in stages, and mash the vegetables as you go in order to extract as much juice as possible. Remove the mashed vegetables and repeat the process until all of the liquid has been strained.
All you need to do now is allow the mixture to cool a bit before pouring into sterilized mason jars. Leave about ½ inch of headspace before sealing. You can also allow the stock to cool until the fat that is on top solidifies. You can skim the fat, discard or use for other purposes. This will significantly reduce the flavor and texture of the stock, but it will also make it much healthier. You can also remove a portion of the fat to make a “light” blend as well.
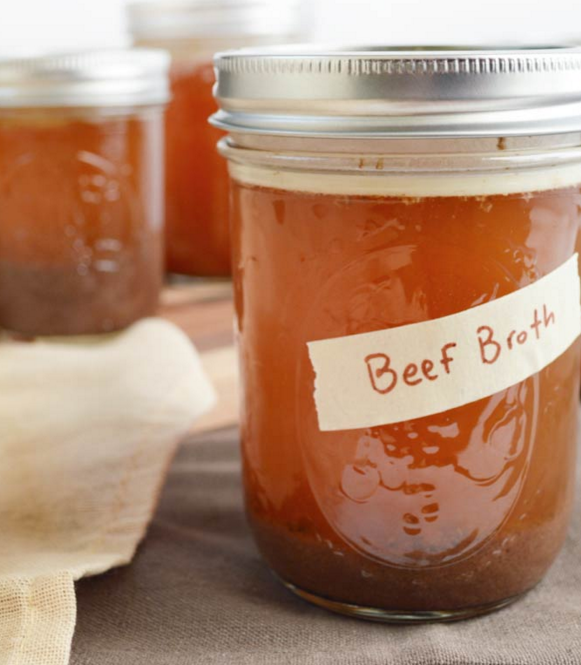
Make sure to label and date the stock. Refrigerated stock should be used within 3-5 days whereas frozen stock can last up to six months if the jars are properly sealed.
Try this out for yourself and see how this simple process can give you better tasting stock without all of the additives that are found in store-bought products.