

You can create a mini-solar heater that is powerful enough to heat a bottle of water with some plastic bottles and a reflective vehicle sun shade. This is an excellent way to have some hot water available for re-hydrating foods or uses that a fire may be a waste of energy to accomplish. Take a look at the following steps and see how this trick is ripe for improvisation and scaling-up. It is easy, inexpensive and very effective.
Required Items
1 500ml Nalgene plastic bottle
1 liter regular plastic soda bottle
Duct tape
Metallic duct tape
Velcro strips that are self-sticking
1 shiny metallic reflective auto shade that is flexible
Black matte spray paint
You can use larger plastic bottles to create a bigger heating system as long as the soda bottle is twice as big as the Nalgene one. It is essential that you use Nalgene because this type of plastic does not release carcinogenic compounds that other bottles produce when heated. This is especially true with PET plastic bottles that contain most of our sodas, juices and drinking water. PET plastic can also melt and deform when heated with the method outlined here as well. Nalgene bottles tend to be made from thick plastic that is white or cloudy in color and are designed to hold heated liquids without releasing any toxic compounds.
Preparing the Bottles

The first step is to clean out the bottles and remove any labels. Take the Nalgene bottle and spray it with a thick coat of the black matte paint. Apply a second coat if desired and allow it to completely dry. The next step is to cut off the bottom third of the larger PET bottle. Insert the Nalgene one inside and re-attach the bottom piece to the PET bottle and seal with duct tape. The purpose for the PET bottle is to act as an insulator that will trap hot air inside and warm the Nalgene one that contains the water.
Preparing the Auto Shade

Unfold the auto shade and cut a rectangle that is approximately 20 x 24 inches. The next step is to make four diagonal cuts that start at each corner and extend inward at a 45 degree angle. Take a few strips of duct tape and apply them vertically along the internal edges of the cuts along the non-reflective side of the shade. The strips should touch the bottom of the top cut and the top of the bottom cut. Next, take the metallic duct tape and reinforce the creases that border the internal edges of the ends of the cuts on the reflective side as well. This will give the shade more rigidity and keep it from collapsing in on itself later.
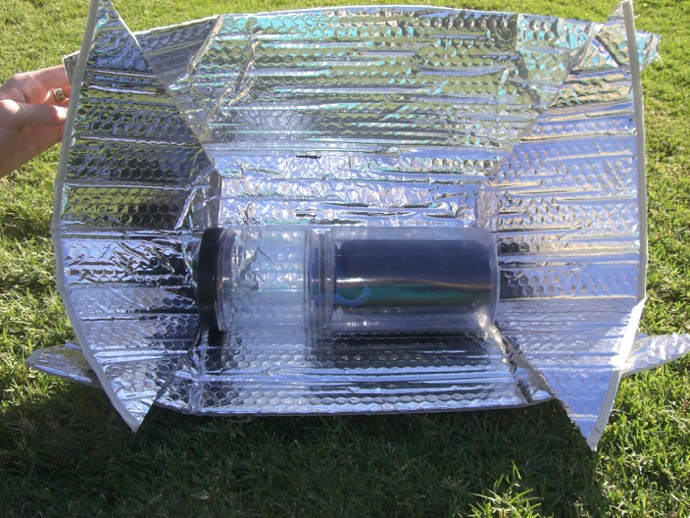
Apply velcro strips to the flaps on the shiny as well as the dull side of the auto shade along the cut-lines that you made earlier. You will need four pieces for each side. This will allow you to create a basket that bends the reflective side inward while still letting the shade retain its shape. Place it on the ground, leaning it against an object and angle the shade toward the sun. Put the bottle inside and let the reflective material work its magic.
The Nalgene bottle can reach temperatures in excess of 190 degrees after a couple of hours, depending on how you angle the unit and the intensity of the sunlight. Try it for yourself, and you will discover that this project is flexible enough to allow for a lot of modification and improvisation. This is an excellent option for heating water for use later, and the system is compact and lightweight. This makes for a perfect addition to a bug-out bag or backpack, and you can save energy by letting the sun warm the water instead of building a fire or using precious fuel.
More Articles From This SIte
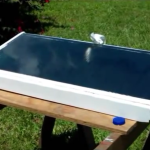 A Small Homemade Solar Still
 Are You Able to Fix What’s Broken?
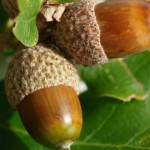 The One Secret You MUST know when Harvesting Wild Acorns
 How to Make a PORTABLE Camping Stove From a Can
 Top Natural Anti-Inflammatory Remedies to Keep Stocked
 Rain Barrel System 220 Gallons SHTF Water Storage Prepper Survivalist how to build make


