How to Make a Rudimentary but Sturdy Emergency Rope Ladder
There are limitless uses for a good rope ladder during a survival situation, and you can make your own by following a few simple steps. The example below illustrates how to make one by using some good rope and cylinders of wood or dowels. Take a look at the process and see how learning this skill can be an important addition to your survival bag of tricks.
Getting Started
The first step is to determine how long the ladder needs to be, and how much rope and rungs you will need. A good rule of thumb is to space the rungs about a foot apart. You will need to factor in at least three extra inches of extra rope on each side of each rung that will be used to tie them in place. You should also add about two-three extra feet of rope at the top for attaching the dowel and overhang. Add these to the overall length of the rope to ensure that you are working with enough material.
Cut your dowels for the rungs to size and then fabricate the top dowel so that it is longer than the window frame that will anchor it in place. Next, choose the appropriate rope or cordage based on how much weight it can support. The diameter of the rope will vary based on your needs, but try to choose one that is as narrow as possible. This way you won’t need a large drill bit to bore the holes in each of the rungs and anchor dowel. Once you’ve determined the diameter of the rope, you can then decide what type of drill bit you will need.
Take your drill and bore holes about ¾ to 1 inch from the ends of each rung and two inches inside of the anchor dowel. Make sure that each rung and the anchor have a hole on their left and right sides.
Connecting the Rungs
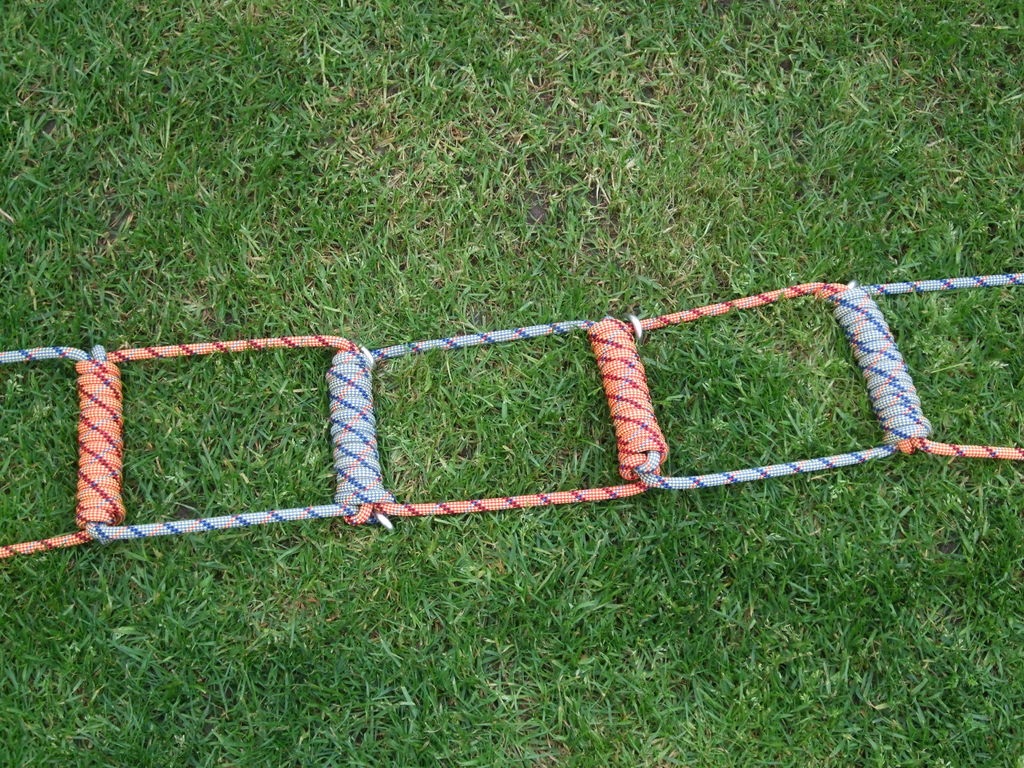
The next step is to attach the bottom rung to the ends of each rope and tie them off with a basic stopper knot. Place the rung directly atop the knot and then make a slip knot on top of the rung before pulling the rope tight. Measure the distance between the bottom and next rung before making another stopper knot on each side with the long, free end of the rope. Pull tight before inserting the next rung and letting it rest on this knot. Make another slip knot before pulling again. Keep repeating the process until all of the rungs have been secured to the rope.
Connecting the Dowel
You should have at least three feet of rope left once the last rung has been secured. Make one more stopper knot for the bottom of the dowel after deciding how much space you need between the top rung and the anchor dowel. Once the knot has been tied, place the anchor dowel over it and add another stopper knot for the top. Pull on the rope to secure the fitting.
All you need to do now is roll up the excess rope around either side of the anchor dowel until the top rung is resting against the knots. Carefully roll the ladder up so that it can be deployed simply by letting it drop out of the window. You may need to improvise how to roll or store the ladder to prevent the rope from getting tangled. Feel free to experiment with different options until you find the one that is best for you.
Try this simple project out for yourself today, and see how easy it is to make an effective emergency ladder that can be installed near any window. This simple resource may end up becoming one of the most valuable survival tools that you have at your disposal.