How to Make a Rudimentary Coffee Maker
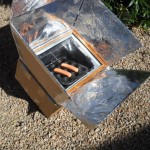
Have you ever wanted to learn how to make an improvised coffee maker that could be used out in the field? Here’s one example of a simple project that only requires a few tin cans, a survival knife and a little bit of ingenuity. Follow the steps below, and you can almost duplicate what you are accustomed to brewing up at home.
Getting Started
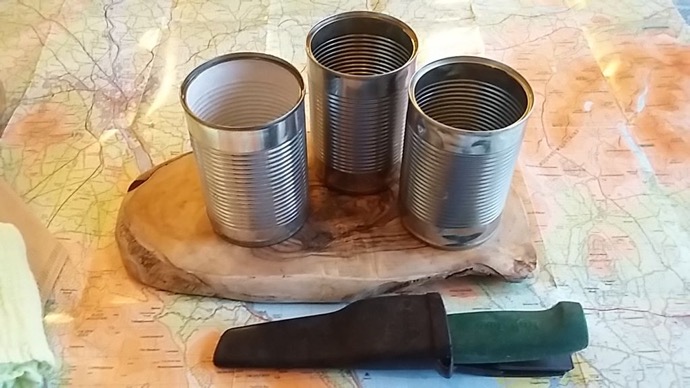
The first step is to find three cans that aren’t too big or too small. This depends on your needs as well as how much coffee you need to make at any given point in time. Rinse out the cans, make sure the lids are removed on each one and remove the labels. File down any shards or barbs of tin that may be protruding from the lid as well.
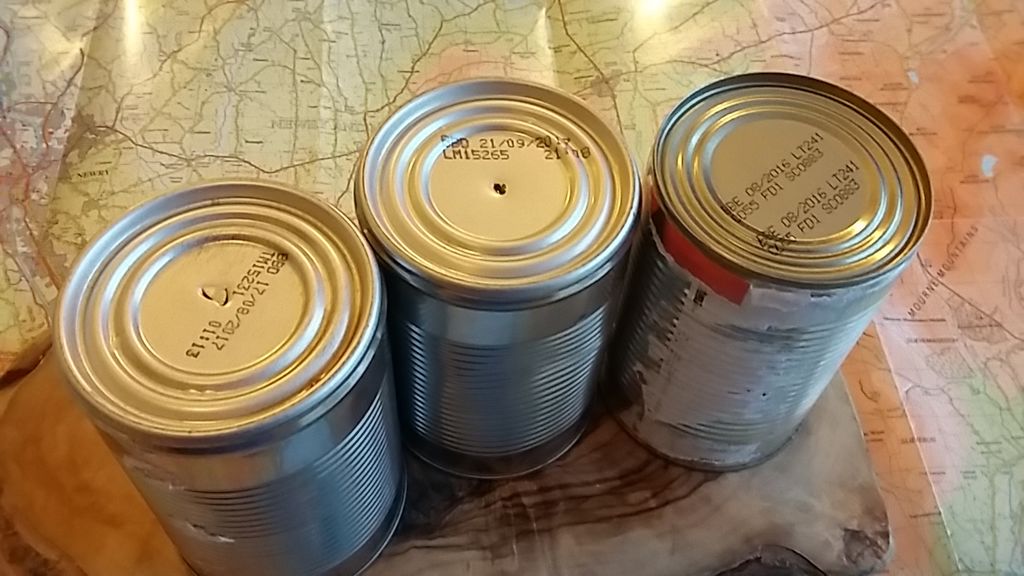
Next, take your survival knife and poke a few holes in the bottom of one of the cans. This will be the percolator that drips the coffee into the receptacle once everything is put together. Add as many holes as you like, but remember that the coffee will pass through more quickly if you have a lot of holes. Start with a few and then add more as necessary until you get the optimal flow rate.
The next step is to do the same thing with the can that will serve as the dispenser. This will rest atop the percolator and send water into your filter and over the grounds. You want the holes to be numerous enough to allow water to flow at a rate that will fill the filter below without causing it to overflow. The last thing you want is a whole bunch of grounds getting into your coffee. Again, start with a few holes and run a couple of tests until you get things just right.
Putting Everything Together
All you need to do now is place the filter and coffee inside of the middle can. However, to keep it anchored in place, wrap the top of the filter around the outside of the can. Or, you can also sandwich it between the dispensing can and the brewing one as well. Make sure that you choose some filters that are big enough for the cans you are using, otherwise you run the risk of having them collapse if they are left alone resting on the bottom of the brewing can.
Using flat-bottomed filters can help in situations where other options are not available. However, you should consider this as you are making your holes in the bottom of the dispenser so they will direct the water toward the center instead of the edges. You can also use some cheesecloth or even some thin fabric to serve as a filter if you don’t have any on hand. If you have some fine-mesh screen, you could place that on the bottom of the percolator as a way to catch the grounds as well.
Finally, all you need to do is place the percolator above the receiving can, and then set the dispensing one on top. Make sure that you do this on a hard and flat surface to reduce the risk of the cans toppling over after you pour in the hot water. Consider using the same types of cans for each section as they probably have fitted bottoms that will stack neatly on top of each other.
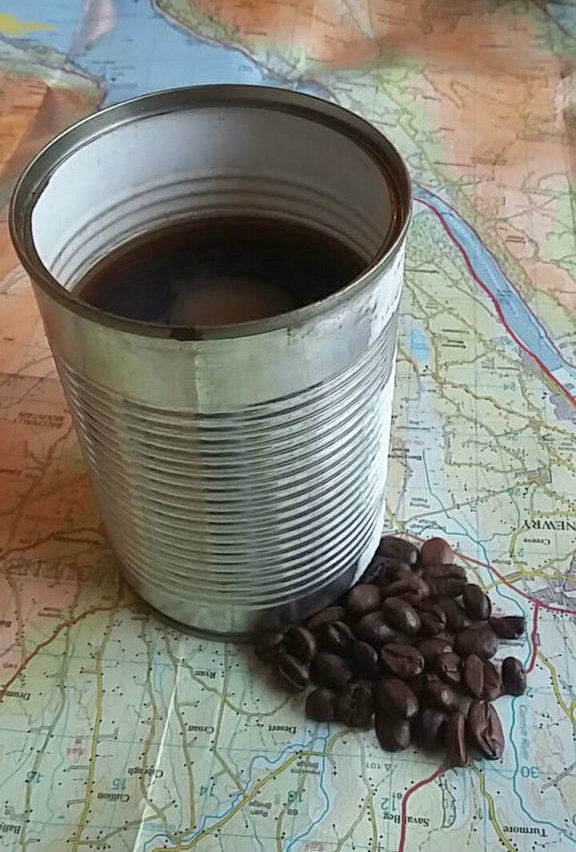
Try this out for yourself, and you will see how easy it is to brew normal coffee without a normal coffee maker. Nothing could be easier or more beneficial if you are dealing with a prolonged power outage or are holed up in your shelter or out in the wilderness.