How to Make Your Own Potting Soil
One of the most important, yet least discussed, aspects of self-sufficiency is producing good soil for farming. Unfortunately, a lot of soil is not productive enough to grow hearty and healthy crops, which is one of the main reasons that we use chemical fertilizers. However, you can make your own nutrient-rich potting soil that can enhance your ability to grow a range of crops every year. But, doing so requires a lot of patience and taking the long-view.
Composting

The first step is to build a sizable compost heap that will continually produce nutrient-rich additives that can be mixed with soil from your garden. Keep in mind that it can take more than a year for your first batches of compost to be ready for processing, so it’s important to start building the pile and adding to it sooner rather than later.
There are mainly two sources of compost that go into good piles, brown and green. Brown compost is comprised of hard, organic debris, biodegradable material and leaves, branches and bark. Basically anything that is cut, chipped, falls to the ground or comprised of paper products fall into this category. Green compost is generally comprised of fruit and vegetable scraps, manure, chicken droppings, coffee grounds, grass clippings, weeds and garden refuse.
A good compost pile will have a 2:1 ratio of browns to greens. This will keep the mixture nice and well-rounded while promoting faster degradation and a more nutrient-rich finished product. You can add worms to enhance the degradation process as well.
Take advantage of the numerous resources out there regarding composting to start your own efficient and productive pile today. Once you have some composted material ready, you can start on the next step.
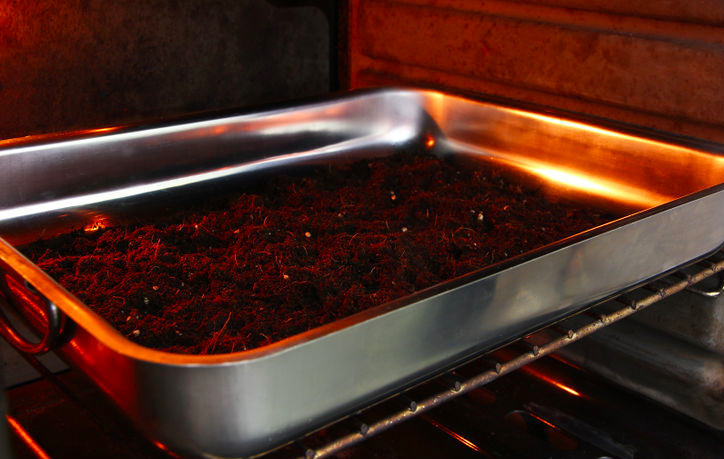
Preparing the Compost

You want to take a large-screened sifter and place your compost on top, shake and separate the small items from the bigger chunks. Place the bigger pieces back into the compost pile and let them degrade a little bit longer. Sifting will help to separate the finished compost and give you a more uniform and nutrient-rich product to add to the soil mixture.
The next step is to take the sifted compost and place it into large cake pans so the compost is about three inches deep. Add a little bit of water to the top of the compost before placing the pans in the oven. Bake for 30 minutes at a temperature of at least 140 degrees, but keep temperatures below 190 degrees in order to prevent over-cooking and the destruction of vital nutrients in the compost.
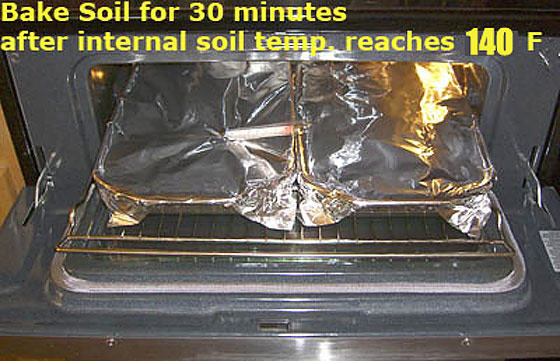
This process will kill off most bacteria or fungi that may be present in the compost, and reduce the chances of introducing these harmful microorganisms into your garden later. Transfer the processed compost into a bucket and use for adding to the soil as needed.
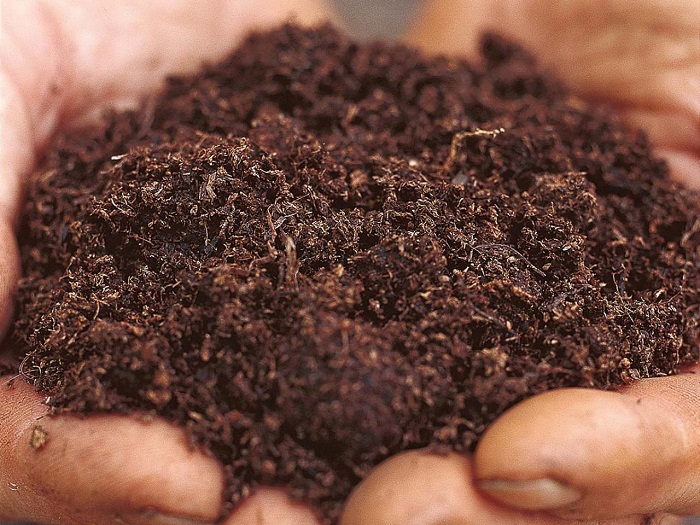
Mixing the Soil
The next step is to collect the best soil that you have on your property, sift out the weeds and debris and also pasteurize as you did with the compost. However, you want to cook the soil at 200 degrees for 30 minutes. Allow to cool and place in buckets or large bins.
Now all you need to do is mix the compost and soil together. Start with a 5:4 ration of compost to soil and tweak the proportions from there based on your needs. Sometimes you can use a 50/50 mixture if you are planting seedlings whereas nutrient-deficient soil may need a higher percentage of compost.
The next step is to add some leaf mold or sawdust from untreated wood to provide some material that will help the soil to retain moisture. You also want to add some coarse sand to the mix. This will create gaps in the soil compound for aeration and the drainage of excess moisture. Add 1-2 parts of both material to optimize the quality of the finished product. Finally, add 1 part of wood ash to the mix. This will introduce vital nutrients into the soil as well as regulate pH levels.
Thoroughly mix all of the parts together and then the soil is ready for planting. Remember to experiment with different variations until you find the most suitable and productive mix for your needs. However, once you get the right proportions down, you will be amazed at how this simple process will enhance the productivity of your self-sufficient garden for years to come.