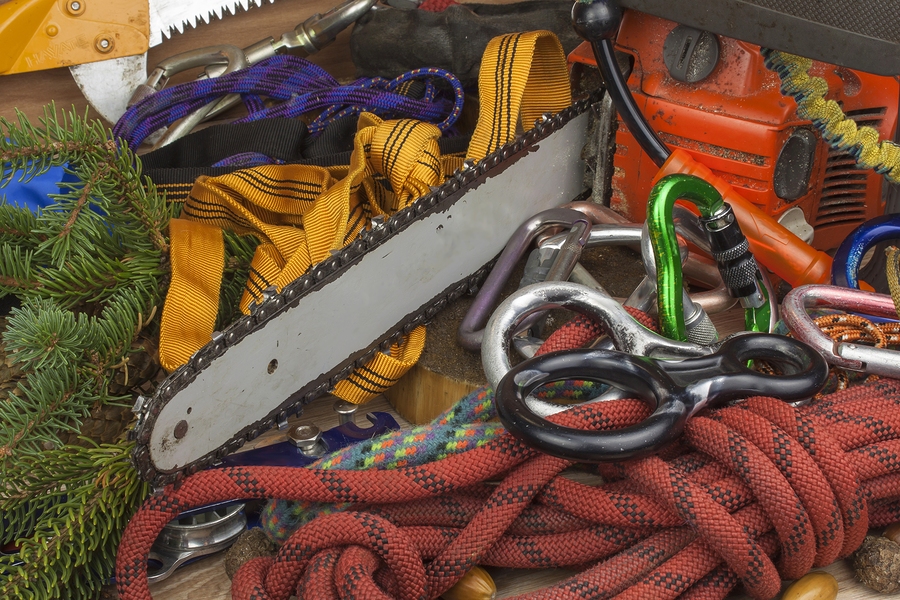
 Coiling and rolling rope, cords or hose often starts out nice and neat but the finished product can easily end up being a tangled mess. The good news is that there are a couple of really easy tricks and methods to use in order to prevent this from happening. Let’s look at how you can keep your material organized, stored and ready for immediate use in the future without the need to spend time undoing tangles and knots.
The Wrong Way
Wrapping a cord or rope between the elbow and hand is probably the most popular but incorrect way to make a coil. The material bends and twists as it is looped, and this causes it to slip and get knotted or tangled, especially when trying to unroll it later. This method can also place strain on the wiring inside of a cord and cause it to break or fail a lot sooner necessary.
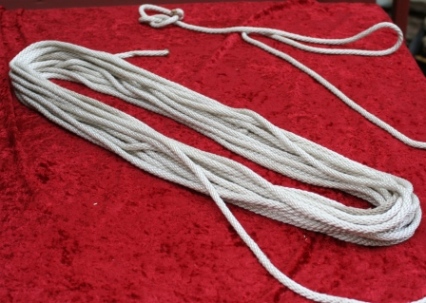
The Gasket Coil
This is a simple way of coiling anything, but the size of the finished product will be proportional to the length and rigidity of the material you are wrapping. The first step is to make a single coil in your hand, but make sure that you a few inches of material hanging free from the bottom. Make the coil so that it overlaps the piece of cordage that goes to the bottom. Make a second coil but place it above the first. Make a third loop and place the rope that leads to the bottom under. Keep repeating this over-under pattern until you have at least a foot of rope left over. End the looping at one where the rope leading from the top is under the coil.
Lay the coil on a flat surface with the end leading to the top facing up. Crimp the coil in the center so that it makes a figure eight. Gently pull the top rope over and long the top edge of the figure eight until it reaches the center. Hold it in place as you bend down the rope over the center of the coil and wrap it underneath the bottom. Feed it through the top from beneath the center of the coil. Keep looping in this manner, placing each additional loop next to the previous one. The loops should be next to each other and resemble those found on a hangman’s noose.
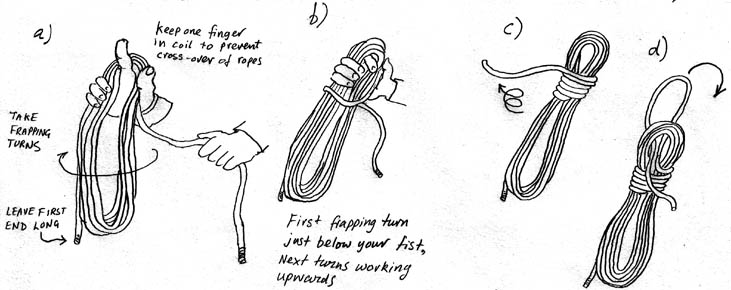
Make last loop so that the material that goes out to the top end exits from beneath the coil. Bend the loose end in half and hold this new loop you’ve created in your hand. Feed it through the space between the last horizontal coil and top of the figure eight. Tuck it in and allow the end of the material to stick out of the coil. All you need to do is pull on this piece of material and the whole coil will unravel when needed.
Practice Makes Perfect
It may take a few tries to get the rhythm down with respect to properly looping the cordage, but once you get it, you won’t forget. Test the results by flinging the cord outward. It should unravel perfectly all the way to the other end. If you looped it wrong, then the cord will fall to the ground and retain some of its loops along the way.
Cheating
You can always continue to wrap rope or wire with your arms or make loops on the ground and simply secure them with zip ties or some tape. This will help to keep the coil intact and make moving or storing it easier. However, you may experience some difficulty when you unravel it. You can also plug the two ends of the cord together and make loops as well to reduce the chances of getting tangled up.
While the simple looping of cordage may make it easier to store, it can also make unraveling it a time-consuming annoyance. Try this trick out for yourself and see how it can help you to keep your cordage more organized and easier to unravel later on.


