Canning Beans and Carrots the Easy Way
Beans and carrots are two staple items in gardens that grow quickly, are loaded with nutrients and can keep for a long period of time. Canning them can further extend their shelf life and enable you to consume them during the off-season. Look at the following recipes and see how easy it is to prepare and store these important vegetables.
Green Beans
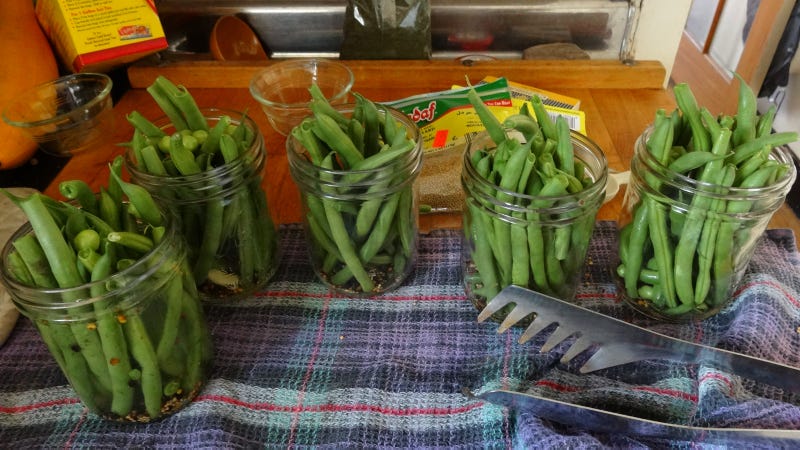
The best time to can green beans is when the pods are fresh and soft. However, you can also use beans that are just about to burst from their pods by extending the processing time. All you need is a pressure canner, some pint or quart canning jars, lids and seals, 1 pound of green beans per pint (approximately), some salt and water.
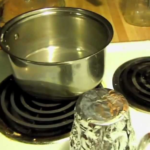
The first step is to prepare the jars, lids and seals by giving them a hot water bath. Prepare the beans by removing or cutting away sections of any pods that are damaged, deformed or otherwise not in perfect condition. Rinse and cut off the tops and bottoms. Cut the beans into two inch long strips, and put the pieces in a saucepan of boiling water and cook for five minutes.
Place the beans into the hot jars, add salt to taste and pour boiling water over the beans until there is a ½ inch of headspace. Remove excess air bubbles, clean the rim, attach the lid assembly and process in a pressure canner at 10 psi. Process pint jars for 20 minutes and quarts for 25 minutes. Add an additional 15 minutes for mature beans in pint jars and an additional 20 minutes for quarts. Don’t forget to adjust for altitude.
Turn off the pressure canner, release the pressure and remove the jars. Allow them to cool for 24 hours at room temperature and check the quality of the seals. Re-process defective jars and date, label and store the good ones in a cool, dark place.
Carrots

It generally takes a little more than a pound of medium-sized carrots to fill a pint jar, two for quarts. Prepare the jars as directed above in order to ensure they are clean and heated before filling. Peel the carrots and cut off the heads and tails. You can either cut the carrots into small pieces or leave them hole, depending on your preferences, but it is a good idea to try and have uniform pieces in each jar. This will ensure that everything gets processed evenly.
Tightly pack the carrots into the pint or quart jars, add some salt to taste, and carefully fill them with boiling water until 1 inch of headspace remains. Clean the rim, remove any excess air, attach the lid assembly and place on the rack in your pressure canner. Fill the canner with two inches of water, turn up the heat to medium-high and allow steam to vent for 10 minutes before attaching the pressure gauge. You want to process at 10 psi for weighted-gauge canners and 11 psi for dials.
Process for 25 minutes after you have achieved pressure, turn off the canner and allow the pressure to release before opening and removing the processed jars. Allow to cool for 24 hours, check the integrity of the seals and re-process any defective jars. Label, date and store the processed jars in a cool and dry place.
Both products should keep up to a year if they have been processed, sealed and stored properly. Make sure that you think about how many beans or carrots you will use at any given point in time, and choose the appropriately-sized jars accordingly. You can keep opened beans or carrots in the refrigerator for a few days, but they should be consumed right away if kept at room temperature. Try these simple recipes for yourself and see how easy it is to have a steady, year-round supply of delicious and nutritious veggies at your disposal.