Building and using a chicken incubator is one of the best ways to promote a productive hatch, and it doesn’t take a lot of time, effort or material to create one. All you need is a container, light and heat to create an environment that is ideal for producing a successful batch of chicks. Below is a list of fundamental things to consider when creating a homemade incubator. Take a look at these important factors and think about how you can modify yours to accommodate these requirements.

Insulation and Heat
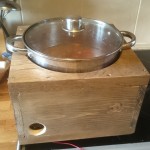
You need to choose a container that is well-insulated in order to maintain a stable temperature. You can use anything from a rubber storage container to a Styrofoam cooler. Some people have used old refrigerators or even kitchen cabinet sections. The material is up to you as long as temperature fluctuations can be avoided as much as possible.
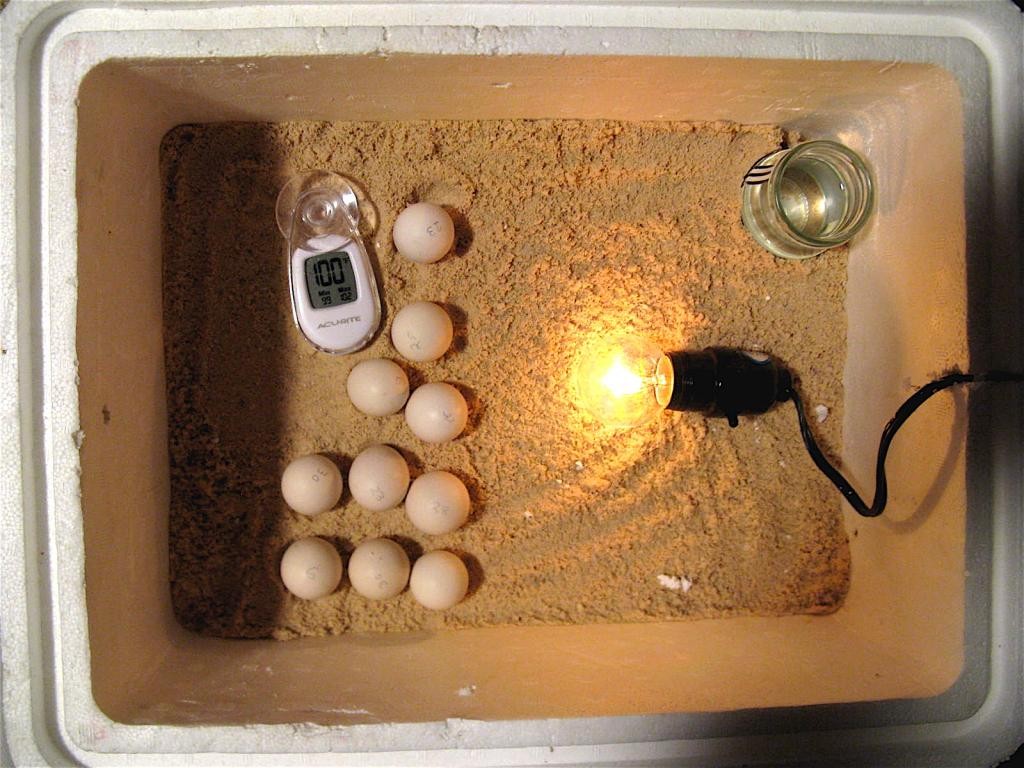
The easiest way to heat incubators is to insert one or two light fixtures and 25 watt bulbs. Cut a hole in the back or bottom of the incubator and install the bulbs. You can also use a small heating pad or other source as long as you can regulate the temperature near the eggs at a steady 100 degrees Fahrenheit.
You should also make space for a small bowl of water or sponge soaked in water to help to regulate humidity. The moisture will also help to keep temperatures in the ambient air more stable. You may also want to consider installing a small fan, such as one from a computer, to help keep the air circulating, maintain a consistent temperature and prevent the formation of hot spots in the incubator.
Some people also install a dimmer switch to the light fixture in order to regulate temperature. You can also open or close the lid or door of the incubator to allow keep temperatures stable as well.
Wire Mesh
You need to install wire mesh around the light bulb or heat source as well as along the bottom of the incubator. This will protect the chicks from getting burned once they hatch in addition to providing a safe floor for the eggs and chicks to walk on as well.
Some people add a layer of small rocks or pebbles along the bottom of the incubator because they help to retain heat. Place the mesh above this layer in order to protect the chicks as well.
All you need now is a thermometer in order to measure temperatures and regulate heat accordingly. You can use any type of thermometer, but digital ones will produce a more specific reading. Place the thermometer near the eggs in order to accurately measure the temperature in the incubator where they are resting.
Additional Notes
Humidity levels should be kept at around 50% for the first two to three weeks. Raise the amount of humidity to between 65 and 75% and maintain this level until the chicks hatch. You can add more water to increase humidity.
You should also turn the eggs at regular intervals throughout the incubation process. Mark each egg with a symbol on both sides so you know which ones have been turned and when. The eggs should be turned over at least three times per day until after the 18th day of incubation. Most eggs will hatch after about three weeks.
Incubators can be as simple or detailed as you want, but all of them contain these elements to one degree or another. There are also a limitless number of incubator designs that you can explore online in order to build one that works best for you. Just remember to maintain a stable temperature, provide good air flow and regulate moisture in order to create optimal growing conditions.
Also, be prepared to work through a period of trial and error until you get a feel for what works best. However, you can enjoy a steady supply of chicks once you get the hang of things. Try it out for yourself and see how incubating eggs can give you the opportunity to raise your own chicks that can be kept, sold or bartered in the future.


