How to Make a Candle from Waxed Cheese
If you have your hands on some waxed cheese or cheese that is surrounded by a thick casing, you can turn it into a candle during an emergency. While it will force you to open the cheese and eat or throw it away, knowing this trick can come in handy if you don’t have any other lighting options available. The process is simple, and you can assemble it in a matter of minutes with little more than a knife and some tissue.
Quality Matters
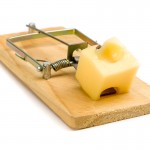
We’re after the wax on the casing and not the cheese itself. This trick will work best when you have a product that has a thick casing. However, you can still get enough wax from many standard waxed cheeses as well. Size matters also, so try to use a bigger piece in order to get the most out of this hack.
Preparing the Casing
Some products have a pull-tab that will separate the casing down the middle, leaving you with two perfect halves. These are ideal because they are fast and easy to prepare. Simply pull off the tab and carefully separate the two halves. Place them down on a piece of cloth or paper towel side by side.
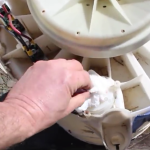
If you have cheese without the pull-tab, you can accomplish the same thing by carefully cutting a line to bisect the wax around the cheese. Once the line has been cut, work the knife from the edge of the cut between the wax and the cheese. Gently lift so the wax and cheese separate. Repeat as you work your way around the cheese, going deeper and deeper. Using a butter knife or a spoon after you have the starter cut made will reduce the chances of tearing the wax.
Preparing the Wick
You can use toilet paper, tissue or a paper towel for the wick. Paper towels will be the most durable and easiest to work with. If you have a thin piece of cloth, it can work well also. Take the piece of material and start folding along the short side as opposed to the long one. Start twisting after you make the first fold, and keep repeating as you tighten it up. Keep enough tension to make it tight but not so much that the material tears. Try to roll the last bit over the twists as you reach the end so that the material will retain its shape and density as much as possible.
Assembling the Candle
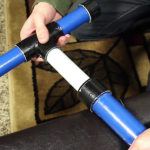
The next step is to place the wick along the inside of one of the halves of casing. Place it vertically so that it reaches from above the top to as close to the bottom as possible. This will give you room to light the wick and ensure that it will burn through as much of the wax as possible before the candle burns out. Once you’ve laid the wick down, hold it in place while you turn the other half around and insert it against the first one. You want to get the wick sandwiched between the sides of the two halves.
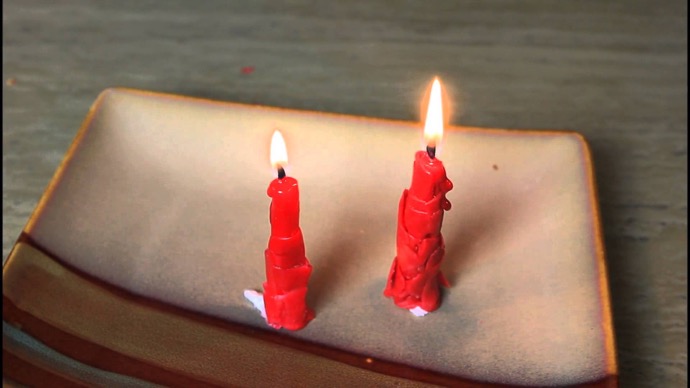
All you need to do now is press the two halves together and begin to mold the casing. Squeeze it in the palm of your hand, roll it or do whatever works best until the wax loosely resembles a candle. Smoosh the bottom so that it can rest in a dish or plate. Simply light the wick and watch your improvised candle burn. It’s really that simple.
Try it for yourself, and look on the bright side: You can have some cheese by candlelight during your next power outage.