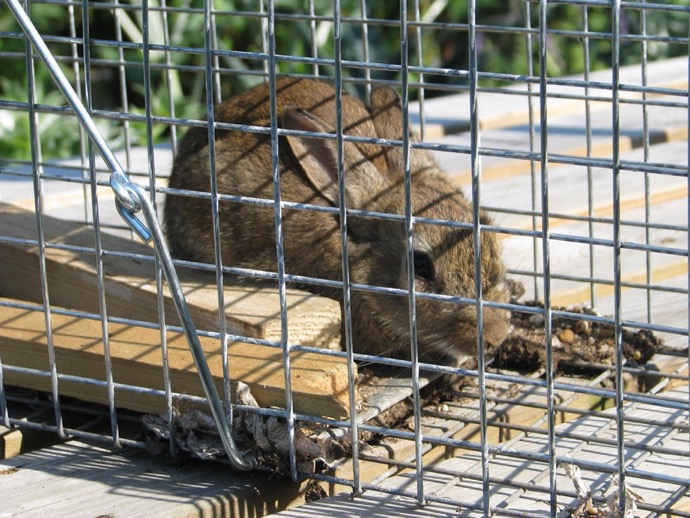
A box rabbit trap is probably the easiest and most humane way to hunt and trap rabbits. Shooting them requires a lot of time and skill, snare traps can be tricky and difficult to set, and most people don’t have enough land to make netting worthwhile. Let’s take a look a simple design that can be set, checked periodically and easy to move from place to place.
Required Items
Plywood that is at least four feet long and a foot wide
Enough Chicken wire to make the sides and top according to the dimensions above
Scrap wood for the trigger mechanism
Wire for clasping
Wood Staples
Saw
Pliers
Wire Cutters
Cutting the Wood

You should make the trap around three feet long and about 10 inches wide, but you can make it bigger if you like. The idea is to make the trap big enough for the rabbit to go in instead hesitating and turning around if it feels claustrophobic. The trap should also be between 10-12 inches high as well. All you need the wood for is the base and the door.
Cut the floor piece to size and then cut out a section for an appropriately-sized door as well. Drill a couple of holes along the top of the door piece. This will be used to anchor the door to the trap with the wire later. Make sure that the door is about ½ inch in diameter less than the width of the trap. This will allow freedom of movement when it slams shut without creating large gaps along the side.

The next step is to cut the scrap wood in order to make the trigger mechanism. You will need a lever that is roughly half of the length of the trap in addition to a trigger stick that goes inside of the trap but does not reach the bottom. Use thin and flexible wood for the lever so that it can easily bend and snap back in shape without breaking. You will need this spring action in order for this rudimentary trigger system to work properly.
You also need a small block of wood in order to raise the lever atop the trap. You want to fashion a notch at the end of the lever so that a piece of wire can be looped and anchored to the wood as well as the door.

Next, cut out a notch on the trigger stick that begins about two inches from the top end. Make the notch at least a few inches long so that the bottom portion will rest against the underside the chicken wire roof. This will help to secure it in place by way of leverage and make it easy for the rabbit to trigger the door shut once it takes the bait later. The notch should extend about two-thirds the way through the wood.
Building the Box

The easiest thing is to cut the chicken wire into three sections that make up the sides and the top of the trap. Tie them together with pieces of wire or weave the ends of the chicken wire together. Next, cut a piece to make the back of the trap and secure in place with wire or bent ends as well. Staple the bottoms of each side and the back to the plywood base.
Make the side pieces an inch or two longer than the length of the base wood. This will allow you to fold the wire inward along the door end and reinforce the structure. A good fold or two on either end should help to offset the force of the door closing as it swings down and out. It will also keep the door from swinging out after the rabbit is trapped. You can also add an inch or two for the top piece of wire and fold that back and up to reinforce the top of the door as well.
Attach the door to the folded wire on the top of the trap from the inside. Use some pieces of wire, feed them through the holes you drilled earlier and secure them in place. The next step is to rig the trigger mechanism. Screw or nail the block to the lever about two to three inches from the end that holds the door. Insert the trigger into the back portion of the trap, but make sure that it is positioned a couple of inches from the back and leaning toward the door. Attach the lever beneath the top end of the notch on the trigger.
Testing and Setting the Trap
Take some wire and make a loop on one end and a hook on the other. Lift the door and attach the hook to its underside. Attach the loop to the notch at the end of the lever until it bends and tension holds all of the components together. Test the trap by gently poking the trigger with a stick through the front of the trap, but make sure that your hand isn’t inside. The trigger should push back without a lot of force and release the lever and allow the door to slam shut. Make modifications as necessary until things work just fine.
All you need to do now is to add some bait to the lever, place the trap in an appropriate location and attach the trigger mechanism. Check the trap once a day for rabbits, but you also want to check daily to ensure that other animals such as cats and rodents do not end up trapped as well.
Feel free to improvise and improve on this basic design, but this gives you a general idea of the various components of a simple rabbit trap. Try this out for yourself, and you can start to put these traps to good use whether you want to control rabbit populations to protect your garden or for hunting your next meal.


