How to Make a Yellow Dye out of the Goldenrod Plant
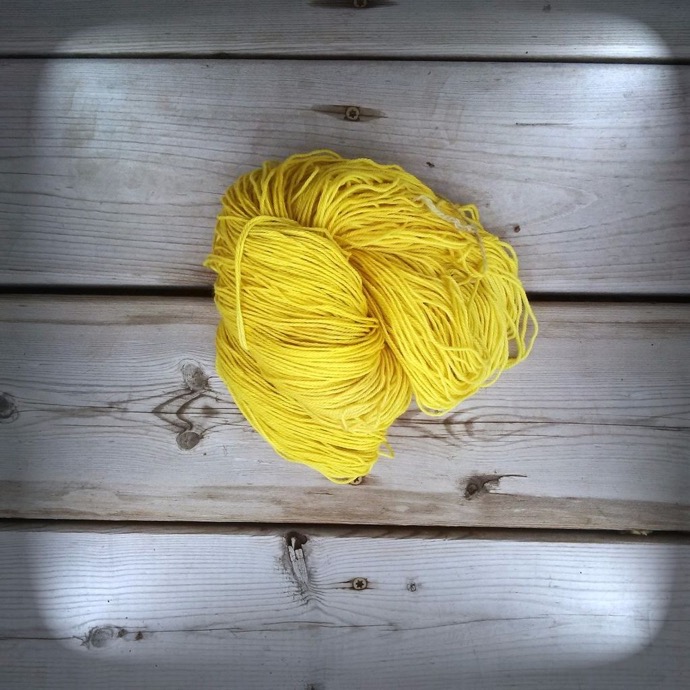
If you live in an area where goldenrod plants are common, you can harvest a bunch and create a natural and long-lasting yellow dye. The process is simple and takes minimal resources, and you can use the dye on a wide-range of material or for a number of different purposes in the field.
Getting Started
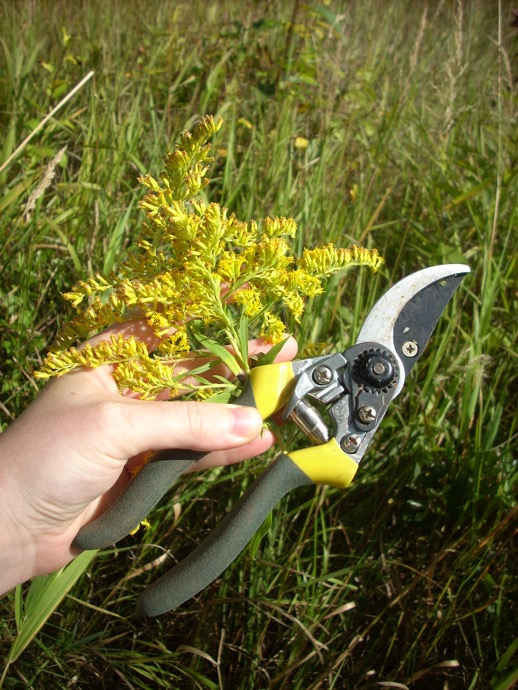
The first step is to gather enough goldenrod to produce the shade and amount of dye that you need. A general rule of thumb is to use 1 part goldenrod for every part of material that you will be dying. So, if you have 5 lbs of yarn or cloth, then you should also be using 5 pounds of the flowers. Using more goldenrod in relation to the material will make the dye darker. Using less will make the dye lighter. You will have plenty of opportunities to experiment and develop a range of shades over the course of time. For now, let’s focus on the 1:1 ratio, using wool yarn as the material.
The next step is to pick the branches and stems from the goldenrod so that you have mainly flowers instead of a lot of green stuff. Remember that the color will come from the flowers. It’s important that you account for the loss of stems and branches when you guesstimate the weight of the goldenrod that you have collected.
You will also need some alum powder in order to make this project work. It’s very easy to obtain, and having a small supply on hand can be beneficial for completing a number of different projects. You will need enough alum to match 15% of the weight of the material you are using. While you can guess how much alum you need by looking at it, it’s better to use a small digital scale in order to get the proportions just right.
Extracting the Dye
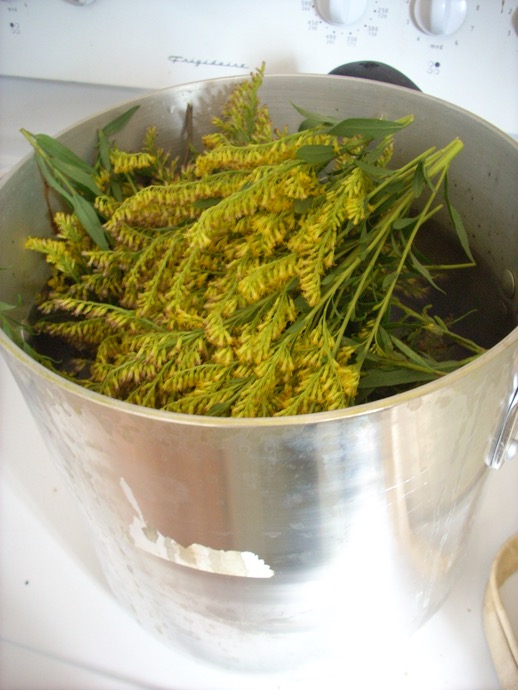
Take a metallic or ceramic stock pot (not aluminum) and place the goldenrod inside. Add a 1:1 ratio of water and bring the heat up to a simmer, but don’t let the water boil. Cook for an hour, stirring occasionally, and add water as necessary. Remove from heat and let the mixture rest and cool for a few minutes.
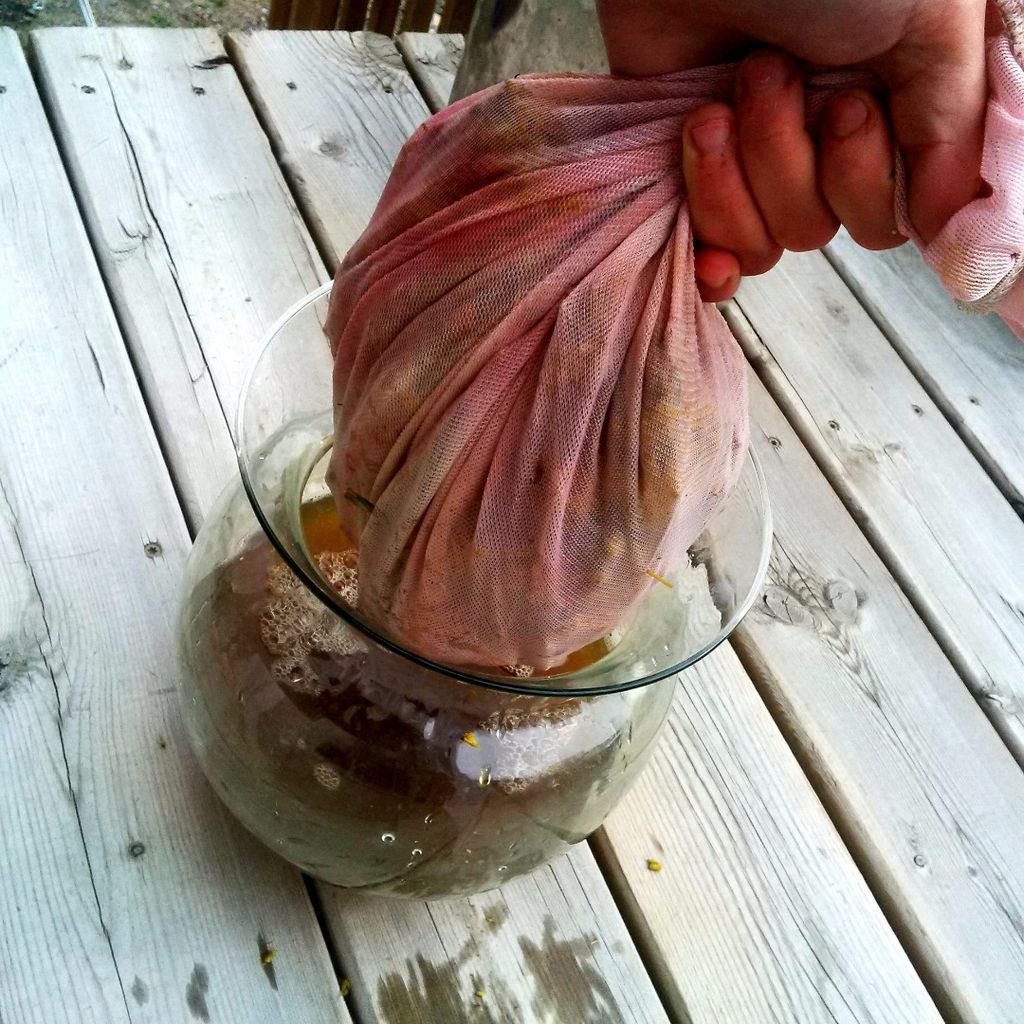
Once the liquid has cooled enough to handle, pour it through a strainer into a large container. Make sure that you mash the goldenrod against the strainer to extract as much of the liquid as possible.
Dyeing the Fabric
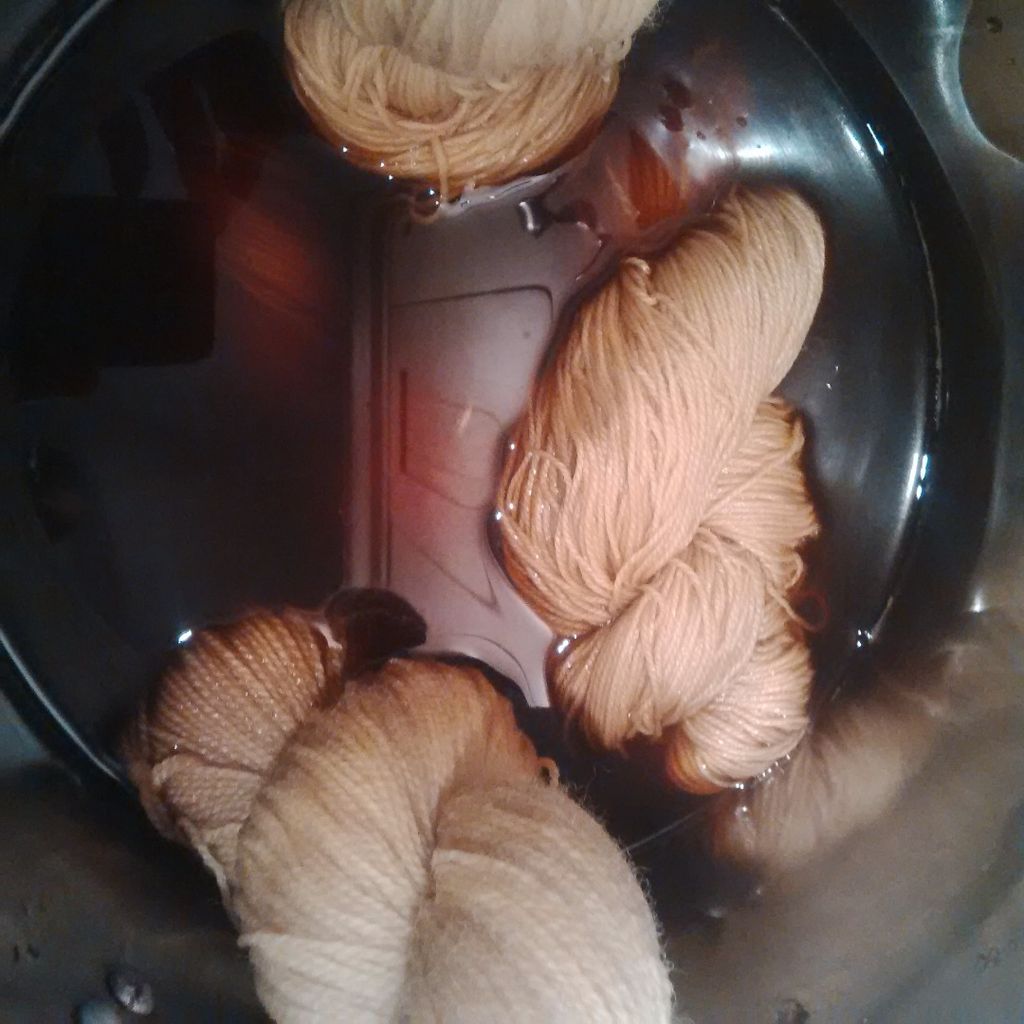
You want to pre-soak the yarn, or any fabric that you’re using, in water for about an hour before placing it into the dye. Fill the dye container with more water if necessary to keep the yarn loose and easy to work with. You want to be able to work the dye through all of the fibers, and the ones in the center of the yarn are often the most difficult to reach. Having enough water and space for the yarn to loosen will go a long way in producing a consistent and even finished product. Pour the liquid back into the stockpot, along with the yarn and simmer for another hour. Stir occasionally to ensure that all of the material soaked evenly.
Make sure that you wear kitchen or cleaning gloves while handling the dye, otherwise your skin will become discolored. You should also wear some kind of apron or old clothing in case you get splattered while working on this project.
Remove from heat and let the yarn soak in the pot overnight.
Processing the Yarn
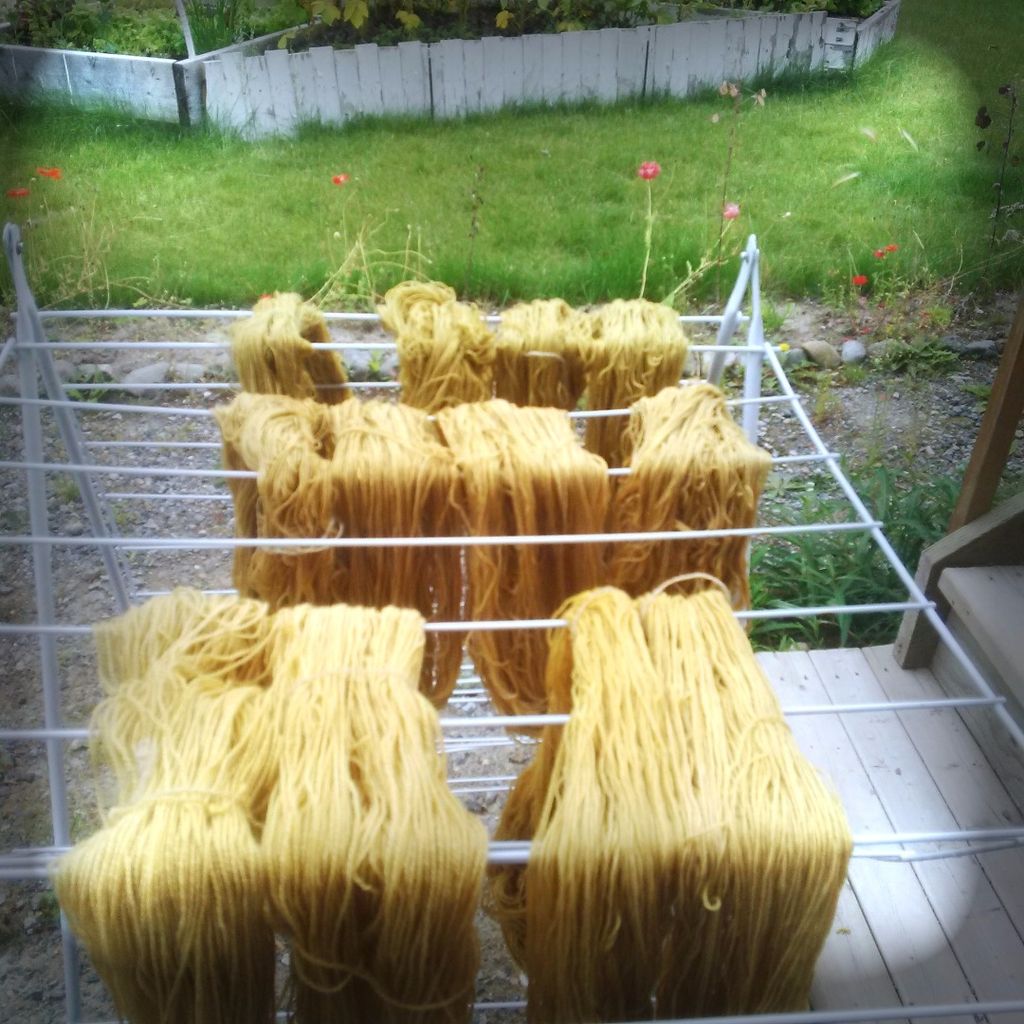
Remove the wet yarn from the stockpot in the morning and hang them on a clothesline in direct sunlight until they dry. Make sure to spread out the yarn so that all of the fabric is exposed. Remove the yarn the following day and rinse it through water until the color becomes clear. Hang the yarn on the clothesline again until it has dried, and you’re all done. Remember that you can adjust the amount of goldenrod to achieve lighter or darker colors, and you can also use this method for processing other natural dyes.
Learn more about how you can use plants to dye fabric, and you can open the door to all kinds of possibilities if you’re ever thrust into a long-term survival or self-sufficiency situation.


