|
When I was learning to make fire using the bow drill I browsed the internet for information, I found that there are quite a few websites out there that have articles about the bow drill, but I felt there was never enough information. Each person has their own tips and specialist knowledge around the subject and hopefully the things that I have written in this article will be an addition to the bank of bow drill knowledge. This article hopefully covers everything you need to know whether you are a total beginner or more experienced, there should be something of interest for everyone. Hopefully with articles like this you will be able to learn faster and not struggle for as long as I did to get my first flame. But remember… You can’t become an expert over night so be patient. Half of the skill is in the mind, if you remain persistent and calm after many failed attempts you will eventually achieve fire; whereas a person that gets frustrated and angry is likely to not succeed. The skill could take many months to learn; that said, if you have all the right materials and your technique is good, you may be able to make fire within just a few hours…. You should also take your time when making a bow drill; everything needs to be perfect to give yourself the best chance of success otherwise you are just wasting your time.
|
||
| A basic bow drill should include the following: A Hearth board, a drill, a bow with string, a bearing block, an ember pan and some tinder | 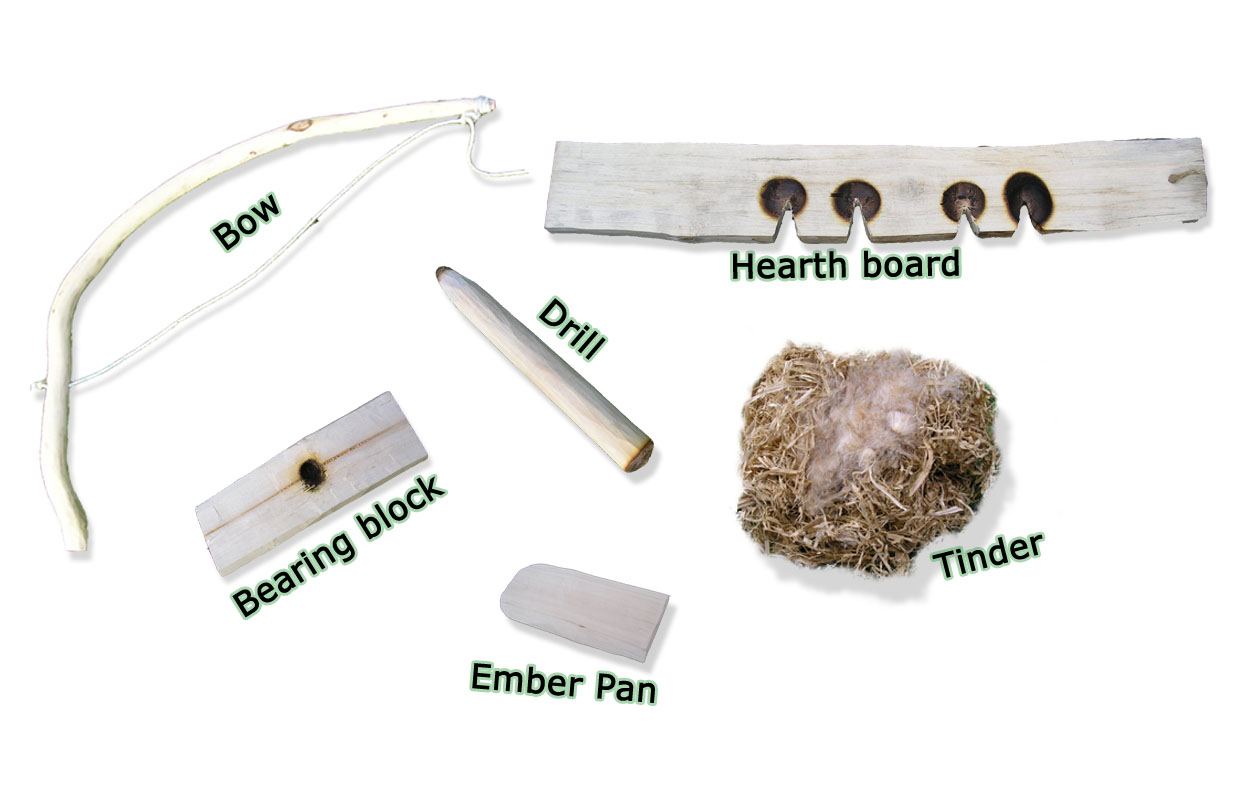 |
|
| The basic set-upThe drill is twisted into the bow and is held between the hearth board and bearing block. The assembly is kept secure and sturdy by securing the hearth board to the ground with your foot and by holding the bearing block tightly against your shin as shown. The bow is then moved backwards and forwards quickly, making the drill rotate and rub against the hearth board causing tremendous friction. A notch is cut out in the hearth board where a small pile of black charred dust collects underneath the drill. This dust becomes so hot that it eventually ignites and begins to smoulder, this smoking ember is then added to the tinder and blown until it bursts into flames. | 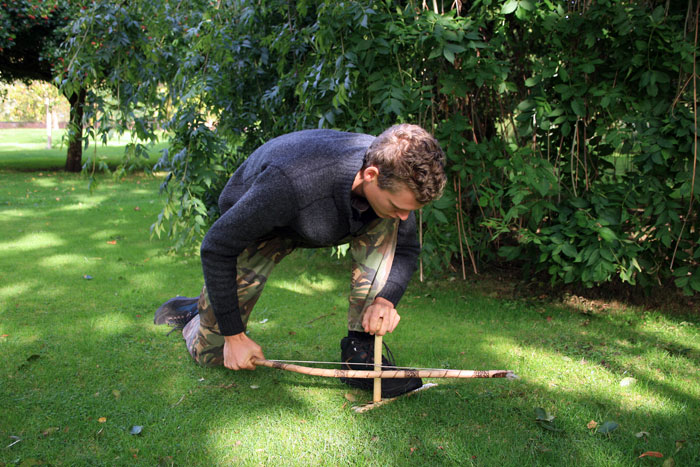 |
|
| |
||
| Making the different components… | ||
| Hearth boardFirst of all you will need to select a suitable wood to carve your hearth board from. Experience has lead me to believe that Sycamore, Lime (Basswood) and Willow are some of the best woods to use. However many more can be used and part of the fun is choosing and experimenting with your own choice of wood and getting familiar with the properties of each kind. Dry, dead wood is more suitable than fresh wood and dead wood that is lying on the floor is also less suitable because it may have picked up moisture from the ground. Wood which is still attached to the tree or caught in a branch is much dryer even after rain the wood can be relatively dry. It is a good idea to choose wood that has as little knots as possible as these parts of wood are too hard. Cut a piece of wood about a foot long and at least 3 fingers width in diameter.You should whittle your chosen wood into a small plank which takes little work with a axe and sharp knife. You could start by splitting it down the centre and then carving the other side flat. | 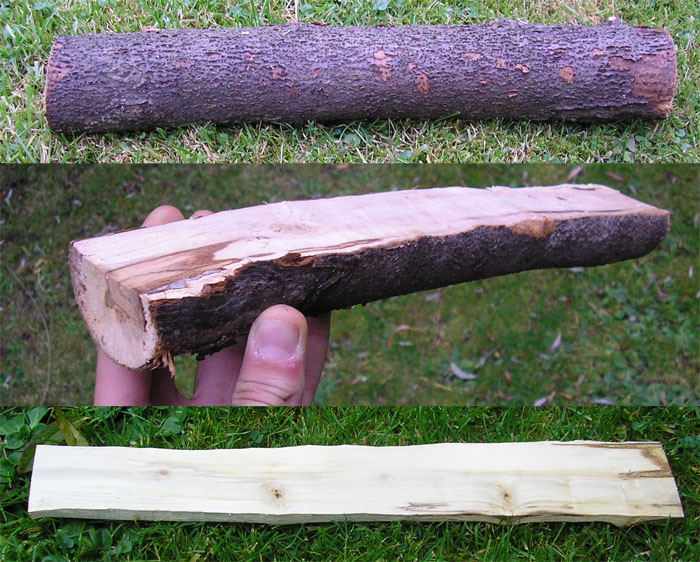
The thickness of your hearth board should be around 1.5 cm to 2.5cm although I personally think that 2.5 cm is too thick.The hearth should be two times the width of your drill. |
|
| |
||
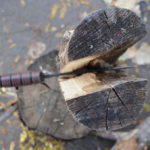
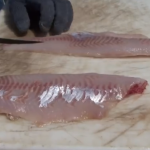
| The DrillFor the drill I look for shoots of wood that are already the thickness that I want the drill to be.Strip the bark off and then carve one end pointed and the other end into a blunt point as shown in the photo. your drill should be perfectly straight and about 6 or 7 seven inches long.
The bottom of the drill is carved to a blunt point so that there is a lot of surface area to cause as much friction as possible where as the top end ideally needs to be as friction free as possible so that more force can be easily concentrated on the bottom end of the drill, this is why the top end is carved to a point. |
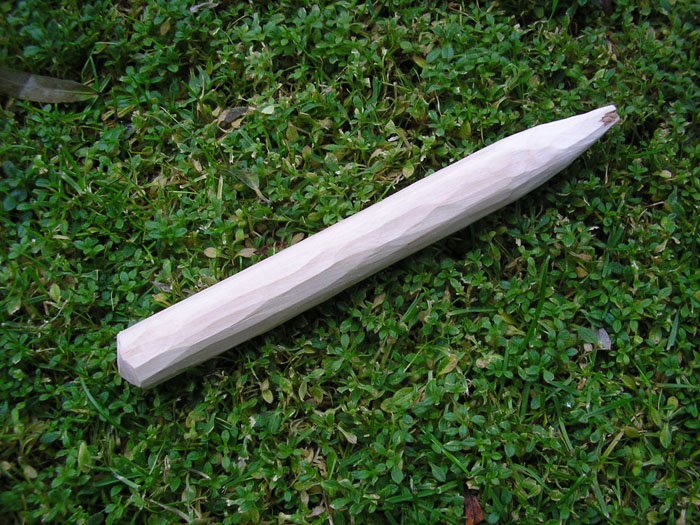
I tend to make my drills about 2cm thick. The wider the drill the less full rotations it will make for each stroke of the bow; also I find it harder to apply as much downward pressure with a wide drill. Smaller diameter drills yield smaller embers but rotate more for every stroke of the bow. |
|
| |
||
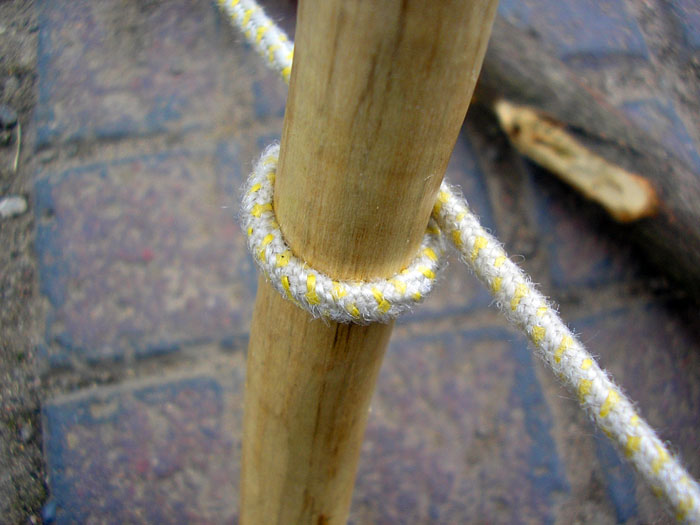
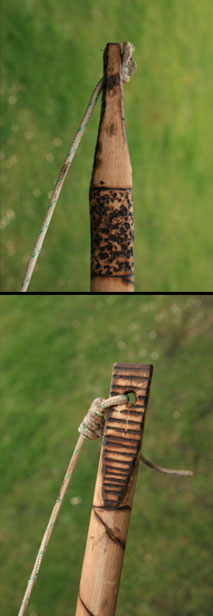
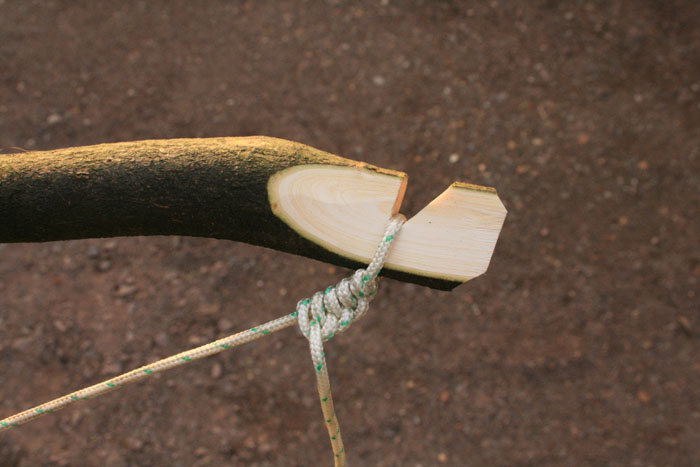
| The BowThere are various natural materials that you could make a string from such as rawhide, sinew and various plant fibres, however I admit that I have not experimented with such materials enough to give advice about them. I recommend sticking with something that is more hard wearing when practicing because a string breaking could be just another thing to go wrong out of another 100 potential problems. I personally use the cord that is used on the pull-start of garden machinery, I have found that this material is virtually indestructible for the use of bow drilling; I’ve never had this type of cord break, melt or wear..
I know its not exactly primitive but being as a lot of the natural alternatives don’t stand up to the abuse of the bow drill you may as well use the best artificial material that you’ve got. If you were in a survival situation you could try using your shoe lace but many laces are not usually strong enough for repeated use so what you could do is replace your boot laces with your indestructible cord so that you always have the means to make fire wherever you are. You can tie the ends of the cord to the bow in many different ways, make sure you knot the string well so that it doesn’t become too slack.Just for fun I personalised my own bow by burning patterns into it with a kebab skewer. |
  |
|
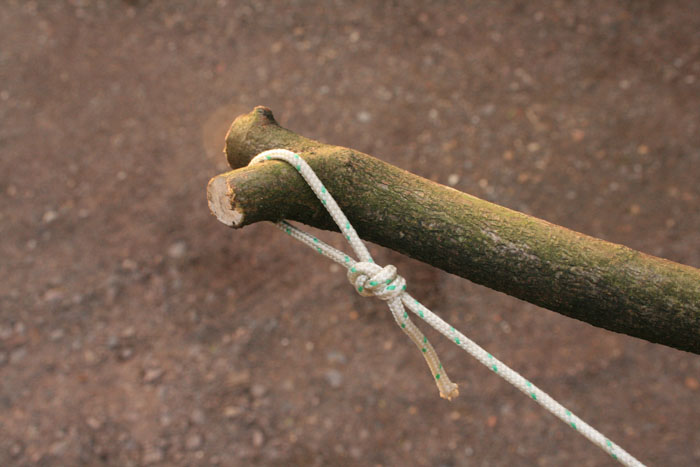
| Other suggestions showing how to attach the string… | ||
 |
 |
|
| |
||
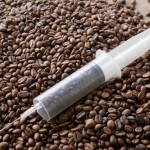
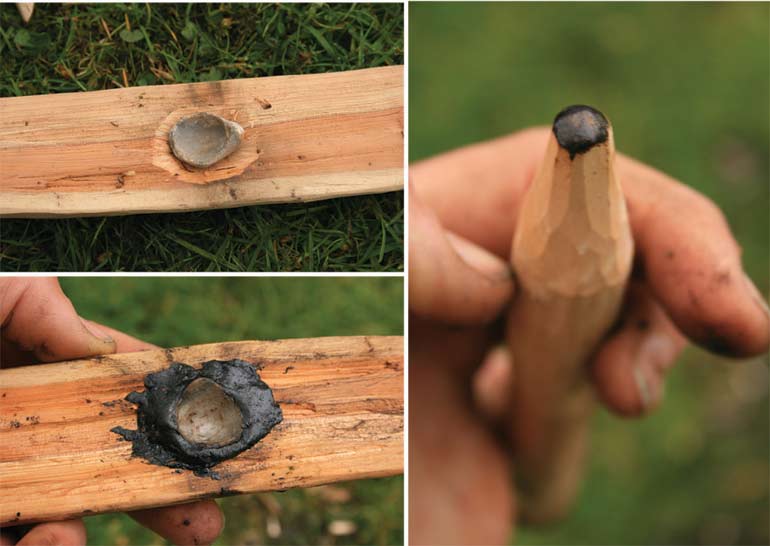
| Bearing blockThe bearing block should be as friction free as you can make it so tough fresh wood is best. Holly is apparently the best type of wood to use but I wouldn’t necessarily go out of my way searching for holly wood.A small section of wood is all that is needed, I often just split the wood down the centre to produce 2 possible bearing blocks and carve a depression in the centre using the tip of my knife. This small depression will hold the pointed end of the drill in place. You should make the bearing block comfortable to hold. Carve off any sharp corners etc.The set of three pictures below show a simple modification I made to my bearing block. I made the depression much lager and glued in a Devils Toenail fossil with Birch tar. This makes an amazingly good friction free surface and you can see that the top of the drill has polished off nicely. | Before using the bow drill each time always stuff some green plant laves into the depression; this acts as a lubricant and will help to reduce friction to some extent. You will probably be giving yourself a disadvantage if you do not do this.  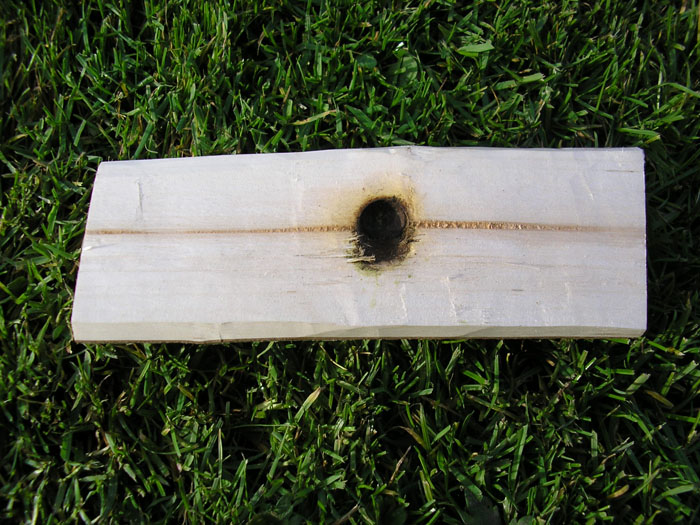 |
|
 |
||
| |
||
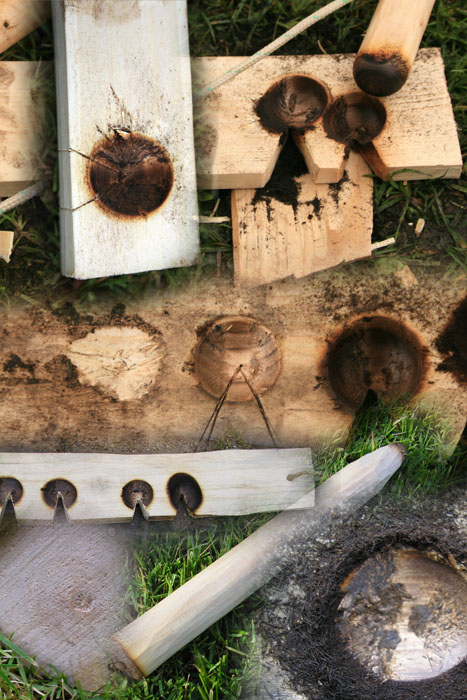
List of suitable hearth board and drill wood…(drill wood written first for each combination) my 4 favourite combinations:
Other suggested combinations: (some are harder than others…)
|
Experiment with your own combinations too! Wood that is dead and dry when found may act differently to wood that is cut and then seasoned. Note: Just saying that willow is ‘suitable’ does not account for willow that has started to rot or degrade or any other state that the wood may be in. |
|
| |
||
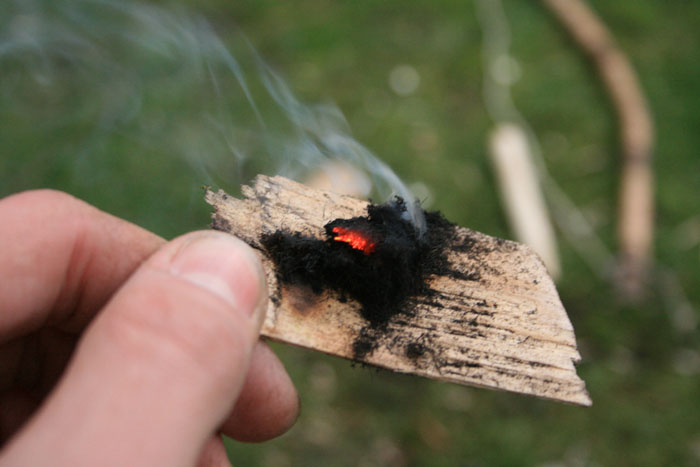
| Tinder:There are a lot of natural materials that you can use for tinder, My personal favourites are Lime (Basswood) bark , Clematis bark and Honeysuckle Bark but there are so many other materials that you could use. Just look around for fibrous materials that are as dry as you can get.A lot of tinder takes preparation. Buffing it between your hands will break the fibres down and produce fine fluffy tinder and the friction of this process will begin to dry it out somewhat. Keep your tinder somewhere dry, in a pocket for example.You can add a small amount of downy tinder to the centre where you will introduce the ember (tinder such as Thistle and bulrush down). This acts as an ember extender, however it is not that necessary. | 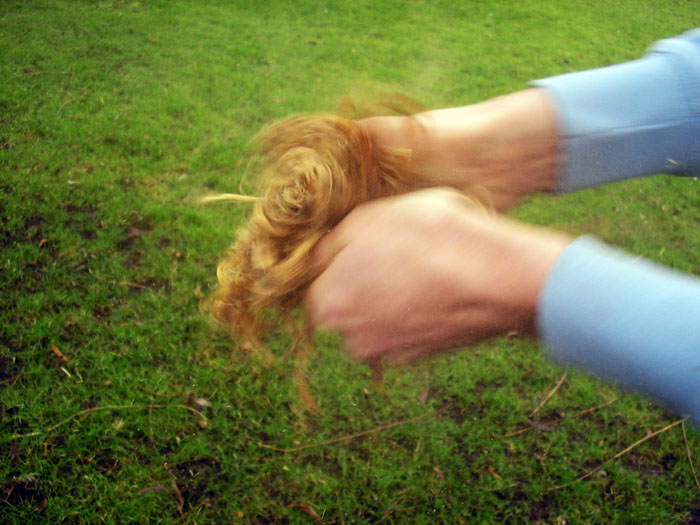 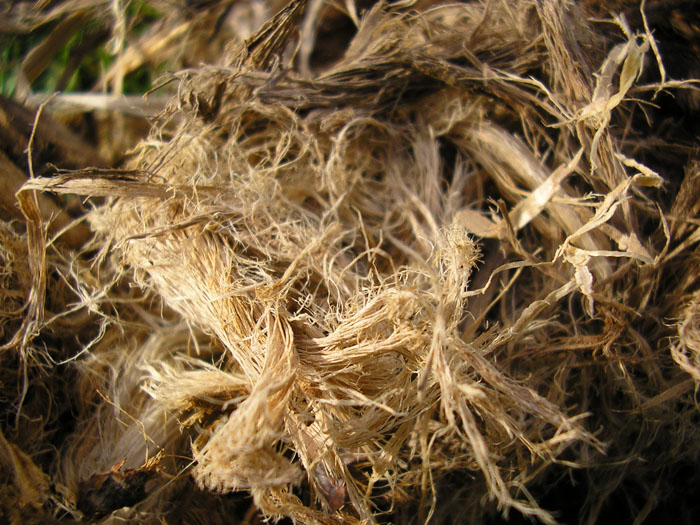 |
|
| |
||
| The method of making fire with your bow drill from the start to finish: | ||
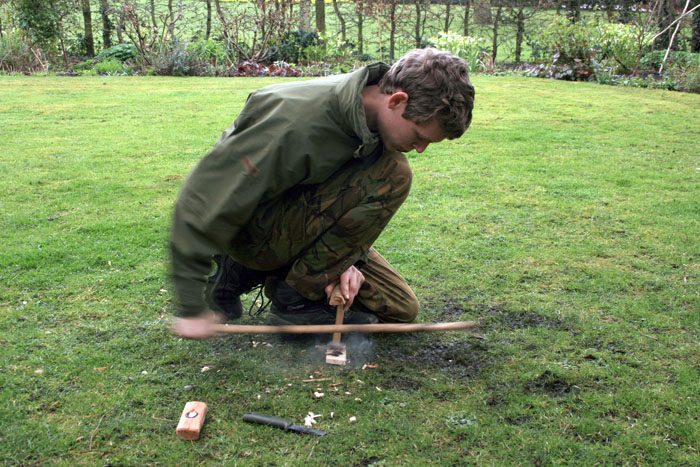
| Getting your posture correct:Ideally you should be in a position that is comfortable, stable and one that allows you to breath properly. You will feel quite tired and energy depleted if you are not able to breath normally (kind of like going for a run whilst holding your breath). My favoured position is probably not that good for this reason because I am scrunching my body up, but it works for me so…The most popular position: |
|
|
| The hearth board is pinned to the ground by your foot to stop it moving and then the bearing block is held against your shin to keep the drill from wobbling about. |
The drill is twisted into the string so that the loop and drill are on the outside of the bow. |
|
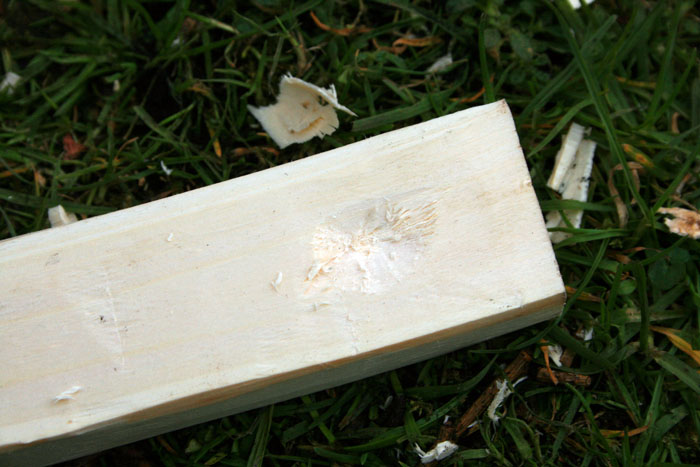
| Before you start drilling you need to make a slight depression in the hearth board where the base of your drill will initially sit. Make the depression with the tip of your knife. |  |
|
 |
||
| Now take your position and begin to bow until you have burnt a circle the width of the drill. | 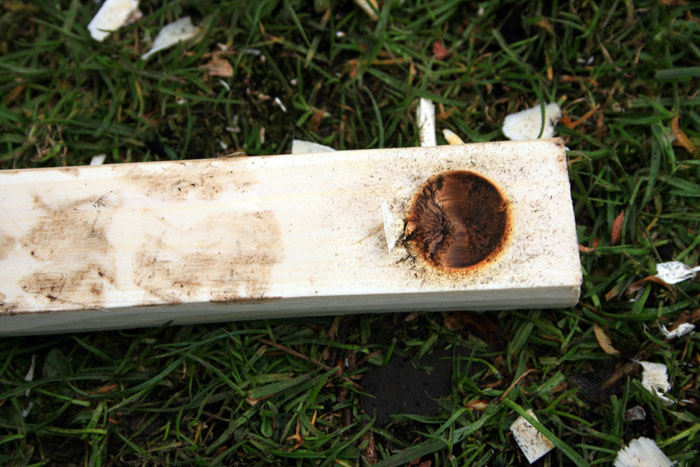 |
|
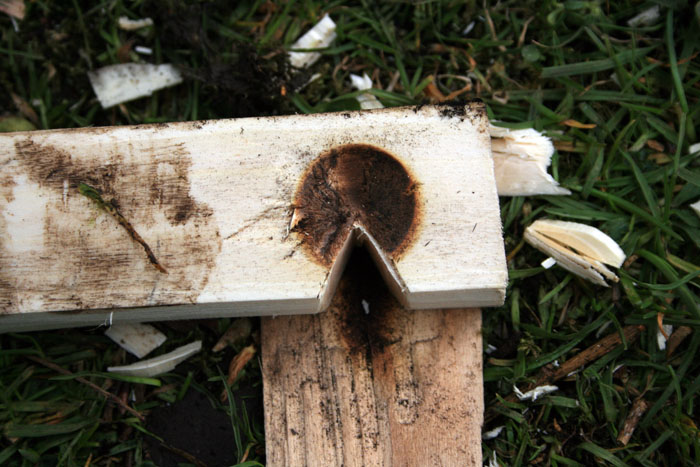
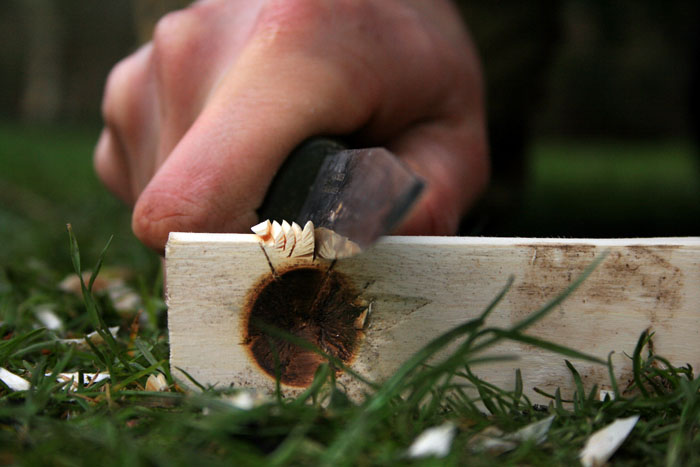
| Now before you proceed you will need to cut a notch out in the hearth board that is a 1/ 8th of the size of the circle. I usually mark it out by scouring it with my knife before cutting out the wood.Once you’ve carved the the notch out you can place your ember pan under it ready to catch the ember. You could use a shaving of wood or simply a leaf for the ember pan. |  |
|
 |
 |
|
| Now you can start bow drilling again but this time for longer; give it everything you’ve got! Apply pressure from the top with the bearing block and bow smoothly and quickly, once you get a good rhythm going try to maintain it. Smoke will soon start to rise and will get thicker. The time it takes to create an ember will depend on the properties of the wood and how good your technique is. If you don’t apply enough downward pressure the depression in the hearth board and the bottom of the drill will polish and begin to screech causing insufficient friction. | 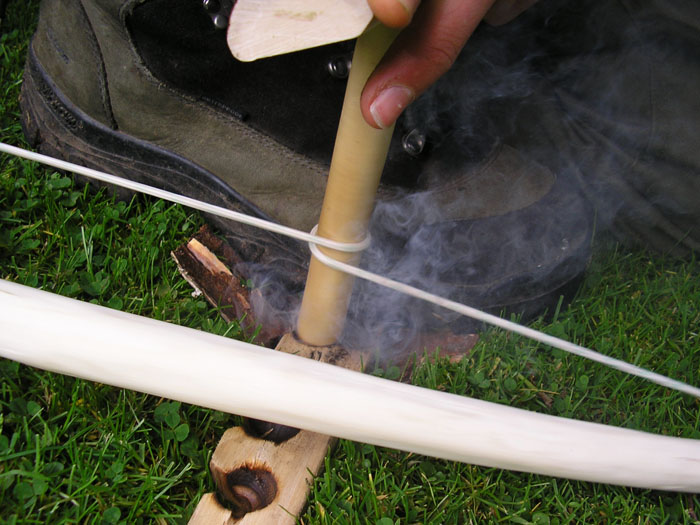 |
|
| If all the conditions were perfect and you had a good technique then you may be lucky enough to get an ember. The pile of black dust on your ember pan will continue to produce smoke if you have got an ember. Encourage the ember a little by wafting air over it with your hand, you may see the hot glow rise to the surface.Peel back the hearth board away from the ember, now you are ready to add it to the finest part of your prepared tinder. If you have got an ember don’t panic! Just be calm and relaxed. | 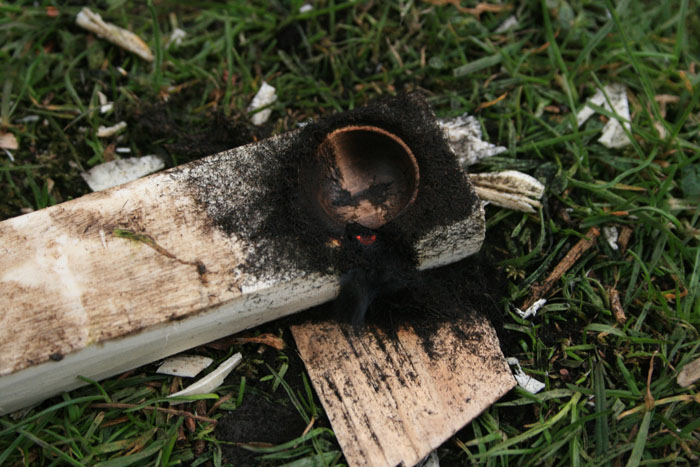 |
|
 |
||
 |
||