How to Make a Box Hockey Rink
It’s easy to place such an emphasis on preparedness that we can overlook the importance of finding ways to entertain ourselves during an off-the-grid situation. It’s important to remember that kids, and adults, need some downtime and enjoyment during difficult circumstances as well. One of the best ways to incorporate fun into survival is by finding games and activities that don’t require any power to use. One example is box hockey, and you can build your own out of some scrap wood and some basic tools with minimal effort. This is a fun game, and can provide the perfect diversion when times get tough.
Basic Requirements
4 2×6 planks that are eight feet long
1 4×8 piece of plywood
Saw
Drill
Wood Screws
Nails
12 5-6” long shims
Hammer
Getting Started
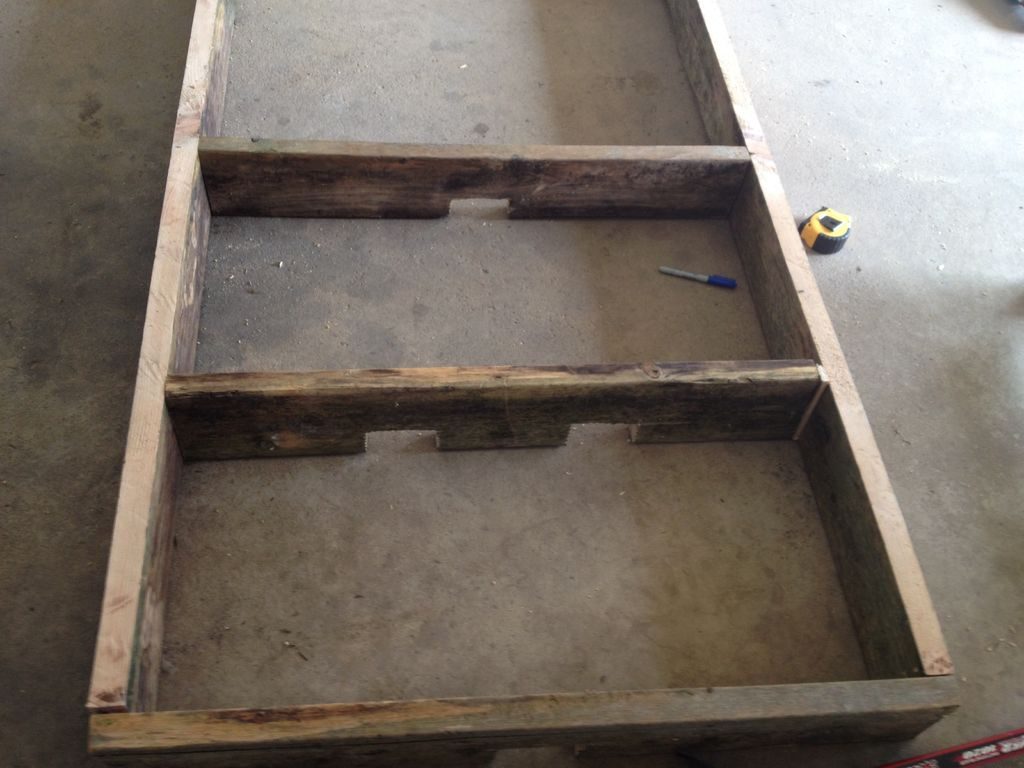
The first step is to fashion the end pieces and middle boards for the box. Make sure to measure the length of the internal boards as they will be a few inches shorter than the end pieces. You should have enough wood to work with by cutting down two of the eight foot long planks. You also need to cut a few notches in each piece of wood for the puck to go through.
The end pieces will need one in the center of each to serve as the goal holes. You have a lot of room for variation in terms of how big you want the holes to be. However, they should be small enough to be challenging, but big enough to allow the puck to pass through. Consider making them at least two inches high and four inches wide.
When you make the notches for the center boards, and this project uses three of them, you can add as many as you like. Keep in mind that one or two on each board is enough to make the game more challenging. You should also stagger the notches from board to board so that the players will be more challenged as well. To cut the notches, a jigsaw works best, but you can also use a hand saw. Sand down the edges when finished.
Building the Frame
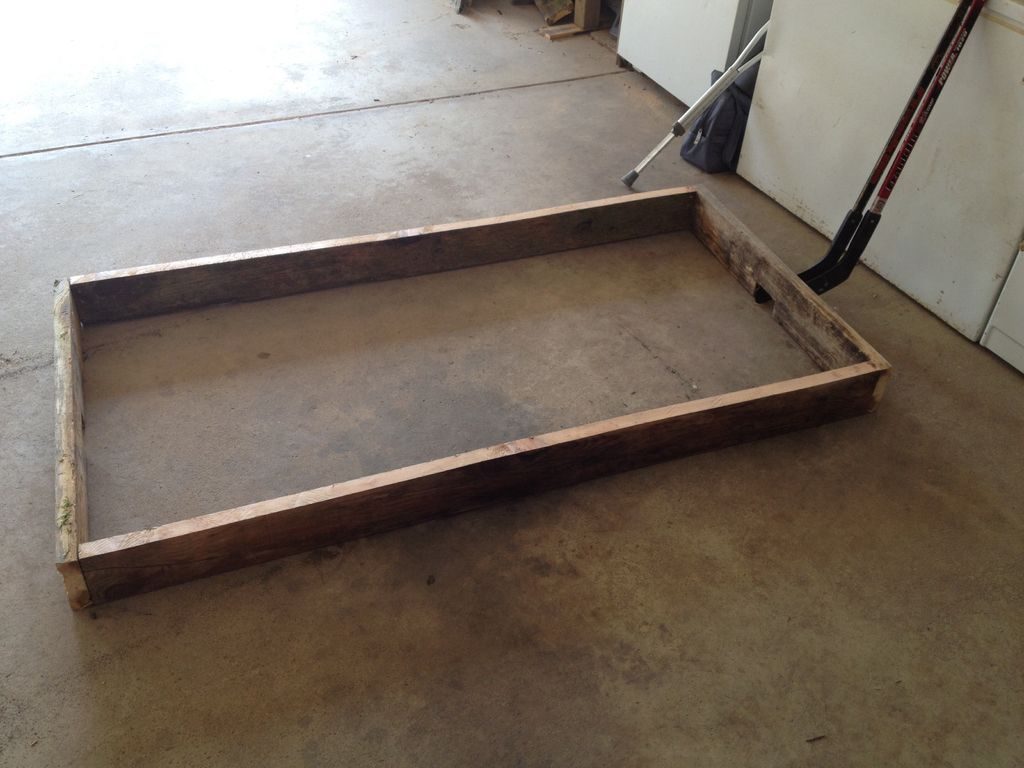
The next step is to build the frame. Simply attach two end pieces, with the notches facing down, to the longer side walls. The easiest way to do this is by screwing in the end pieces to the outside of the ends of the side walls. Use at least two screws for each side of each piece. Have someone hold the long plank up while you attach one side of the end piece. Repeat for the other side, and then you should be able to attach the other side piece without any help.
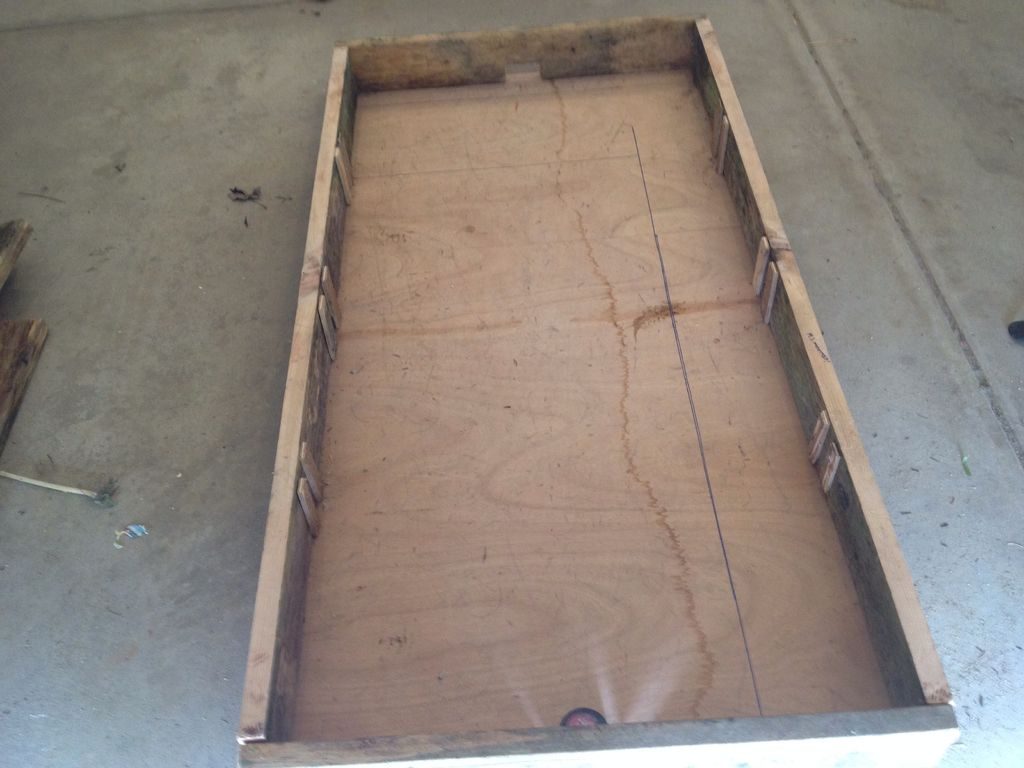
Once the box is made, you can turn it over and attach the plywood. Simply center the plywood over the frame and start drilling screws into the edges first. Then drill some more screws around six inches apart all around the frame. You can add more or less depending on the sturdiness of the box.
Attaching the Internal Pieces
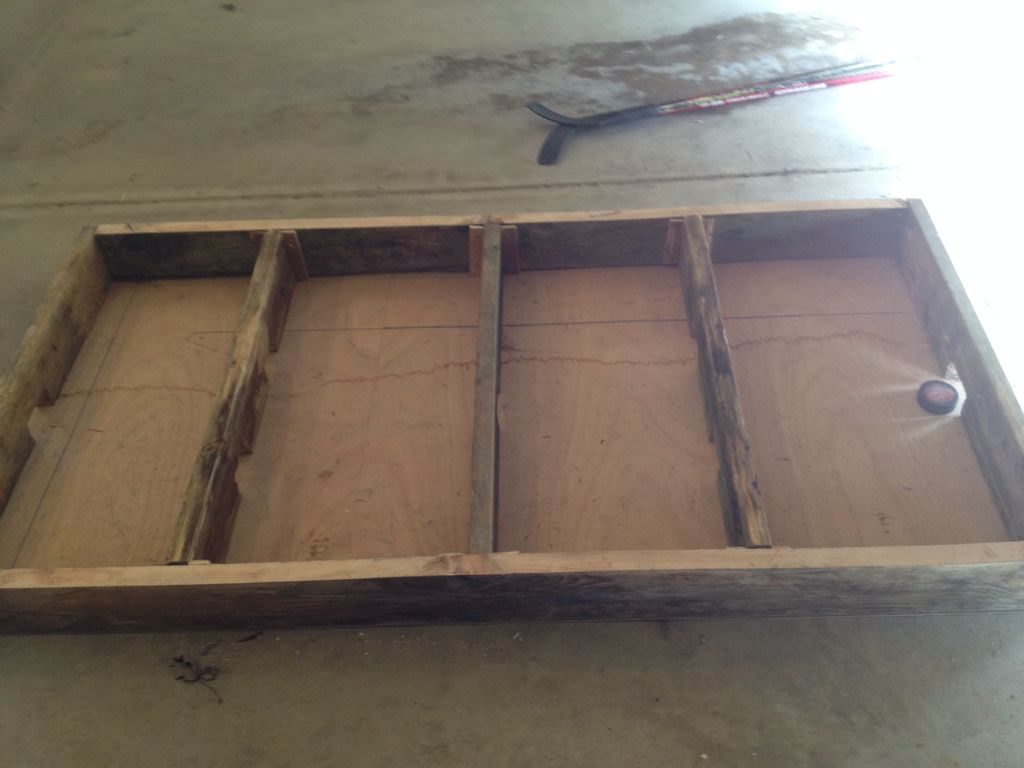
The next step is to decide where to put the center boards. Mark the outer sides of each board on the inside of the side walls. Then, take your shims and nail them so that one side of each rests against the lines you’ve just made. Repeat for all three sections. You should now be able to slide the center boards through the shims and secure them in place. The beauty of using shims is that you can adjust the boards by moving them as you see fit, and moving them is easier than if you secured the side boards to the main frame. You can also remove the boards easily if you want to have an open space instead of a series of barriers and notches.
All you need to do now is get a puck and a couple of hockey sticks and start playing. Nothing could be easier, and you can improvise as you like in order to make the perfect game for you and your family. This project also illustrates how easy it is to find simple ways to provide entertainment out in the field. Keep an eye out for other projects that can be used to add a little more fun to an otherwise difficult situation.


