Composting toilets are not that different than regular ones with the exception that you cover the waste instead of flushing it with water. Creating a composting system is one of the ultimate achievements in sustainability, and you can enjoy the benefits for years to come. The trick is to be in a place where you will not be moving for a couple of years, have ample space to create compost piles and to take the plunge and get past the initial hesitation of using this method.
Building the Toilet
To successfully use these composting toilet plans, you will need the following materials:
- Source of cover material (see important notes above)
- 4 identical 5-gallon buckets
- 1 18″x18″ piece of 3/4″ AC fir plywood
- 1 18″x3″ piece of 3/4″ AC fir plywood
- 2 10″x18″ pieces of 3/4″ AC fir plywood
- 2 10″x19.5″ pieces of 3/4″ AC fir plywood
- 4 3″x12″ piece of 3/4″ AC fir plywood
- 2 metal hinges
- 1 standard toilet seat
- Jigsaw
- Drill
- 30+ 1-1/2 screws
- Wood glue
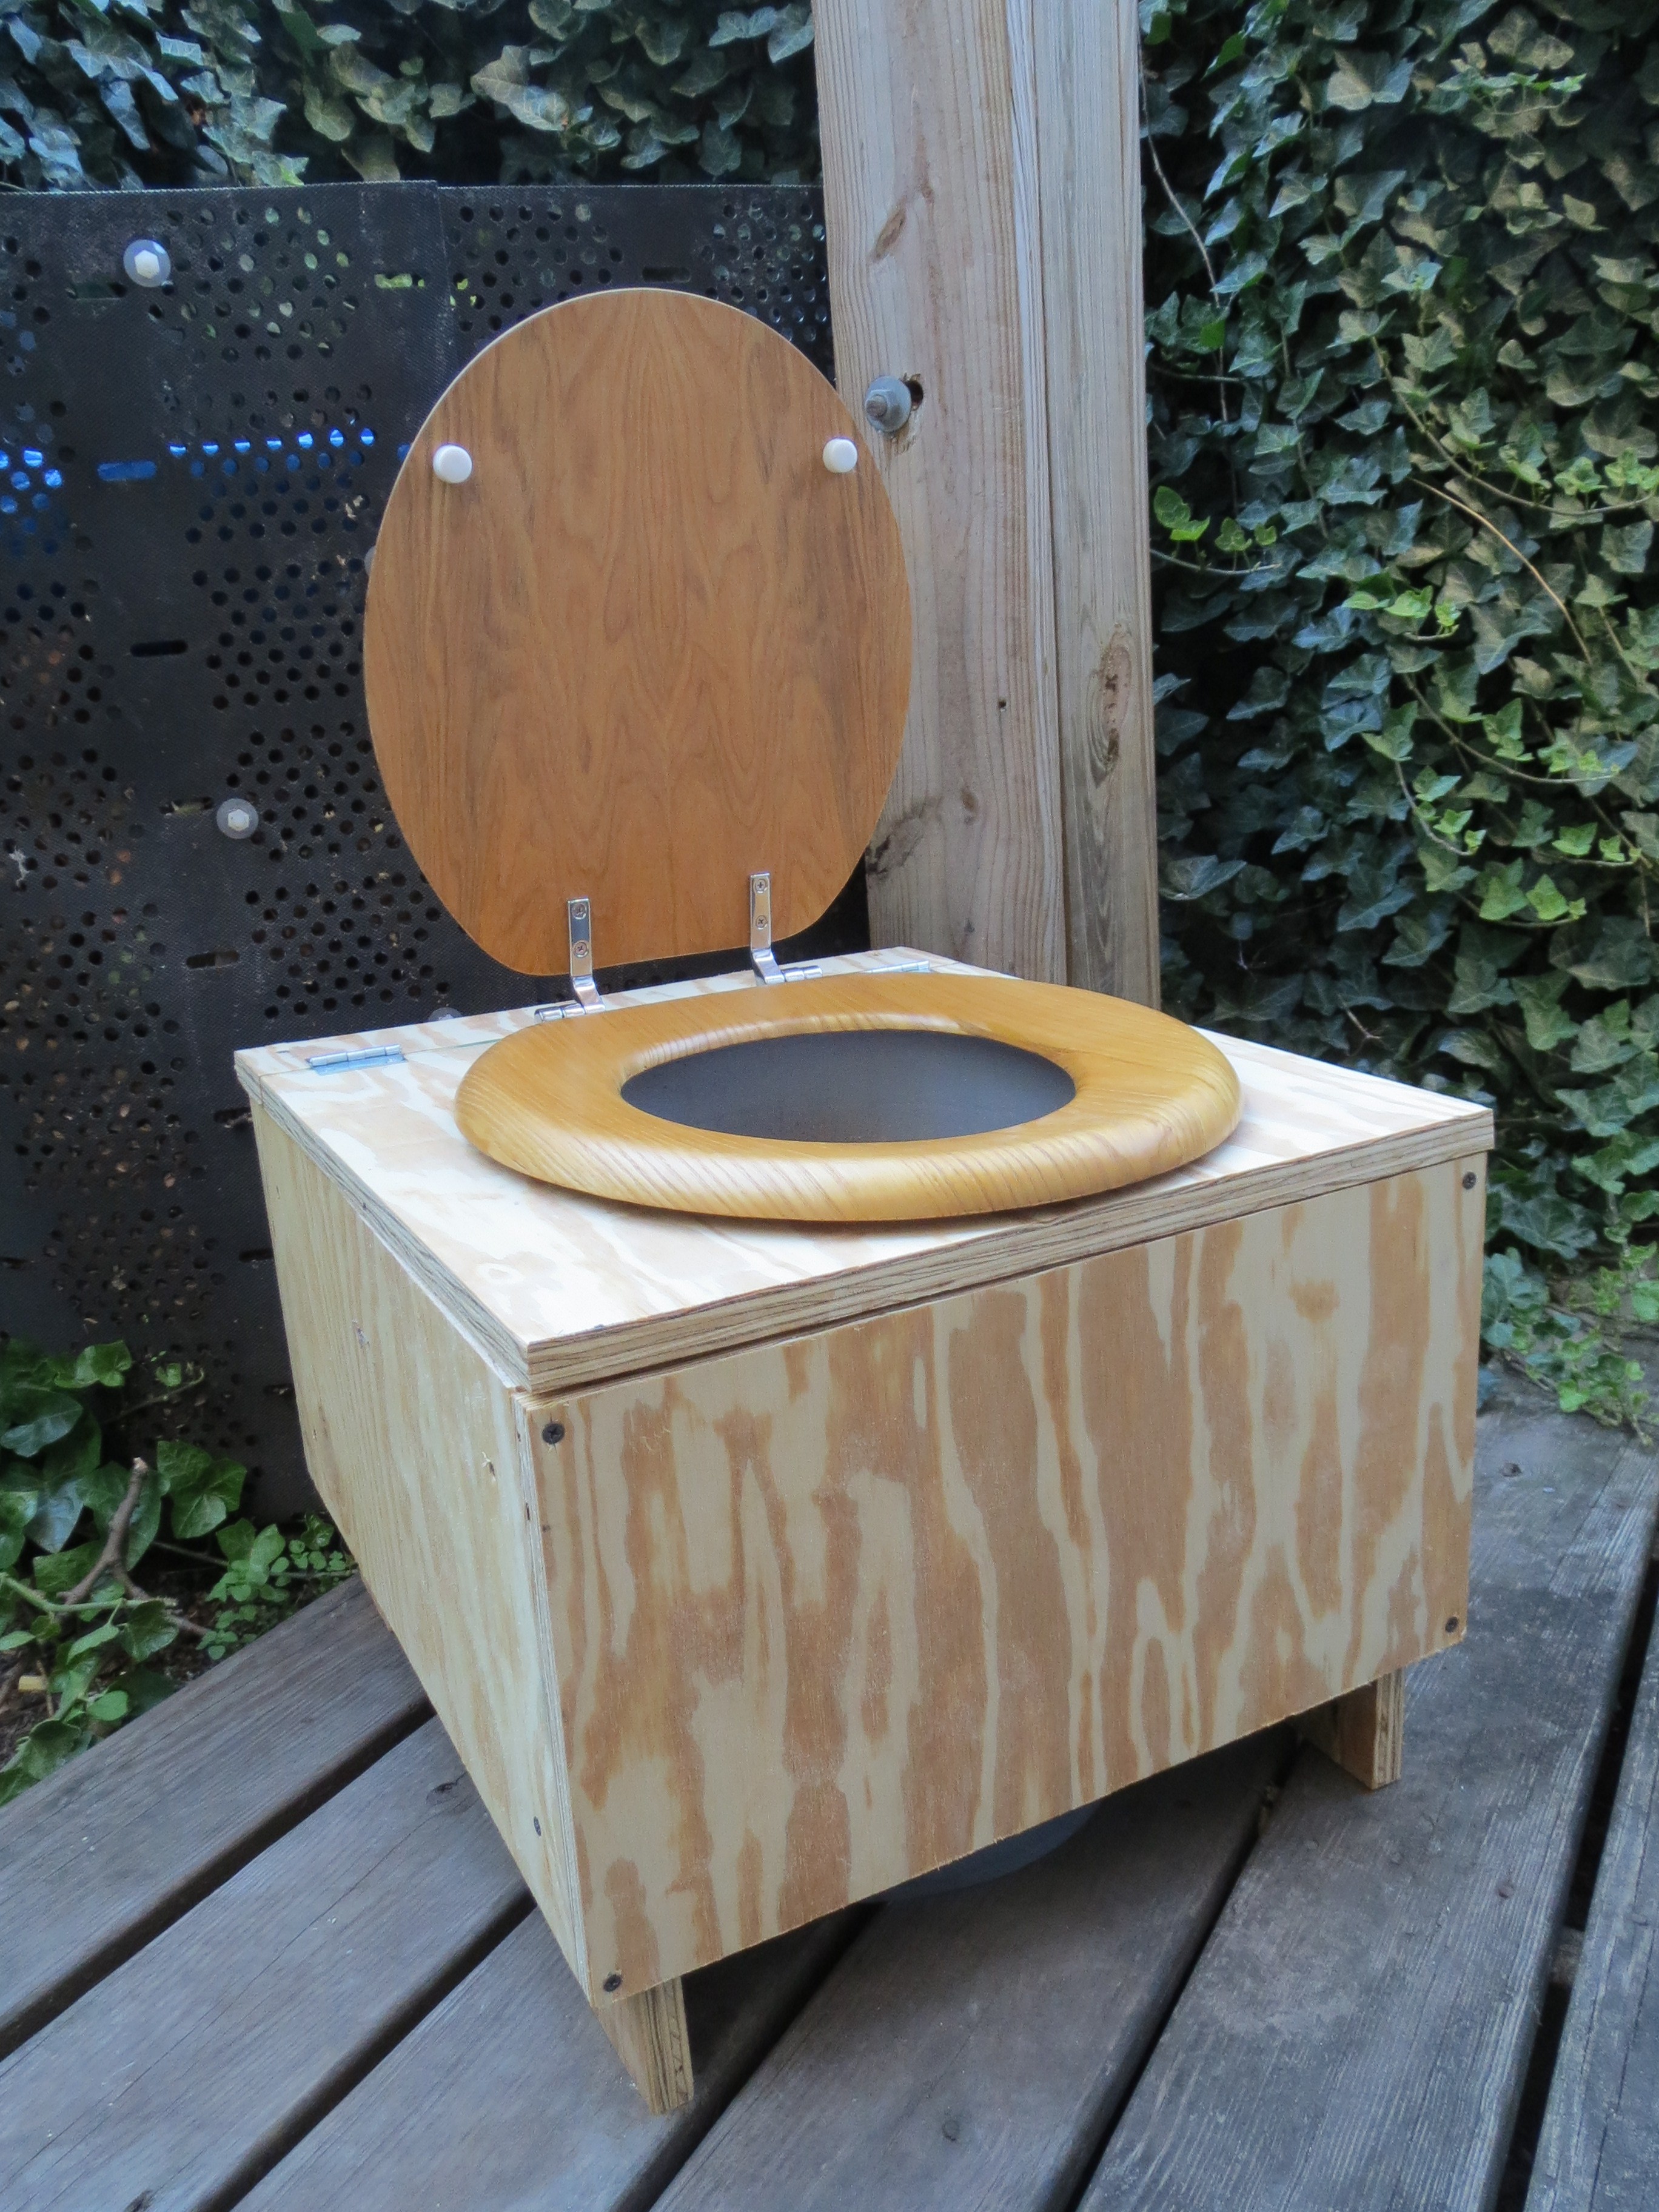
A toilet can be as simple or as difficult as you like. You can squat over a bucket that sits in a hole in the ground or you can fashion your own toilet that will mimic traditional ones that we are familiar with using. Most people prefer to make their own toilet, and all that is involved is creating a frame and fashioning a seat to rest on top of a large bucket. You want the box to encase the bucket while providing a sturdy foundation for the seat that will support the weight of the occupants.
Instructions
Step 1
- Assemble the frame of your toilet. The finished frame will be 21″ long, 18″ wide, and 10″ deep. Begin by attaching the two 10″x18″ pieces of plywood to the two 10″x19.5″ pieces of plywood, using screws and wood glue. Be sure the 10″x19.5″ pieces fit
inside
- the other two pieces for a total length of 21″. Also, be sure the fir side of the plywood is facing out.
Step 2
- With the frame in the upright position, place the 18″x3″ piece of plywood on top, and line it up with one end of the frame. Again, be sure the fir side of the plywood is facing out. Now attach this 18″x3″ piece of plywood using screws and wood glue.
Step 3
- Place the 18″x18″ piece of plywood on top of the frame in front of the 18″x3″ piece you just secured. These pieces will eventually be attached together using the hinges, however, you must first cut out the hole for the bucket. Be sure the fir side of the plywood is facing out.
Position the bucket 1.5″ from the front edge of the box, and center it from both sides. Draw a circle around the bucket’s edge to indicate where you will be cutting it. Remove the bucket, and use the jigsaw to cut the hole for the top of the bucket.
Step 4
- Now that the hole has been cut, reposition the 18″x18″ piece of plywood on top of the frame. Using eight screws and the two hinges, connect the 18″x18″ piece of plywood with the 18″x3″ piece. Be sure to position these hinges close to the edges of the toilet, so that they don’t interfere with the toilet seat.
Step 5
- You will now attach the legs (four 3″x12″ pieces of plywood) to each corner of the underside of the frame. It is
very important
- to adjust the length of these legs, so that the top of the compost toilet is positioned 1/2″ below the top of the bucket. The bucket should protrude through the top of the toilet by 1/2″. This will ensure a tight-fit, and prevent any waste from missing the target. This is especially important if children will be using your compost toilet.
Step 6
- The next step in these composting toilet plans is to attach the toilet seat. Before doing so, you will need to reposition the bumpers that are found on the underside of the seat. Typically, these bumpers point inwards, but this will interfere with the bucket, you so have to swivel them sideways (almost parallel to the toilet seat edge).
Position the toilet seat over the bucket, and mark where you will need to drill holes to attach it to the frame. Drill these holes, and attach the toilet seat.
Step 7
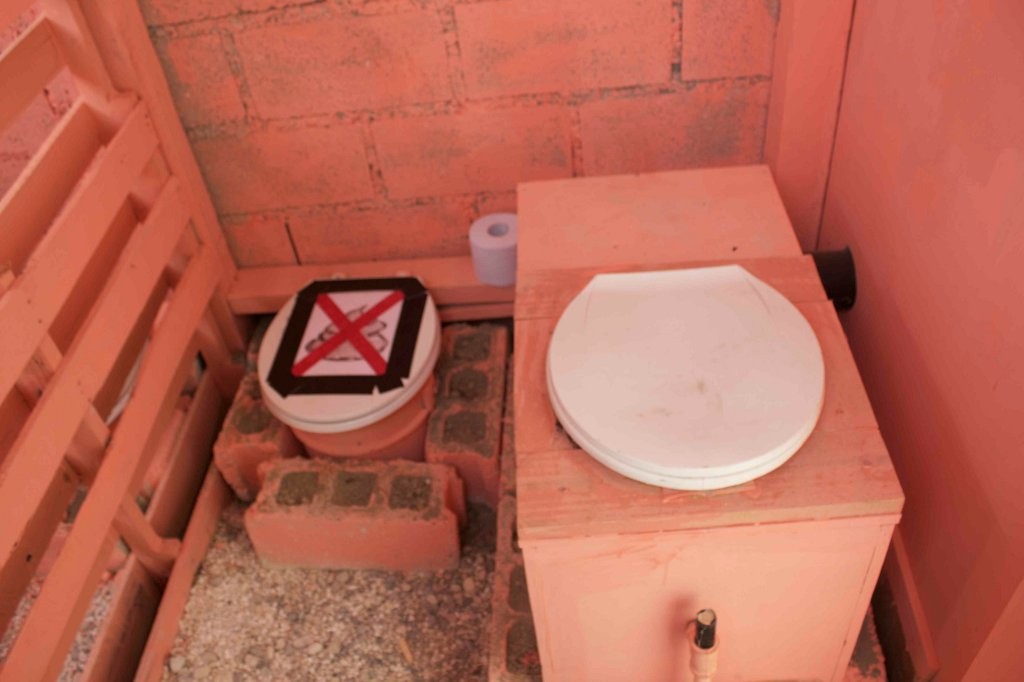
- Your new compost toilet is now ready to use. Although, to make it’s appearance a little less rustic, you may want to stain, varnish, or paint it. Notice how well Jame’s compost toilet matches his bathrooms decor in the image below.
ATTENTION – The toilet is only one part of a larger three part composting system. This system will NOT work without all three parts in place. To learn more about the other parts, including the proper maintenance of your toilet, and how to properly compost your waste, please refer to page two of these composting toilet plans. It is incredibly important that you understand this entire system, so that you eliminate all pathogens.
The easiest way to do this is to build a box with a hinged lid that has a large hole cut out of the top in which a plastic toilet seat can be attached. Make sure to line the edge of the hole with some plastic in order to make cleaning around the rim easier. Attach the seat, place the bucket underneath, line with some sawdust and other organic material and do your business.
Using the Toilet
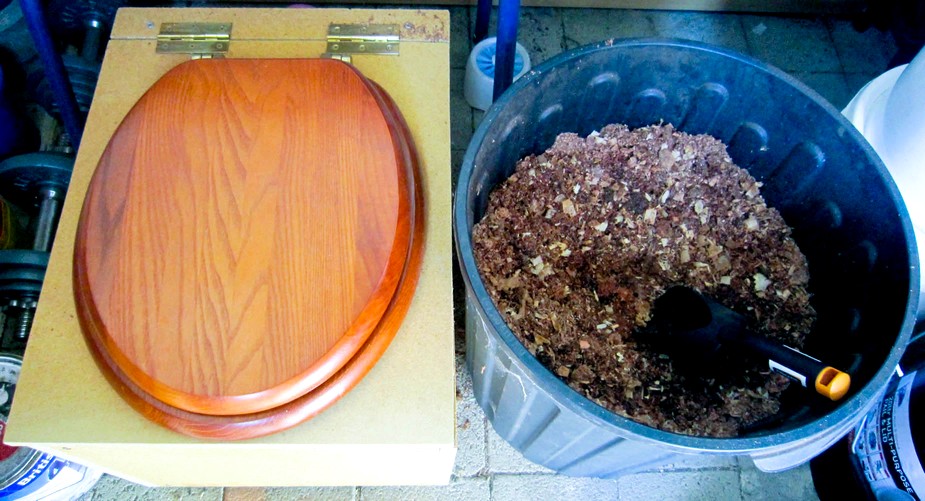
After each use, make sure to fill in a layer of organic material. Sawdust is the most absorbent, but some people use mulch, hay, grass or a mixture of different items. The aim is to bury the waste while minimizing odors from forming. Once the bucket is nearly full, take it to the initial compost pile, wash and place back underneath the toilet and add a layer of fresh material for the bedding.
Creating Compost Piles
The real magic of composting toilets comes from the degradation process that occurs in the back yard. The first step is to dig a large hole or create a big bin in which to dump your waste. You want to have a bed of hay, sawdust, mulch, dirt and other organic material to serve as a foundation. As you dump waste, make sure to cover with fresh material to minimize odors and fly infestations. Continue the process until the hole or bin is full and then build another. However, make sure that you create a hole that is big enough to accommodate a year’s worth of waste in order to simplify the reclamation process later. It is much better to work with fewer, larger piles than lots of smaller ones, and the process of degradation will also be faster.

Over time, microorganisms, insects and worms will assist in the breaking down of the material and turn the waste into rich manure and soil. However, this process can take up to two years to complete, depending on local climate conditions and the level of heat that exists in the center of the pile. Ultimately, you want to have an organized system that includes dirt from material that has been composted for a year or two. This can be used for planting and gardening. The second pile will be one that is in the process of degradation, and the third will be the one you are working with at the moment.
Remember that this process takes time, but it will be worth the effort once the system is in place. Turning waste into usable organic material can help to save water, reduce contaminating the environment and give you and your family access to sustainable resources for years to come.