How to Build a Self-Watering Tomato Planting System
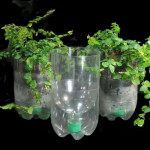
Tomatoes are one of those plants that can be grown almost anywhere and under different conditions, including planters. You can take this to a whole new level of convenience and flexibility by creating a planter that is also self-watering. Not only will this save you time and space, but you will also be able to conserve water over the course of time as well. The project below gives you a sense of the overall process, and you can modify as you see fit to meet your preferences as well.
Required Items
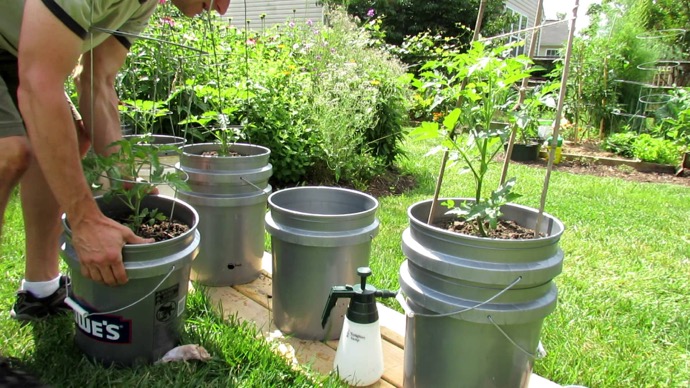
2 five gallon buckets
2 kitchen sponges (without the abrasive pads)
1 cotton towel that can be cut into strips
1 small funnel (if available)
Scissors
Utility knife
Clippers
Drill with ¼ inch bit
Getting Started
The first step is to prepare the buckets so that water can pass through the system and also to prevent stagnation. To do this, you want to cut out a 2 inch diameter hole in the center of the bottom of both buckets. Then, you want to cut or drill a series of small ¼ inch diameter holes around the middle section of the bottom as well. Try to put 6-8 holes in each bucket that are evenly spaced out. Finally, drill a ½ inch diameter hole in the side of one of the buckets a few inches from the bottom. This will allow you to add water and nutrients when needed, and it will also serve as an overflow valve for excess water.
Next, you want to take your towel and cut it into six strips that are around three inches wide. Make sure that you cut the towel into vertical strips so they are long. They need to be long enough to not only extend through the bottom for a couple of inches, but also reach the top and drape over as well.
Feeding the Towels and Filling Holes
The trick to this system is to use the towels as wicks that will absorb the water and transport it to the tomatoes. In order to do this, take three strips of towels and place the bottoms along the bottom of the bucket. Stuff one of the sponges through the hole so that it anchors the towels and fills in the gaps. Pull the towel strips so they rest along the bottom and drape over the top of the bucket at three equidistant points. Keep enough slack in the material that they will remain in place once you place the top bucket inside this one. The idea is to have the towels resting against the side walls of the bucket as well as along the bottom while sticking a little bit over the sides on the top as well.
Repeat the process for the top bucket. However, you want to gently criss-cross the towel strips in the middle so they are interconnected. Make sure there’s enough slack for them to move into place and extend to the top as you put the soil in the bucket. Fill the bucket with your preferred soil or potting mix, and simulataneously hold the towel strips in place. Fill to about two inches from the top, making sure that the soil is loosely packed.
All you need to do now is plant your starter tomato plants into the soil and add water into the reservoir hole that you’ve created earlier. As long as the hole is at least three or four inches from the bottom, this should keep the amount of time that you need to water the soil to a minimum. However, you will need to check water levels periodically and add as necessary. If you are using plant nutrients, make sure that you mix and dilute them with the water before adding to the planter.
Try this out for yourself and see how this simple system can help you to grow tomatoes almost anywhere while also helping you to conserve as much water as possible. Finally, you can use this system to plant other crops that do not need a lot room for roots to grow. Cucumbers and peppers are good options to consider, but you can find many other plants that can benefit from this system as well.