How to Process Beeswax the Easy Way
Not everyone is inclined or equipped to raise bees and harvest their own honey. However, learning how to process beeswax is something that we call benefit from knowing. The wax in its raw form is not suitable for use in one of a million different projects, and there are a few steps to follow in order to make it useful. Let’s take a look at a simple and straightforward method that will allow you to quickly convert raw material into wax that is nearly as pure as what you can buy from commercial sources. Knowing this trick can pay big dividends over the course of time.
Required Items
Old crock pot
Tea strainer
Ladle or measuring cup
Ice cube trays (non-stick)
Old bowl or cup you can discard afterwards
Paper or plastic sheet to protect the work surface
Preparing the Material
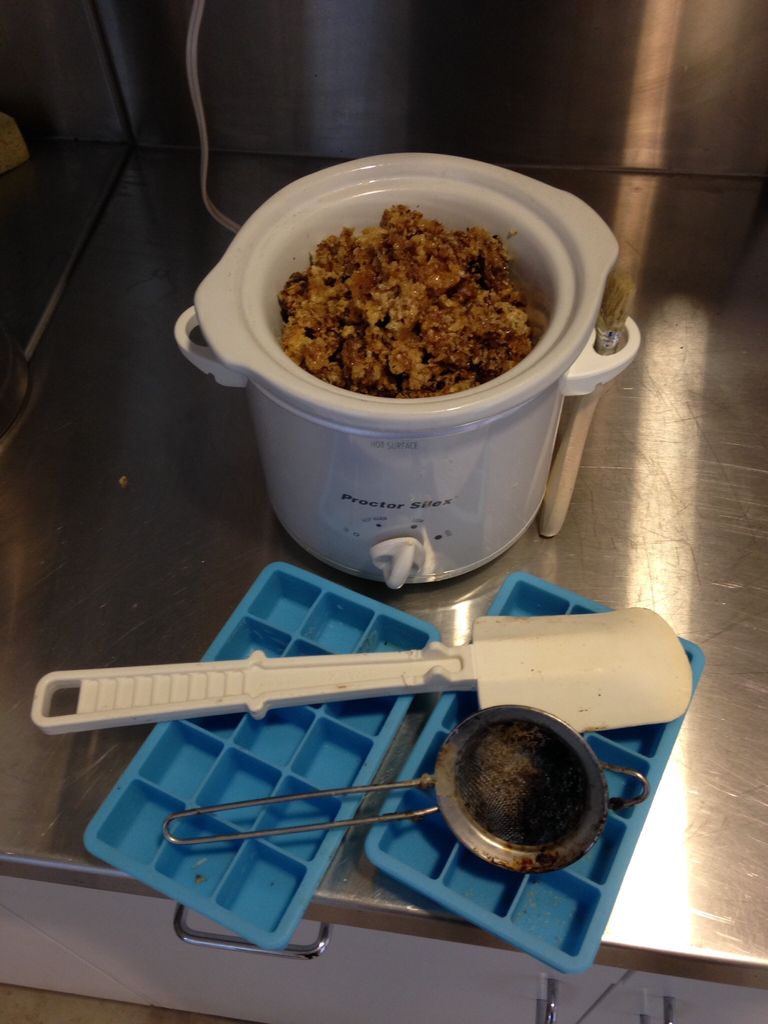
The first step is to fill your crock pot with the honeycombs and other material from the hive that you’ve collected. Once full, turn on the heat to the lowest possible setting in order to slowly warm the material and allow it to start melting. It’s important to be patient as heating it too quickly can cause scorching and reduce the amount of finished product that is available. Cover the crock pot and allow to cook until most of the solids melt.
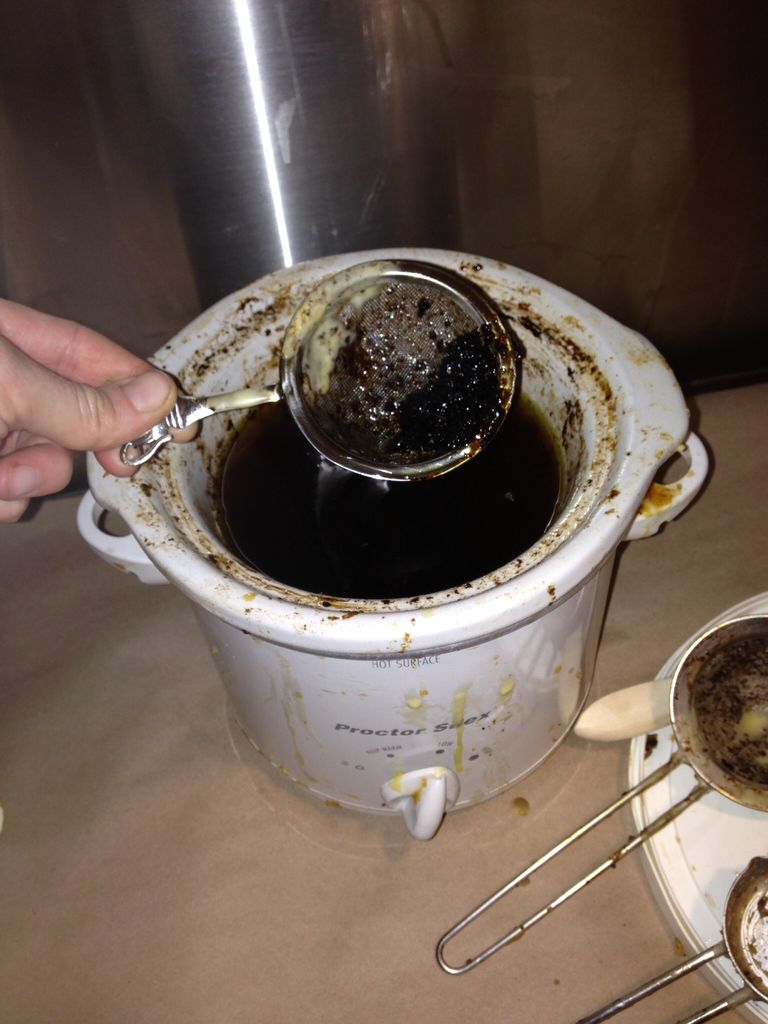
You will notice that there will be a lot of particles, debris and foamy gunk on top as the liquid boils. The liquid itself will have the consistency that is just a little denser than water, and it can easily splatter. Be careful not to get burned once you remove the lid. Once the melting is complete, remove the inner-pot from the cooker and immediately, but carefully, pour the liquid through your strainer into a bowl. Dump the debris in the strainer into the garbage and repeat the process in order to remove as much debris and impurities as possible.
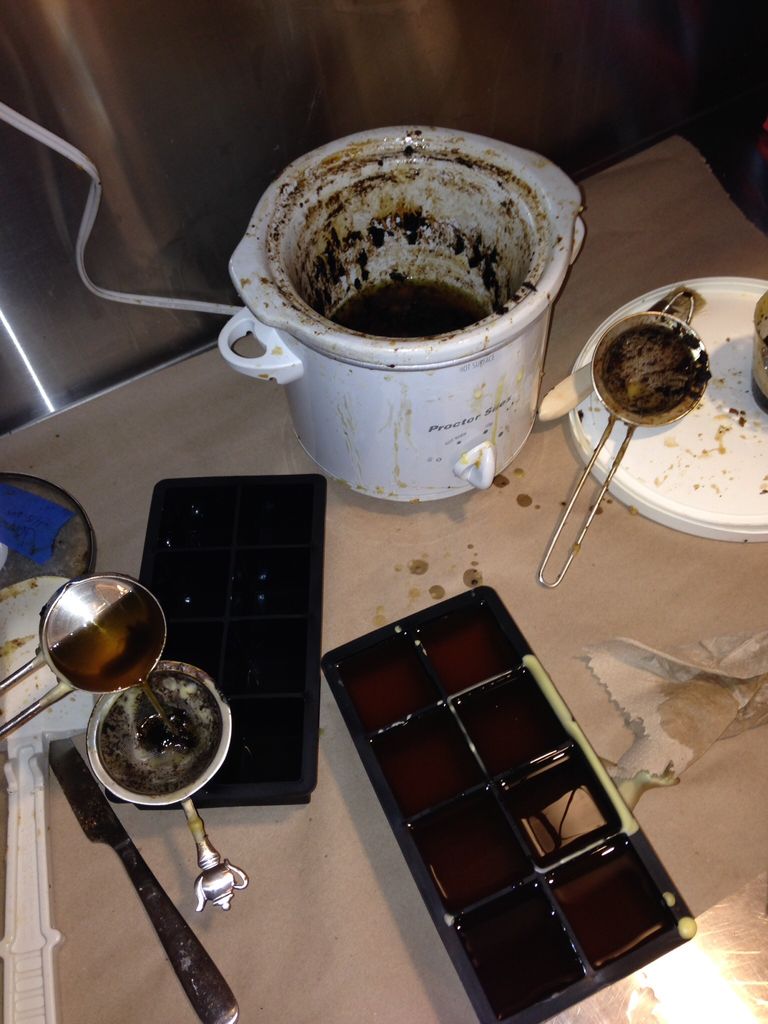
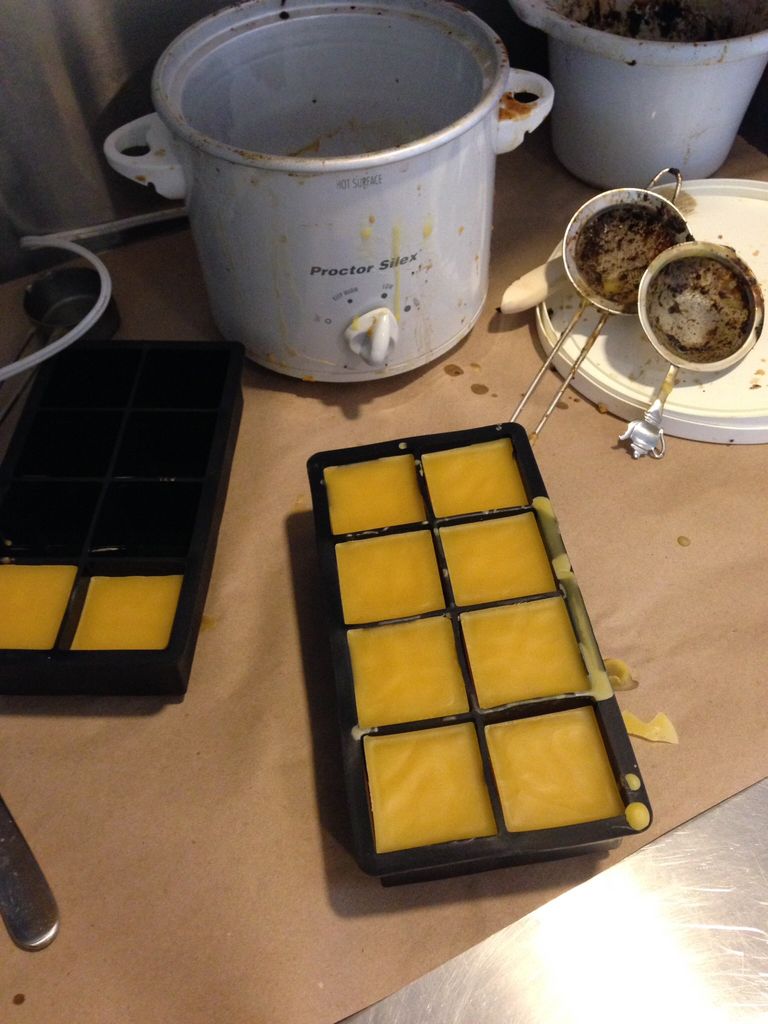
Next, carefully pour the hot liquid into your ice cube trays. Remember that the wax will thicken as it solidifies, so time is of the essence. Once the wax has been poured, discard the bowl or use for future batches. Allow the wax to cool to room temperature and completely solidify before removing from the ice trays. Once you remove the wax from the trays, you will notice that there is some debris and impurities on the bottom of the pieces of wax. Scrape these off and continue scraping until they’ve all been removed. The finished product will be a handful of nice, portioned and uniform beeswax that you can use for any project that you like.
Scaling Up
You are not limited to using a crock pot and tea strainer to process wax, and this is particularly true if you are trying to do large batches at at time. One alternative method is to use a large stockpot and a 5 gallon bucket along with a good amount of cheesecloth or mosquito netting. Simply fill the stockpot with as much material as possible, bring to a boil over low heat and cover. While it is cooking down, go outside and line the bucket with the cheesecloth and secure in place with some cordage (a bungee cord works great).
Once the material has liquefied, carry it outside and carefully pour it over the cheesecloth. The cloth will catch the debris and strain the wax. Carefully squeeze out any remaining liquid in the cloth and discard. Wait for the wax to completely dry before removing it from the bucket. Take a knife and use it to separate the wax from the edges of the bucket. Take your garden hose and fill with water. This will help to dislodge the wax. Once full, tip the bucket over, give it a few thumps, and the water as well as wax disc should slide right out. Repeat the scraping process as described above and you’re good to go.
Try this for yourself, and see how much money you can save if you can obtain raw material. You can use beeswax for a million and one different remedies, soaps, balms, candles and other household uses that can make life on the homestead during a prolonged survival situation much easier to manage.