How to Build a Simple Rainwater Collector Without Gutters
Most rainwater collection projects can help to enhance water storage capabilities, but they also require the use of gutters or downspouts. For those who don’t have them on their structure, there is an alternative that can be just as beneficial. Let’s take a look at a project that will enable you to fashion a system that is designed specifically for this purpose.
Required Items
One large tarp with four grommets (ringed eyelets)
Two screws with eyelets
Some cordage
Two poles that are little bit taller than the roof of the structure
55 gallon plastic or metal drum with the top plug removed
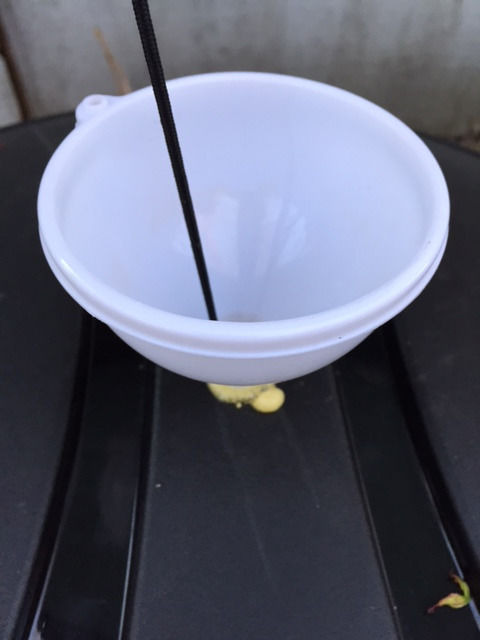
Small plastic funnel
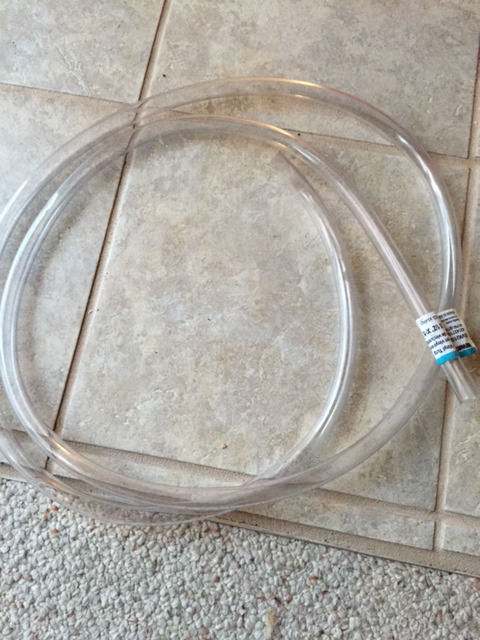
Aquarium tubing
Sealant
Basic Design
You will be using the tarp to capture and channel the rainwater into the barrel. Consequently, the size of the tarp will have a relationship with how much water can be collected. Choose one that will be ideal for your setup in order to make it as efficient as possible. Make sure the tarp is made from plastic or similar material so that it will cause the rainwater to run off instead of being absorbed into the material.
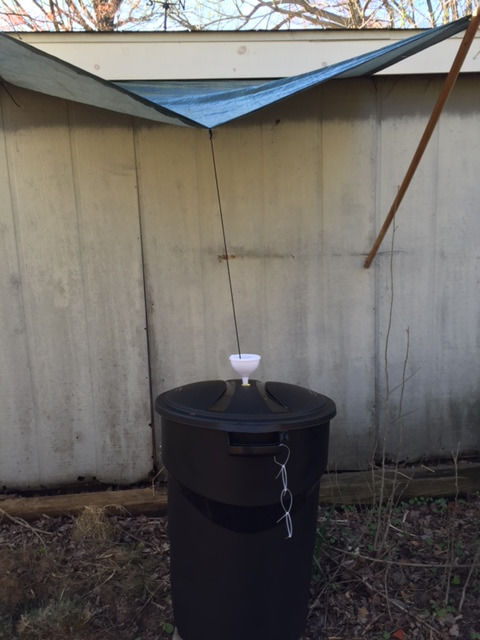
The first step is to decide where you want to place the tarp. Keep in mind that it will extend a few feet out from the where the wall meets the roof on the structure that you are using. The barrel will also need to be positioned a few feet from the side of the structure as well. The aim is to pull down on the tarp to channel the water into the funnel and into the barrel. Make sure that you have enough room to play with as you set up this system.
Securing the Tarp
The best way to position and secure the tarp is to attach it lengthwise to the side of the structure beneath the eave of the roof. This will allow the rainwater to flow off of the roof and onto the tarp. Putting it lengthwise will reduce the amount of space that you need between the structure and the barrel, and it also makes for a more secure fitting that can withstand higher wind speeds.
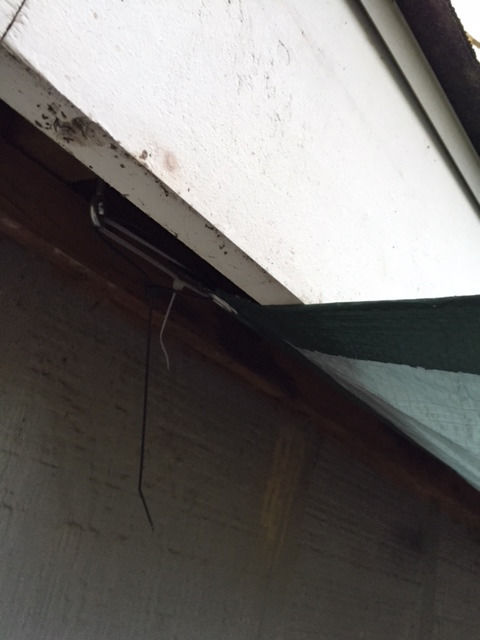
Attach the eyelet screws into the top of the wall just beneath where it meets the eave of the roof. Place the grommet of the tarp into the eyelet and make sure the hook is facing up. Stretch the tarp along the plane of the wall until it is nearly taut. You want a little bit of flexibility in order to be able to pull down the tarp in the center and drain the water later. This may take a little bit of trial and error in order to achieve the ideal amount of tension. Once you’ve pulled the tarp to the ideal length, insert the other eyelet into the wall and secure the tarp through the hook.
Building the Frame
The next step is to take the two poles and insert a nail, screw or eyelet into the tops of each one. This will be used to secure the other side of the tarp atop the funnel and rainwater storage unit. Attach one pole to one end of the tarp and pull it outward so the edge of the tarp is taut. However, you want to situate the pole so that it angles slightly outward. Anchor it into the ground and repeat the same process for the other pole.
Finally, you want to take the cordage and attach it to the edge of the tarp in the center between the two poles. The idea is to use the rope to pull down the tarp slightly in order to channel the water into the funnel. Once you have bent the tarp enough, secure the cordage to the top of the barrel.
All you need to do now is place the funnel atop the hole in the barrel and test the alignment by pouring some water over the tarp. Move the barrel and cordage as necessary.
The only other thing to consider is whether or not you want to install the aquarium tubing to serve as an overflow hose. This can be useful if you are worried about water spilling out from the barrel and saturating the ground beneath. You can adjust the length of the tubing in order to direct excess water to an area of your choice. All you need to do to install the tube is cut a small hole about an inch or two below the top of the barrel, feed the end of the tube into the barrel and secure the area with some adhesive.
Remember that you can improvise this project to be used almost anywhere that you can set up the tarp, including in the wilderness between a couple of trees. Try this out for yourself and see how easy it is to collect rainwater without gutters or an elaborate system.


