How to Dry or Cure Fish With Sea Brine
Imagine that you have the opportunity to set up camp somewhere and store a good amount of fish. However, you don’t have access to material or resources to smoke or encase the fish in salt. You may be able to take advantage of a trick that can extract salt from water in order to solve this problem. Let’s look at the process below, and you may be able to adapt similar principles if the situation ever presents itself.
Choosing the Right Fish
There’s one main rule of thumb to consider when brining fish: Brine ones that contain less oil. Fatty and oily fish do not brine well, and they’re not worth the time and effort. Release them or consume them right away. Look for lean and flaky whitefish such as cod or flounder. They will brine easily and also smell less than their oily counterparts.
Preparing the Salt
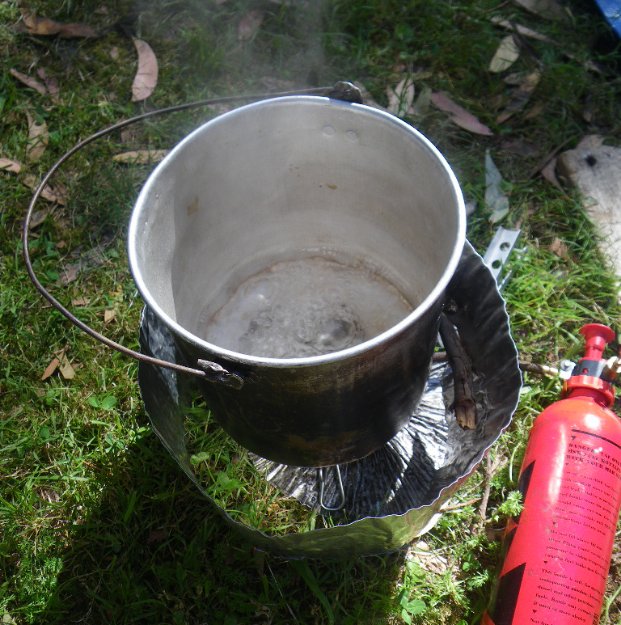
Fill a pot with sea or brackish water and bring it to a boil. Leave uncovered until the water starts to evaporate and leave behind the salt. Keep boiling until the salt and other material starts to crystallize. We’re making a pasty or grainy brine, not processing salt. So, a little moisture for this project is fine. You can get a sense of how much water to leave after a little bit of practice, but the process is pretty straightforward.
You can also keep adding water as space becomes available to increase the final amount of brine as well. Again, some trial and error and experimentation will give you a sense of how much water you will need to boil to get the optimal amount of salt/water ratios. Remember that you will be soaking the fish in the brine, not patting it down with salt crystals. However, the presence of crystals in the water will indicate that you have enough salt for this storage method.
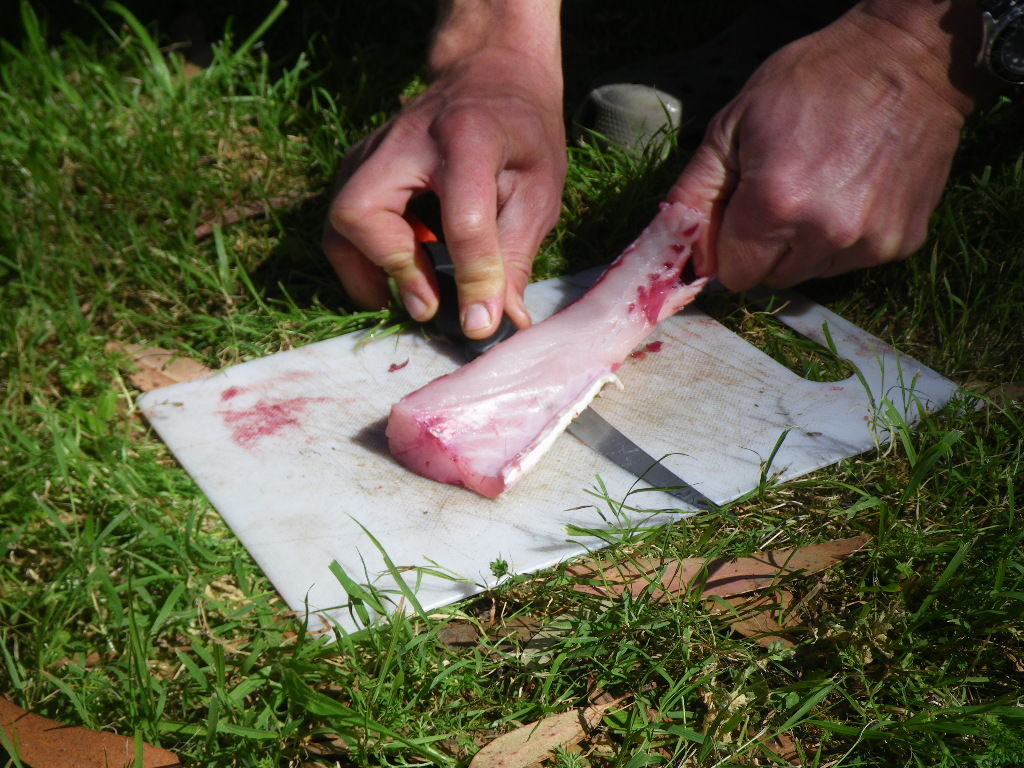
Remove from heat when you have what you need and start to prepare your fish as the brine cools. Cut the fish meat into thin fillets. Start cutting from front to back, in varying degrees of thickness. You want to see how different sizes will produce different finished products. Some pieces will be thin and hard, almost like a jerky. Others will be more soft and chewy. You can also encase the entire fish if you have enough brine already. However, for purposes of this project, let’s focus on cutting the fillets into pieces that range from thin to medium-thin.
Brining the Fish
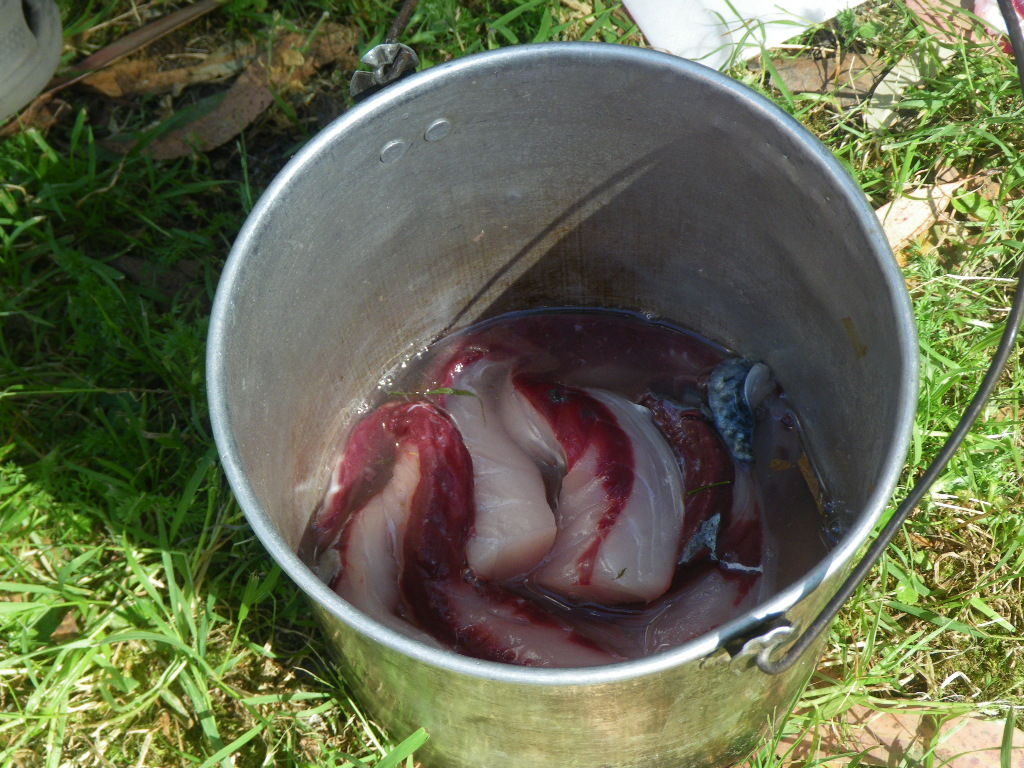
All you need to do now is place your fillets into the brine, make sure they are completely covered in the liquid, and allow them to soak it all in. Stir and re-position the fillets from time to time to ensure maximum soaking as well. Brine them for a minimum of 15 minutes. However, you will need to play around with this number depending on what you are trying to accomplish. Brining for longer periods of time helps to dry the fish out more, but it also leaves for a saltier finished product.
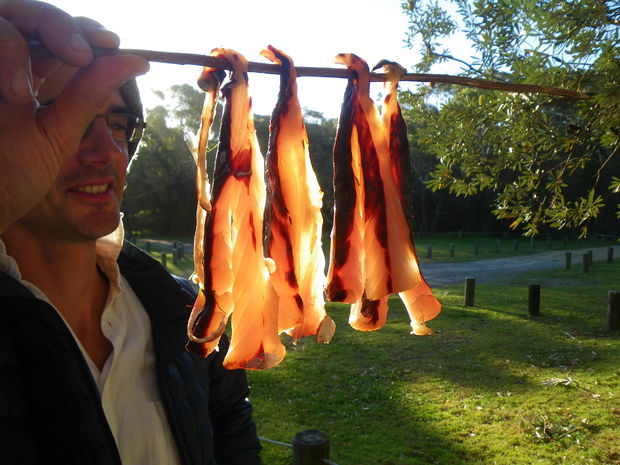
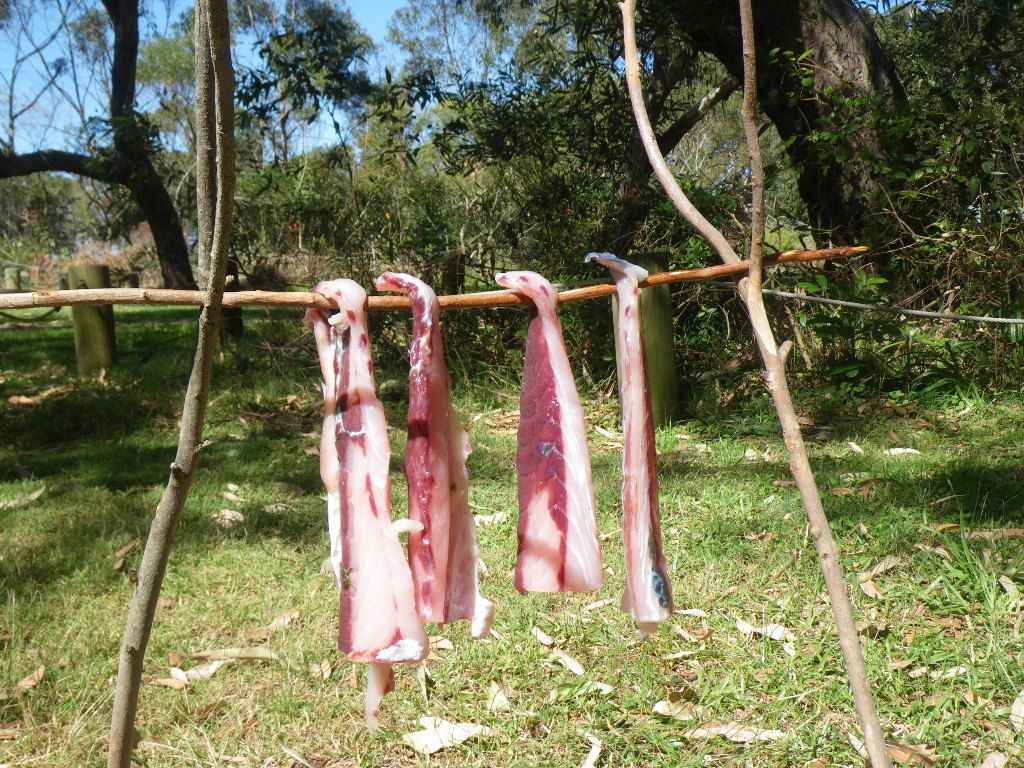
All you need to do now is hang or skewer the fillets and allow them to dry out. You can do this in a place with direct sunlight or use a small fire. You can also use a hot room that is dry and has good ventilation. The possibilities are endless. Choose the one that will get your fish as dry as possible in the shortest amount of time possible.
The amount of time that it takes the fish to dry will depend on the type of fish, amount of salt in the water, temperature, thickness of the fillets and thermal properties. However, this simple solution may be just what you need to preserve fish when other options are not available.


