How to Make a Septic Bin for Animal Waste
Anyone who has animals knows how they can produce a significant amount of waste in a short amount of time. Dealing with excessive animal waste will be an issue in a situation if normal garbage collection services are disrupted. However, you can create an improvised septic bin for the waste and ensure that you are keeping harmful contaminants contained while nature breaks them down into safe products.
The first thing is to create a bin that will help make the process as efficient as possible while also keeping harmful germs and parasites contained. Let’s take a look at a simple method that you can follow and modify in order to make the perfect bin for your needs.
Required Items:
Large plastic or fiberglass barrel
Saw
4 hinges and associated screws and washers
Latch
Septic bacteria mix
Black matte spray paint
Preparing the Barrel
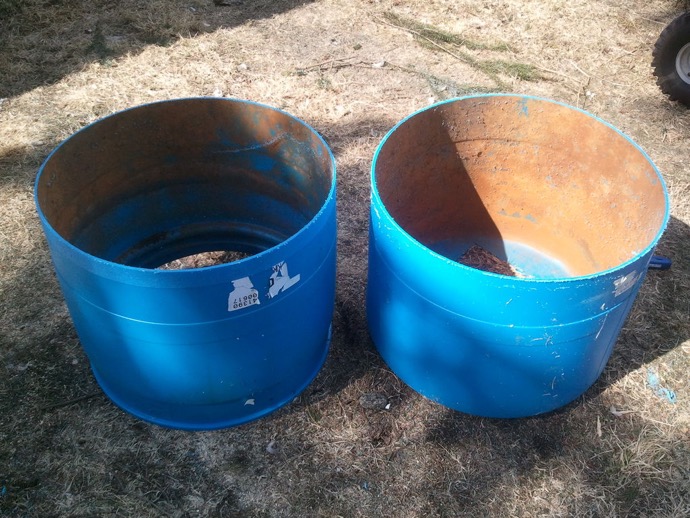
The first thing that you need to decide is how big you want your waste barrel to be. This will depend on the amount of waste that you will generate on a weekly/monthly basis. You can probably get away with slicing a standard 55 gallon barrel in half and using one of the pieces. Feel free to adjust as necessary. Keep in mind that as long as you are using the right bacteria, the waste should break down and leech into the ground on a consistent basis and the container will not fill up. Scale up or down as necessary.
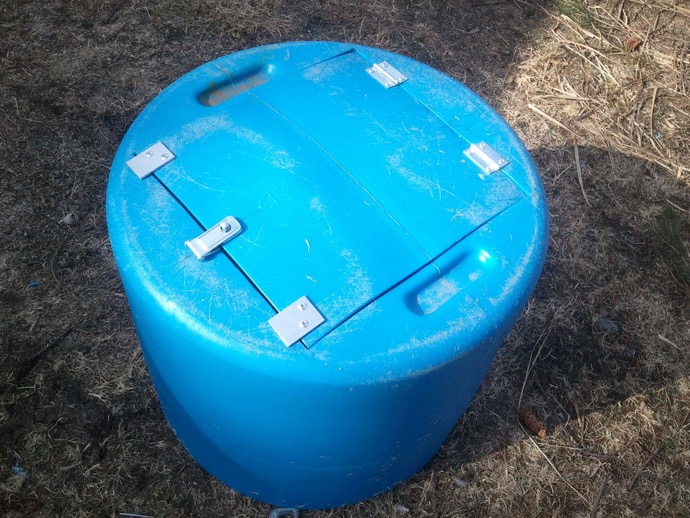
Mark a line around the center of the barrel and use your saw of choice to cut it in half. Generally speaking, using the bottom half for the waste will be more practical because it will be easier to fashion the door. Tops of barrels have lids and uneven surfaces, and they can also fall off, warp, get loose and release smelly gases into the air.
Take the bottom of the barrel and flip it over. Trace a line that will serve as the border of the door you will be making. You have two options. First, you can make a single door to serve as a flap. You can also create double “barn” doors to give you some extra flexibility. Either way is fine. The only thing to really be concerned with is the size of the door. You want it big enough to be able to insert the shovel and dump waste without it rubbing against the sides. Otherwise, you will be spending a lot of time cleaning sticky gunk from the edges. You also want the door to be big enough for the shovel to go inside for cleaning purposes or to work the pile as it decomposes.
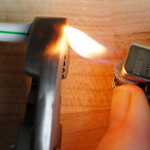
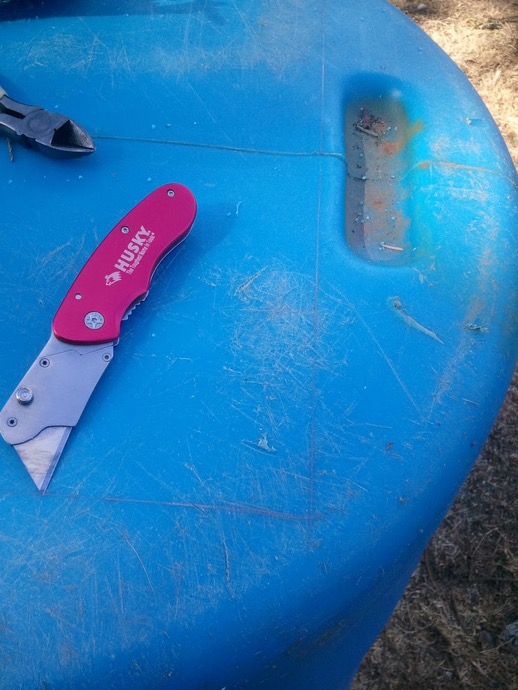
In any case, mark the sides of the door and start cutting. Some people suggest using a circular saw to make the big cuts and then switch to a saber saw to finish it off. One of the problems with using a saber or hand saw is that you will need to make some starter holes which can be hard on drill bits. One solution is to use a lighter or torch to warm the blade up so that it will melt the plastic as you make the first cut. It really works, but it can damage your blade easily, so use blades that you don’t mind tossing away afterward.
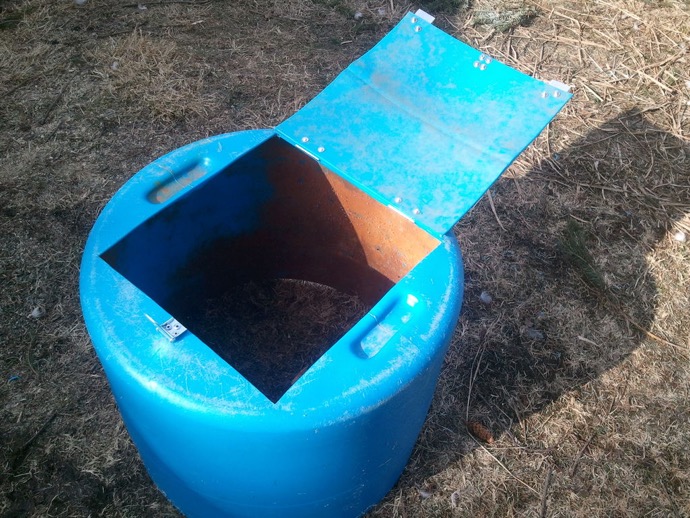
Preparing the Door
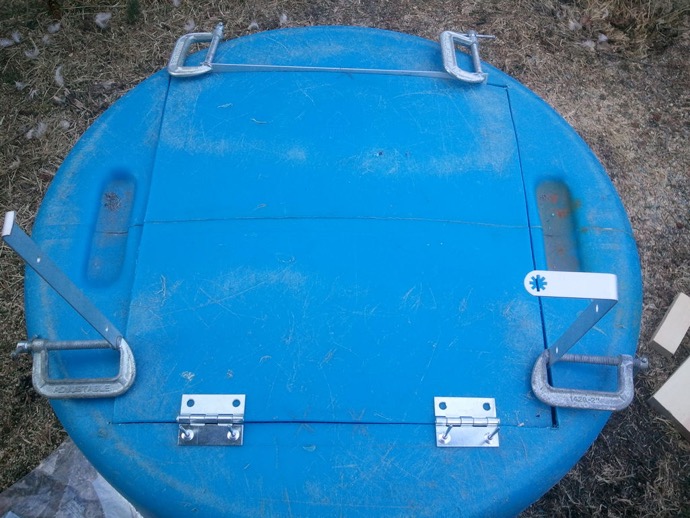
Remove the piece(s) that you’ve just cut, and sand down the edges of the hole as well as the door to make them smooth. All you need to do now is mark where you want to attach the hinges and latch on the door as well as the barrel. Drill, insert the screws/bolts/washers, connect the hinges and you’re good to go. One tip: Use a rivet gun if you have one, it will speed up the installation process considerably.
Planting the Tank
All you need to do now is dig a shallow hole in the ground and plant the tank. Make sure that the bottom is resting below the ground so that it will minimize the intrusion of air into the system. It will also help to anchor it in place. Fill in any spaces around the tank and ground with some dirt. You may also want to consider putting some sealant or gasket material around the doors to keep air out as well. Most bacteria that work in septic systems are anaerobic, which means they thrive in a oxygen-deficient environment.
Next, paint the tank with the matte black paint. This will help to trap heat inside and cause the bacteria to work harder and speed up the decomposition process. Finally, consider adding some water from time to time as you make your “deposits” into the system. Follow the recommendations from the specific bacteria that you’re using, because moisture also aids in the degradation process.
Feel free to improvise with this system, and move it around to different sites in your yard once or twice a year. Other than that, this simple trick can eliminate your current and future pet waste problems, and it’s definitely worth the effort.