How to Make a Simple but Effective Solar Skillet
Using the energy from the sun for cooking is one of the most efficient and resource-friendly ways to make meals during a survival situation. If you are in an area that has abundant sunlight, you can make a simple, yet highly-effective solar skillet and avoid the need to build a fire or waste precious fuel. All you need is some common material and a little bit of creativity to complete the following project. Take a look at the steps below and see how you can put this improvised cooker to use for you.
Required Items:
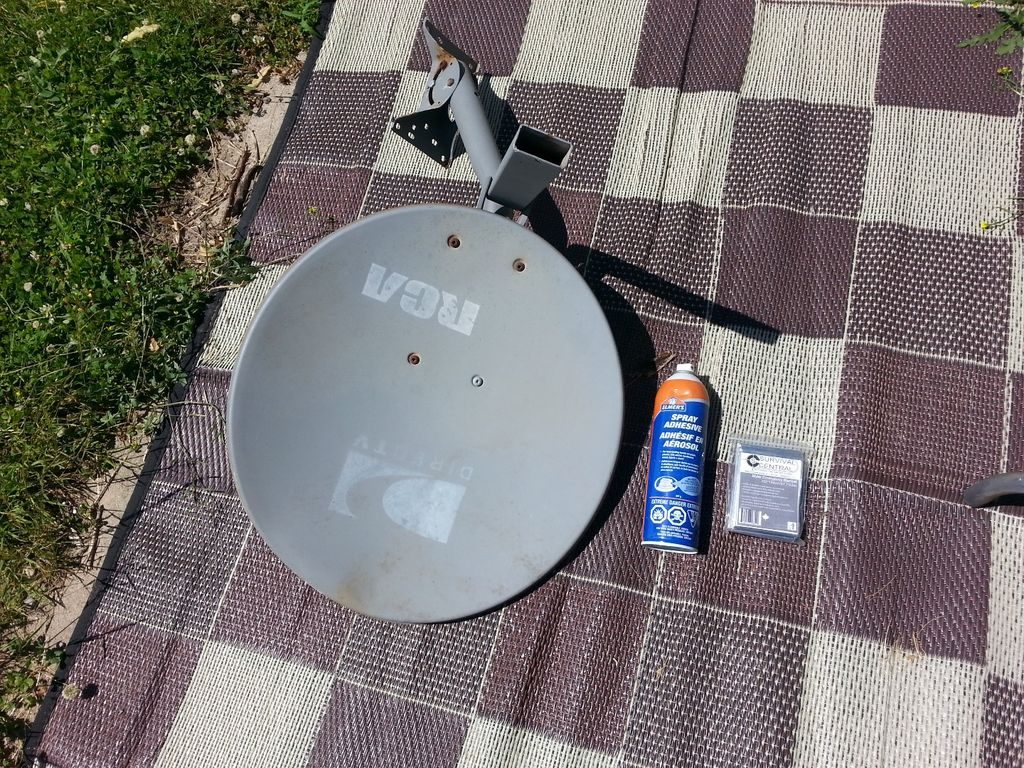
Satellite dish
Mylar
Spray adhesive
Cordage
3 tent poles or long sticks
Baking or cake pan
Black matte spray paint
Preparing the Dish
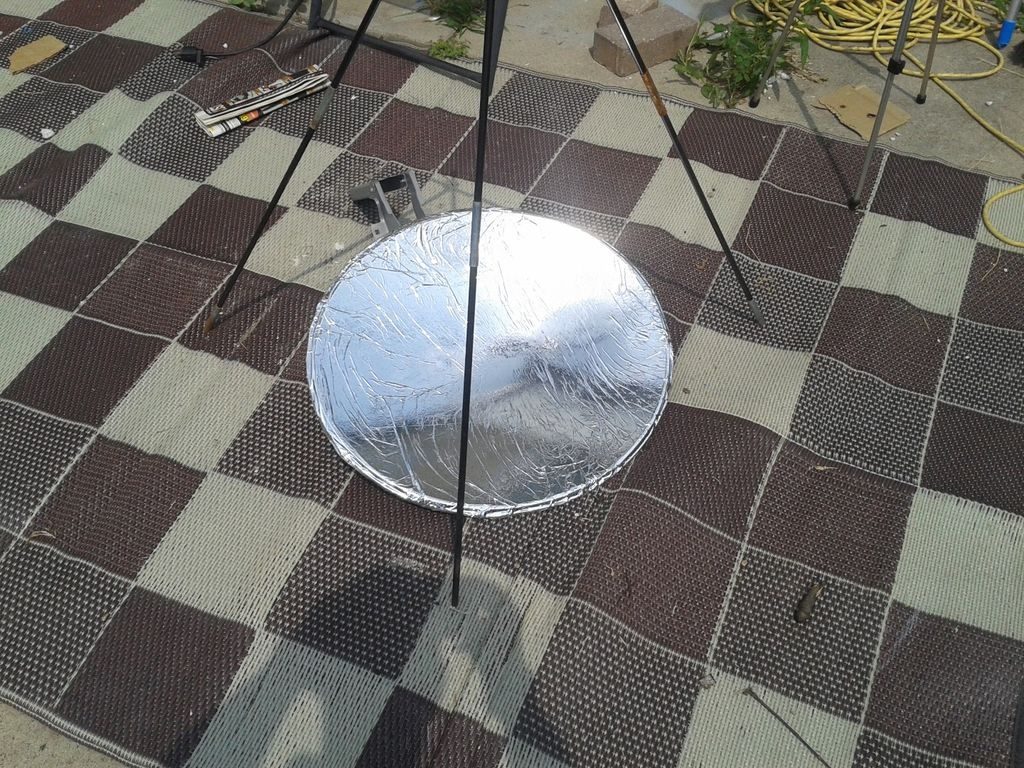
The first step is to prepare the satellite dish by removing it from the mount. Take off any screws, bolts and attachments so that you end up with nothing but the disc. Give it a good cleaning, making sure to remove any buildup of gunk or grime on the surface before wiping it dry. Take your spray adhesive, give the bottle a good shake, and spray an even coat around the face of the dish.
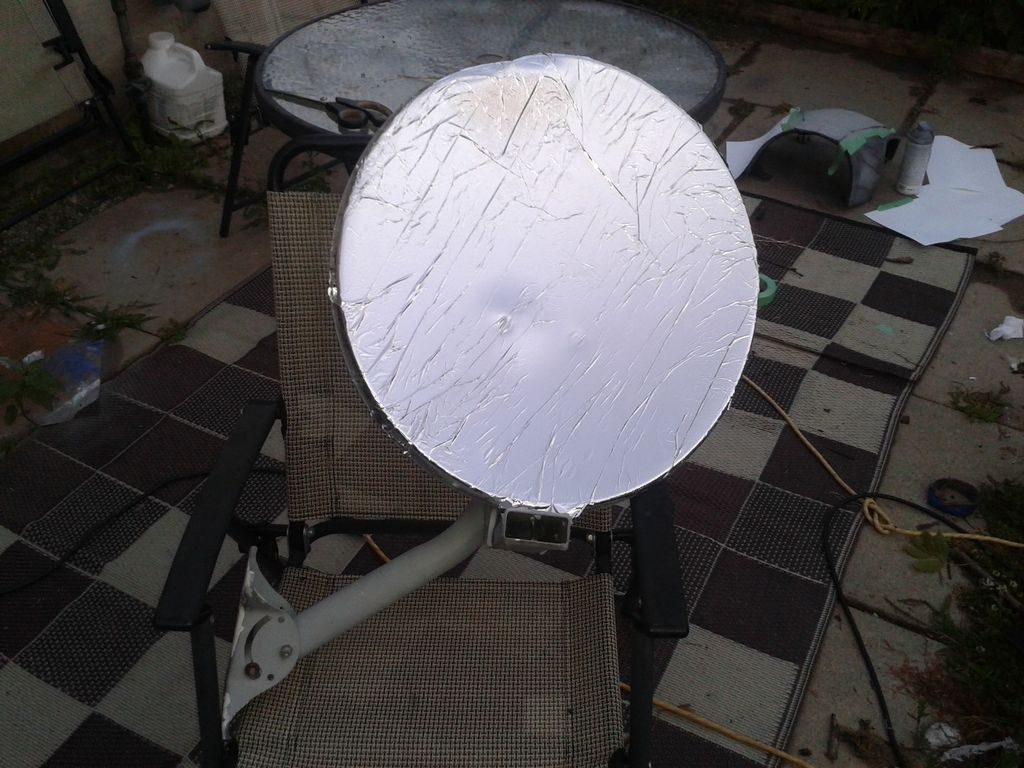
Carefully place the Mylar on the dish in order to create a reflective surface. You can use a single sheet or smaller pieces as long as the entire dish is covered. Blot out any bumps or bubbles whenever possible. Trim off any excess material or secure it to the side and back of the dish.
Preparing the Pan
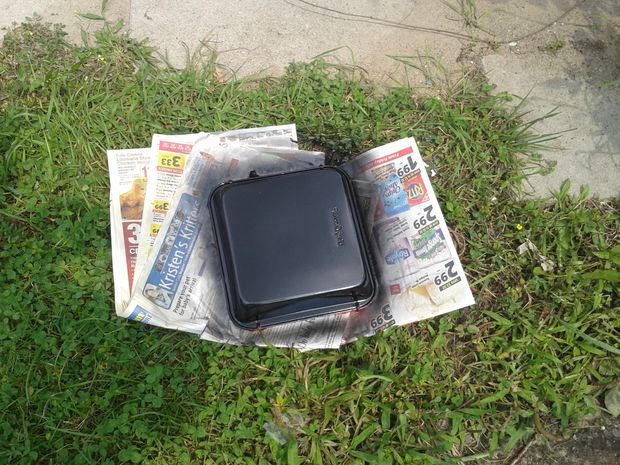
The next step is to clean and dry your baking or cake pan. Flip it over so the bottom is facing up and place the pan over some newspaper. Take the spray paint, give it a good shake and then apply a thick, even coat over the bottom and side-walls of the pan. Allow to dry and touch up as necessary. This paint will cause the pan to absorb the heat from the sun and accelerate the time it takes to cook later.
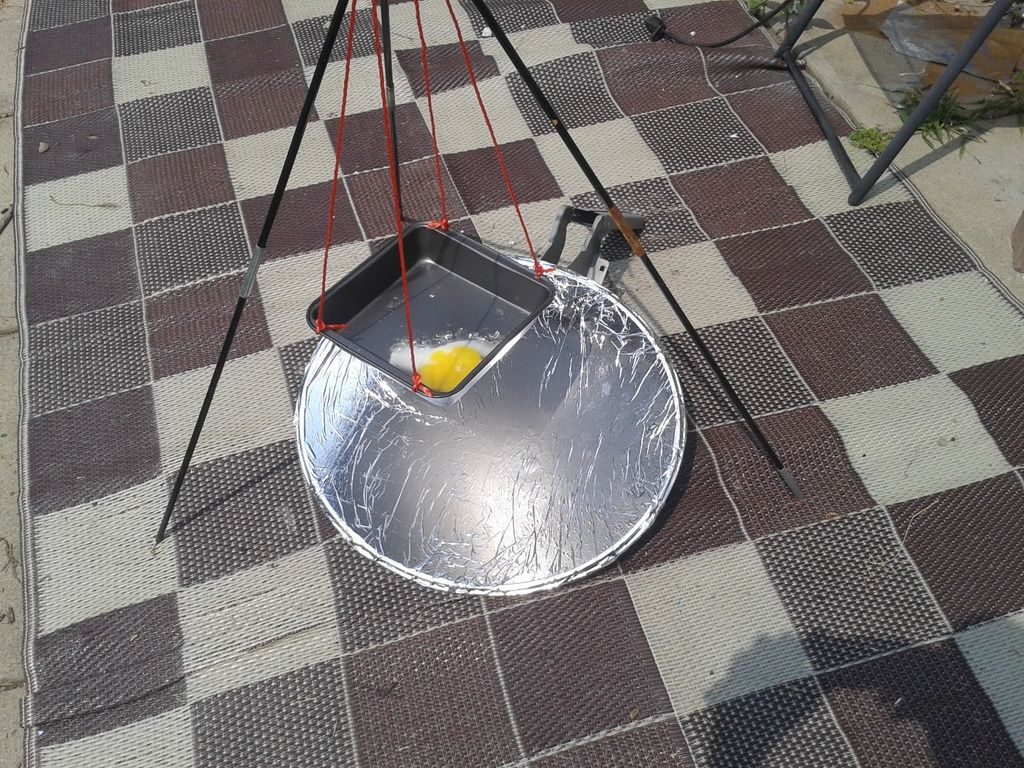
Once the pan has dried, the next step is to drill four holes into the center region that are spaced evenly apart. You will feed string through the holes and suspend the pan over the dish when you cook. Try to space the holes far enough apart so that it will be stable when suspended later. Take your cordage and cut it into four strips that are around 16 inches long. Feed them through the holes and tie off the ends in knots so they stay in place. For square pans, place the holes on each corner near the top of the edges. For round pans, place them in a way that you will get a square shape once the cordage is attached.
Putting Everything Together
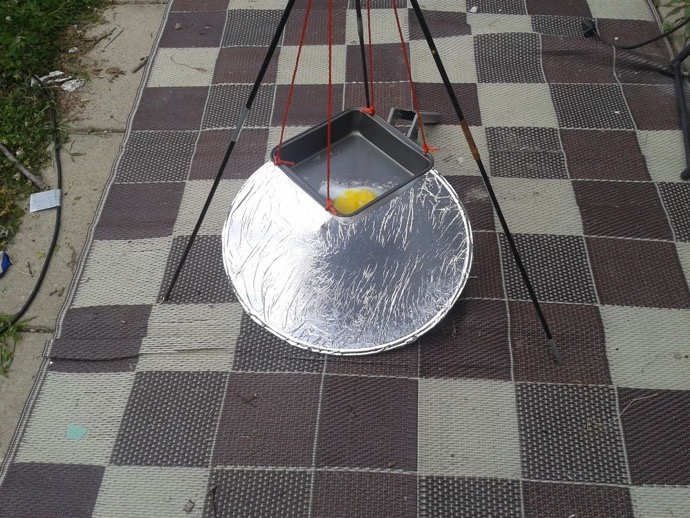
The next step is to assemble the tripod. Simply take your tent poles or sticks and angle them so the base is slightly wider than the satellite dish. Secure them together with some cordage or tape. Place the dish on the ground and then put the tripod over the top. All you need to do now is attach the cordage coming from the pan to the top of the tripod.
To make this method as effective as possible, try to angle the dish so that its center is oriented towards the sun. This will channel and condense the energy into one area that will beam back to the underside of the pan. Consider using some bricks, sticks or even mounds of dirt to adjust the dish as necessary as the sun moves in the sky. You will probably also need to adjust the distance between the pan and the dish in order to achieve maximum heat transfer. Play around with some different settings until you find the arrangement that works best for you and what you are cooking.
Try this out today, and see how this cooker may be just what you need to fry up some small meals without having to start a fire. While this solar fryer won’t replace your other cooking options, it can fill a niche and help to give you more options to prepare meals out in the field.


