Simple and Delicious Granola Recipe for Long-Term Storage
Granola is a great snack to keep in long-term storage. It’s nutritious, tasty and can keep for a long period of time. Let’s take a look at a good recipe that is easy to prepare, and you can start to incorporate it into your food stockpile right away.
Ingredients
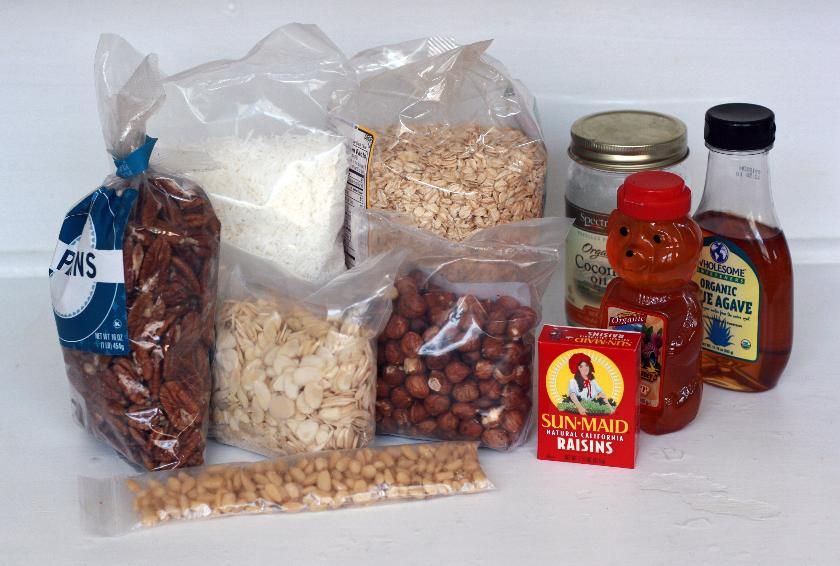
4 cups of oats (regular or instant)
1 cup of coconut flakes
1 cup of almond slivers
1 cup of sunflower seeds
1 cup of raisins
¾ cup of vegetable oil
½ cup of wheat germ
½ cup of brown sugar
½ cup of honey (the real stuff)
1 teaspoon of vanilla extract
1 teaspoon of cinnamon
½ teaspoon of salt
Getting Started
The first step is to preheat your oven to 300 degrees and take out a baking sheet or two. If you are using a larger baking sheet, one should suffice. However, consider using two if they are medium-sized. This will help you to avoid making the granola sheet too thick and interfere with cooking time and making drying difficult.
Combining the Ingredients
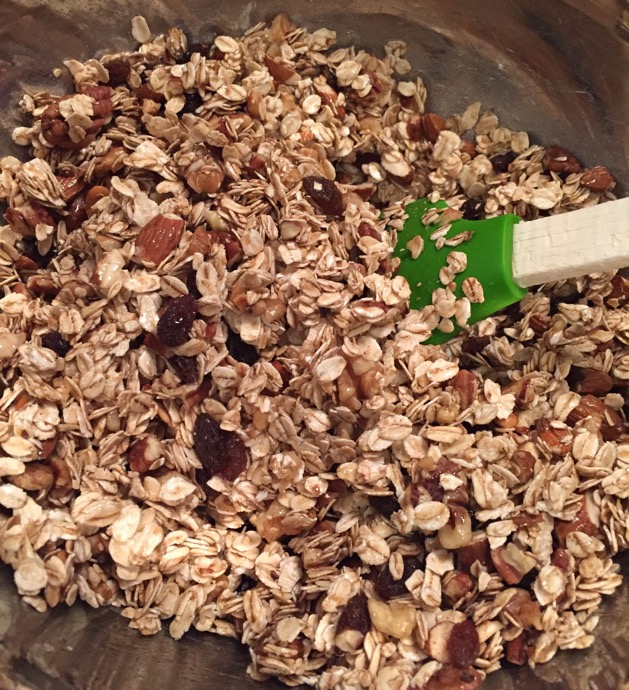
Add the vegetable, vanilla extract, honey, brown sugar, cinnamon, salt and wheat germ into a large bowl. Thoroughly mix the ingredients until everything has blended evenly. Start to pour in the coconut flakes, almond slivers, and sunflower seeds and continue to mix until they are evenly blended as well. The mixture will thicken up slightly, but this is to be expected.
Next, slowly pour in the oat flakes little by little and stir and fold them into the moist mixture. Be patient so that you are able to incorporate the oats and other ingredients evenly. Keep adding until all of the oats have been incorporated and are thoroughly mixed together. While using a long wooden spoon to combine the ingredients is possible, it may be easier to use your hands and squeeze the ingredients through your fingers in order to ensure that everything is combined consistently throughout. Consider dipping your hands in a little bit of water to minimize sticking, or you can also use a small amount of vegetable oil as well.
Preparing the Granola
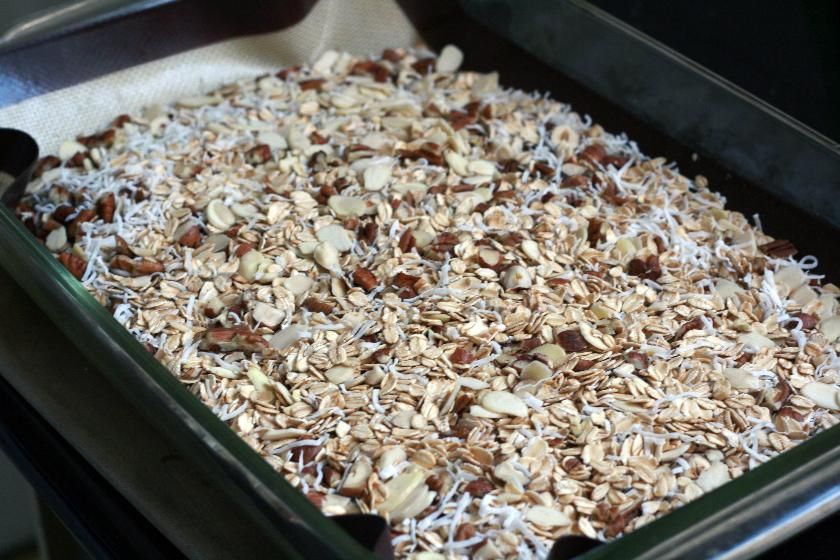
The next step is to add the granola batter to the baking sheet. Make sure to evenly distribute the mixture so that it is around ¼ – ½ inch deep throughout the sheet. This will help to ensure that the mix will dry out evenly and minimize the chances of having moist spots buried in the center of some of the denser areas. Place the sheet in the oven and bake for 20-30 minutes, and stir or shake the forming chunks every 5 minutes or so to promote even heating and minimize scorching.
You can also use a dehydrator instead of the oven, and some people argue that this is a better option due to the fact that it slowly removes moisture and won’t scorch the product. Set the temperature to 145 degrees, place the granola mixture on the rack and let it dry for at least three hours. In both cases you want to keep cooking the mixture until all of the moisture has been removed and the granola is crunchy. Add or reduce cook times accordingly. Once finished, remove from the oven or dehydrator and pour the granola back into a large bowl and allow to cool to the touch. Separate the raisins in order to remove clumps and sprinkle them into the mixture. Mix until the raisins are evenly blended.
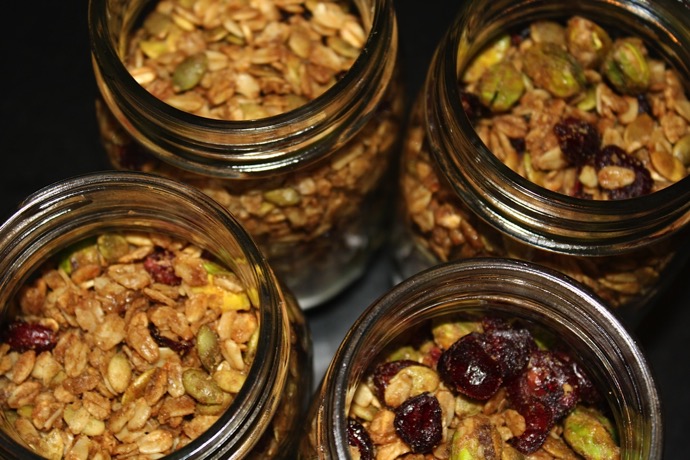
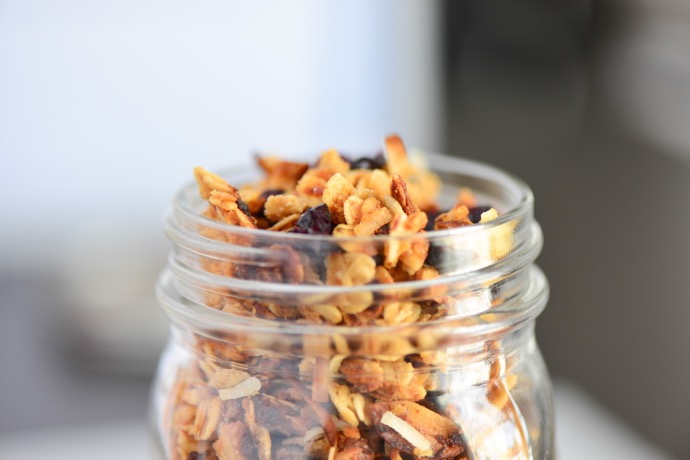
Now all you need to do is place the granola into a canning jar, container with an airtight lid, thick zipper baggie or Mylar sleeve. The shelf life you get from the granola will depend on the amount of moisture in the ambient air over time. If you want to maximize shelf life, consider vacuum sealing the product in approved material or Mylar. Finally, consider portion sizes before storing. It’s better to keep smaller amounts in smaller bags or containers than a large one that will need to be consumed faster to avoid spoilage.
Try this recipe out for yourself, and see how easy it is to store this healthy and tasty snack for the long-term.


