How to Give a Patient an IV in an Emergency
Starting an IV in patients during a medical emergency is common practice. Some fluids are used to rehydrate whereas others have to do with replacing essential nutrients when someone loses a lot of blood. Others are used to regulate heart rate. While the chances are slim that we would need to start an IV during a crisis, there have been times in combat situations and other serious emergencies where untrained individuals had to jump in and help. Consequently, this could be a skill that is worth knowing just in case you find yourself in a similar situation.
IV Basics
An IV kit will generally consist of a long and fat hollowed out needle along with a piece of tubing that slides through this hole. The needle will be situated so that it can be removed after the tubing has been inserted. When we start an IV, we look for veins in the forearm that are near the surface, firm and large enough to work with. Sometimes this vein will be located near the wrist, whereas others have better veins in the center of the forearm. Choosing the best vein is one of the most important things to do when starting an IV because it will make the overall process faster and easier in most cases.
Finding the Vein
Hold the forearm of the patient with one hand and extend it so it is stretched out and the bottom is bottom is facing up. Quickly look for a visible vein or one that is obviously bulging through the skin. Give the are a couple of firm and rapid taps with your fingers to “wake up” the vein and cause it to firm and bulge a bit. Once you’ve identified the vein, place your thumb about an inch below where you will inject the needle. Gently pull back on the skin so that it is taut but not causing the vein to lose its shape or fall under the surface. Thump the vein a couple of times to raise it up again if necessary.
Starting the IV
You want to slide the needle through the skin and into the vein at a shallow angle. You also want to make sure that you are inserting the needle in the direction of the hand of the patient. This will make the fluids travel downstream in the vein while also preventing blood from gushing out if you put the needle in the wrong way.
A lot of people encounter insertion problems for two reasons. First, they don’t stretch and hold the skin to make the vein as taut as possible, and the vein slithers around too much. The second problem is that needles are inserted at too great of an angle. A lot of people slide the needles into the vein at angles in excess of 45 degrees.
Remember, that your goal is to get the needle into the vein on the first or second attempt. You also want to get the whole thing finished in about 30 seconds. This is for the patient’s comfort (they most likely will be squeamish if they are conscious), and for their protection. Multiple missed needles can lead to infections as well as serious bruising around failed injection site.
Sliding the needle at an angle as close to the plane of the vein as possible will dramatically increase the chances of getting a successful start. Make sure that when you insert the needle and catheter assembly that the “slice of the needle end” is facing up.
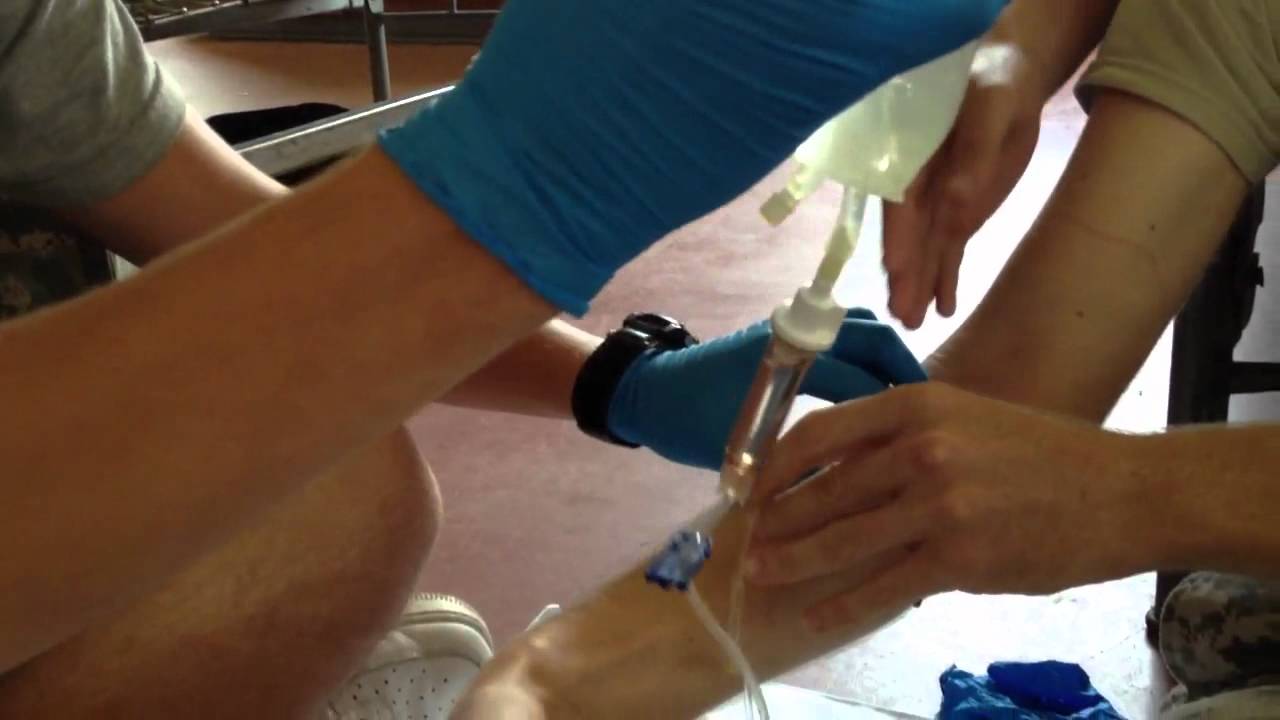
Once the needle is inserted, take your thumb and press down firmly on the area just below where the needle has entered the vein. You want to press hard enough that the needle is in place as you insert the catheter. You want to feed the catheter through the needle so that one end of it extends beyond the tip inside the vein. You can eyeball how much you need. Once the catheter has been inserted, it’s time to pull out the needle. If all goes well, the IV should be set. If you have any problems, simply find another location and try again.
Remember to swab the site with some rubbing alcohol beforehand, and secure the catheter with some cotton or bandages when you’re finished. This will protect the area from infection as much as possible. All you need to do now is hook up the IV and catheter, set it to the required amount of drip and you’re good to go.
Hopefully you will never need to start an IV in the field unless you’re trained to do so. However, knowing what to do now can make it easier to render assistance if you are ever pressed into action during a crisis.